My wife has been documenting this but I figure I would post it here for a more permanent place and accessible place than Facebook. Hopefully it helps someone or, you get a good chuckle out of this project that we’re taking on.
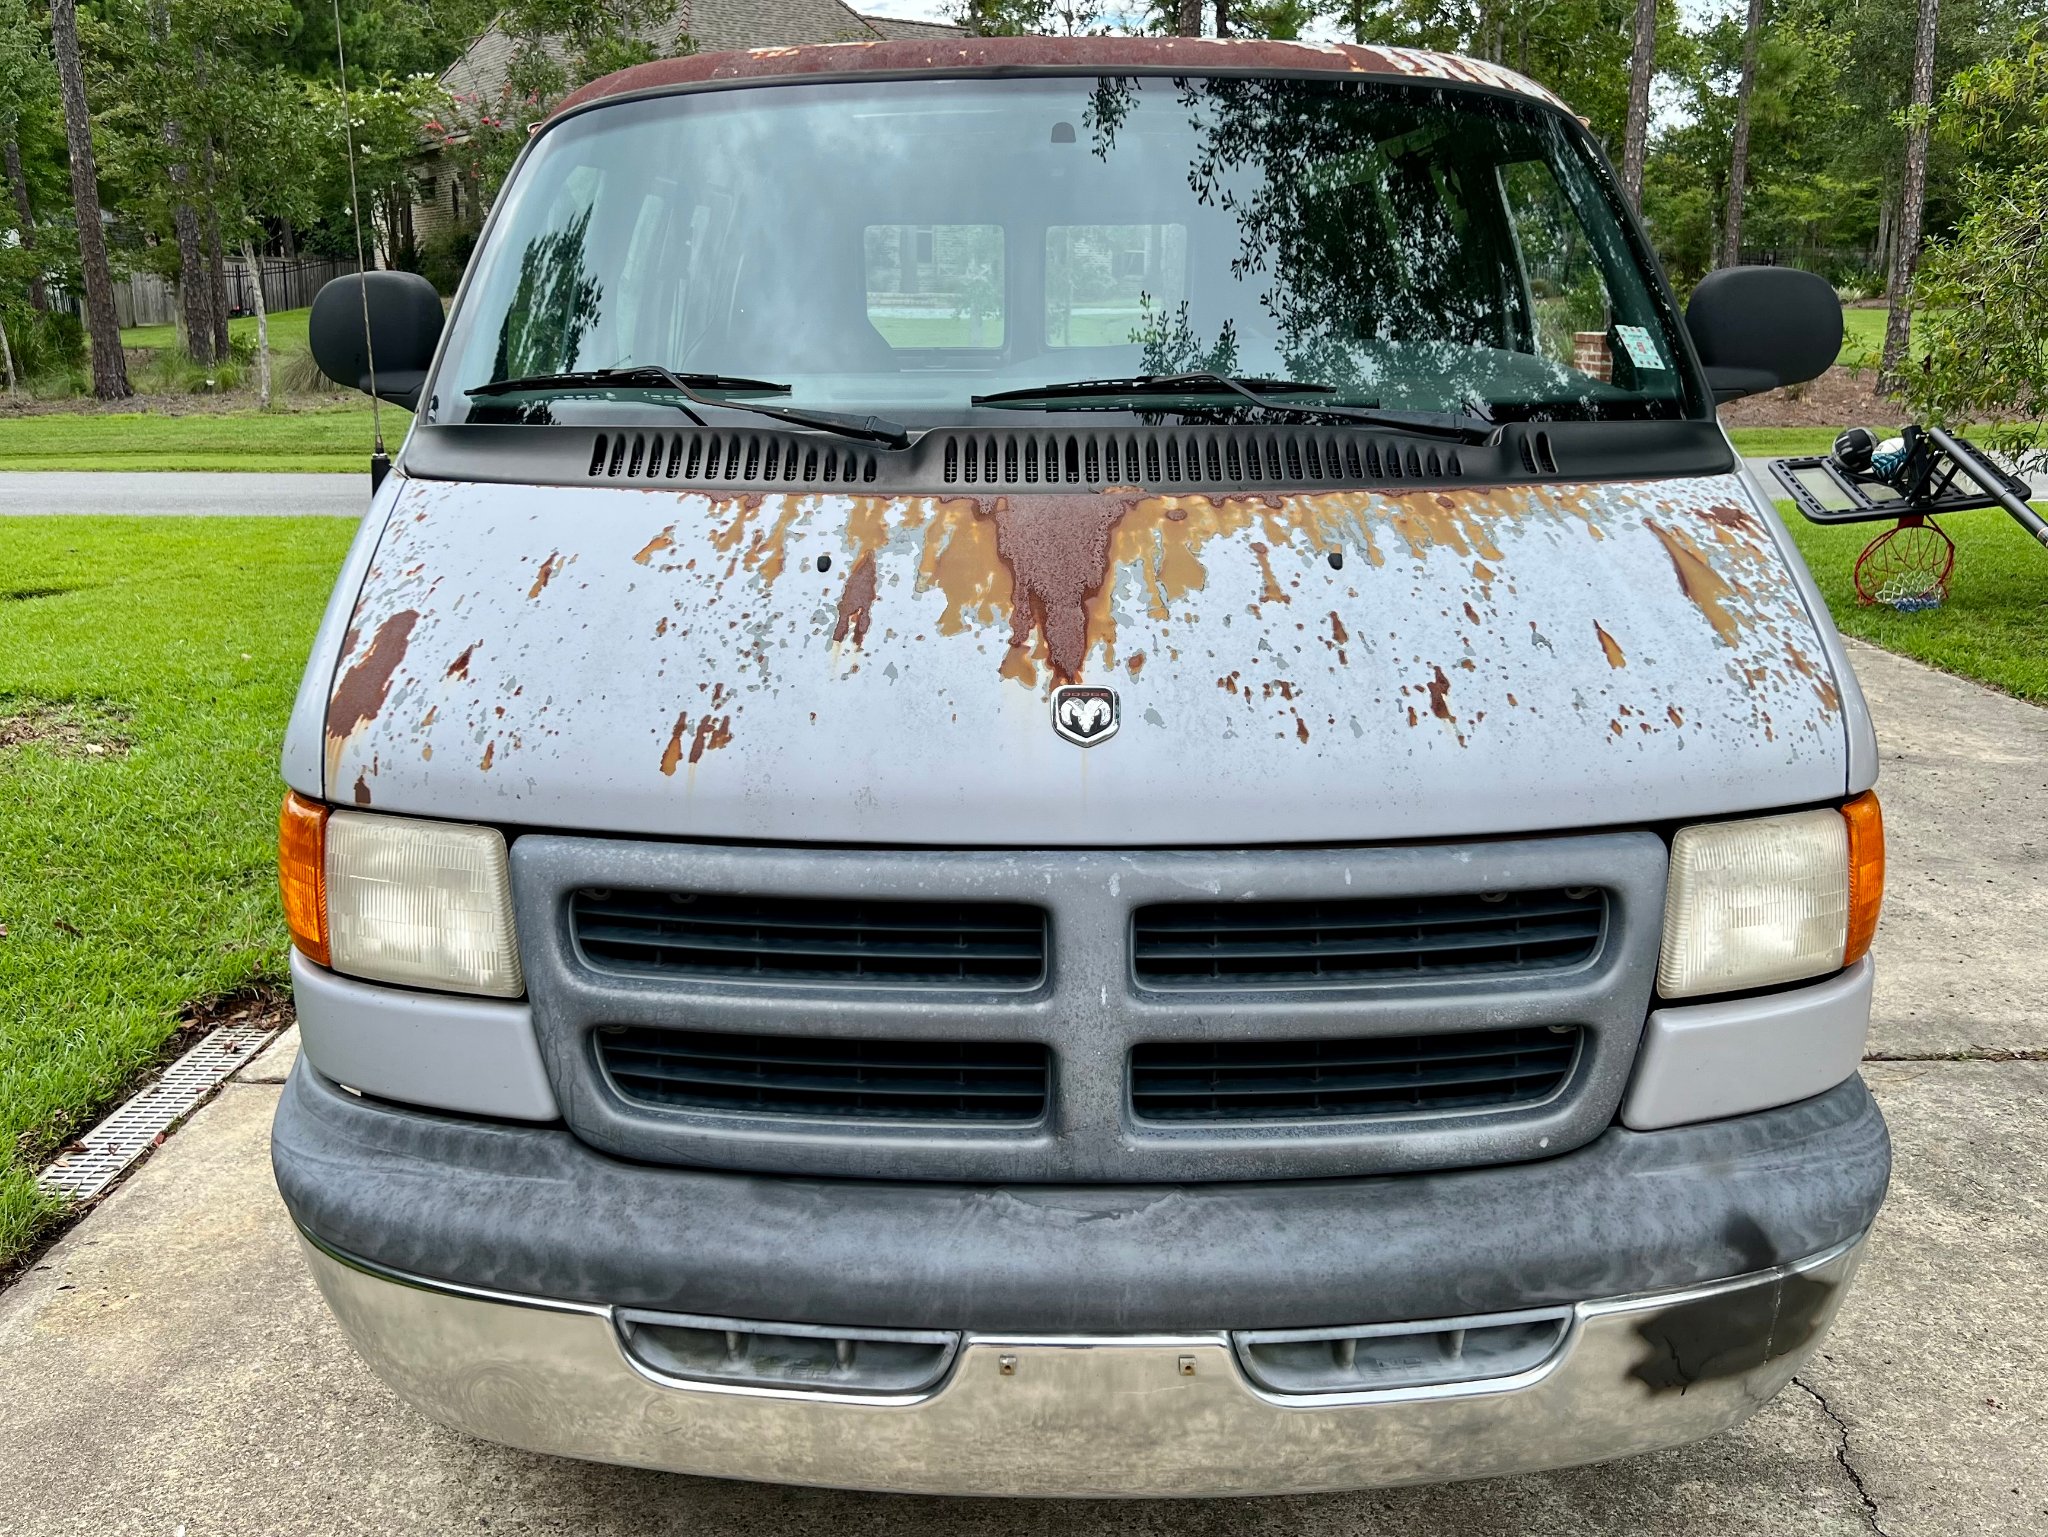
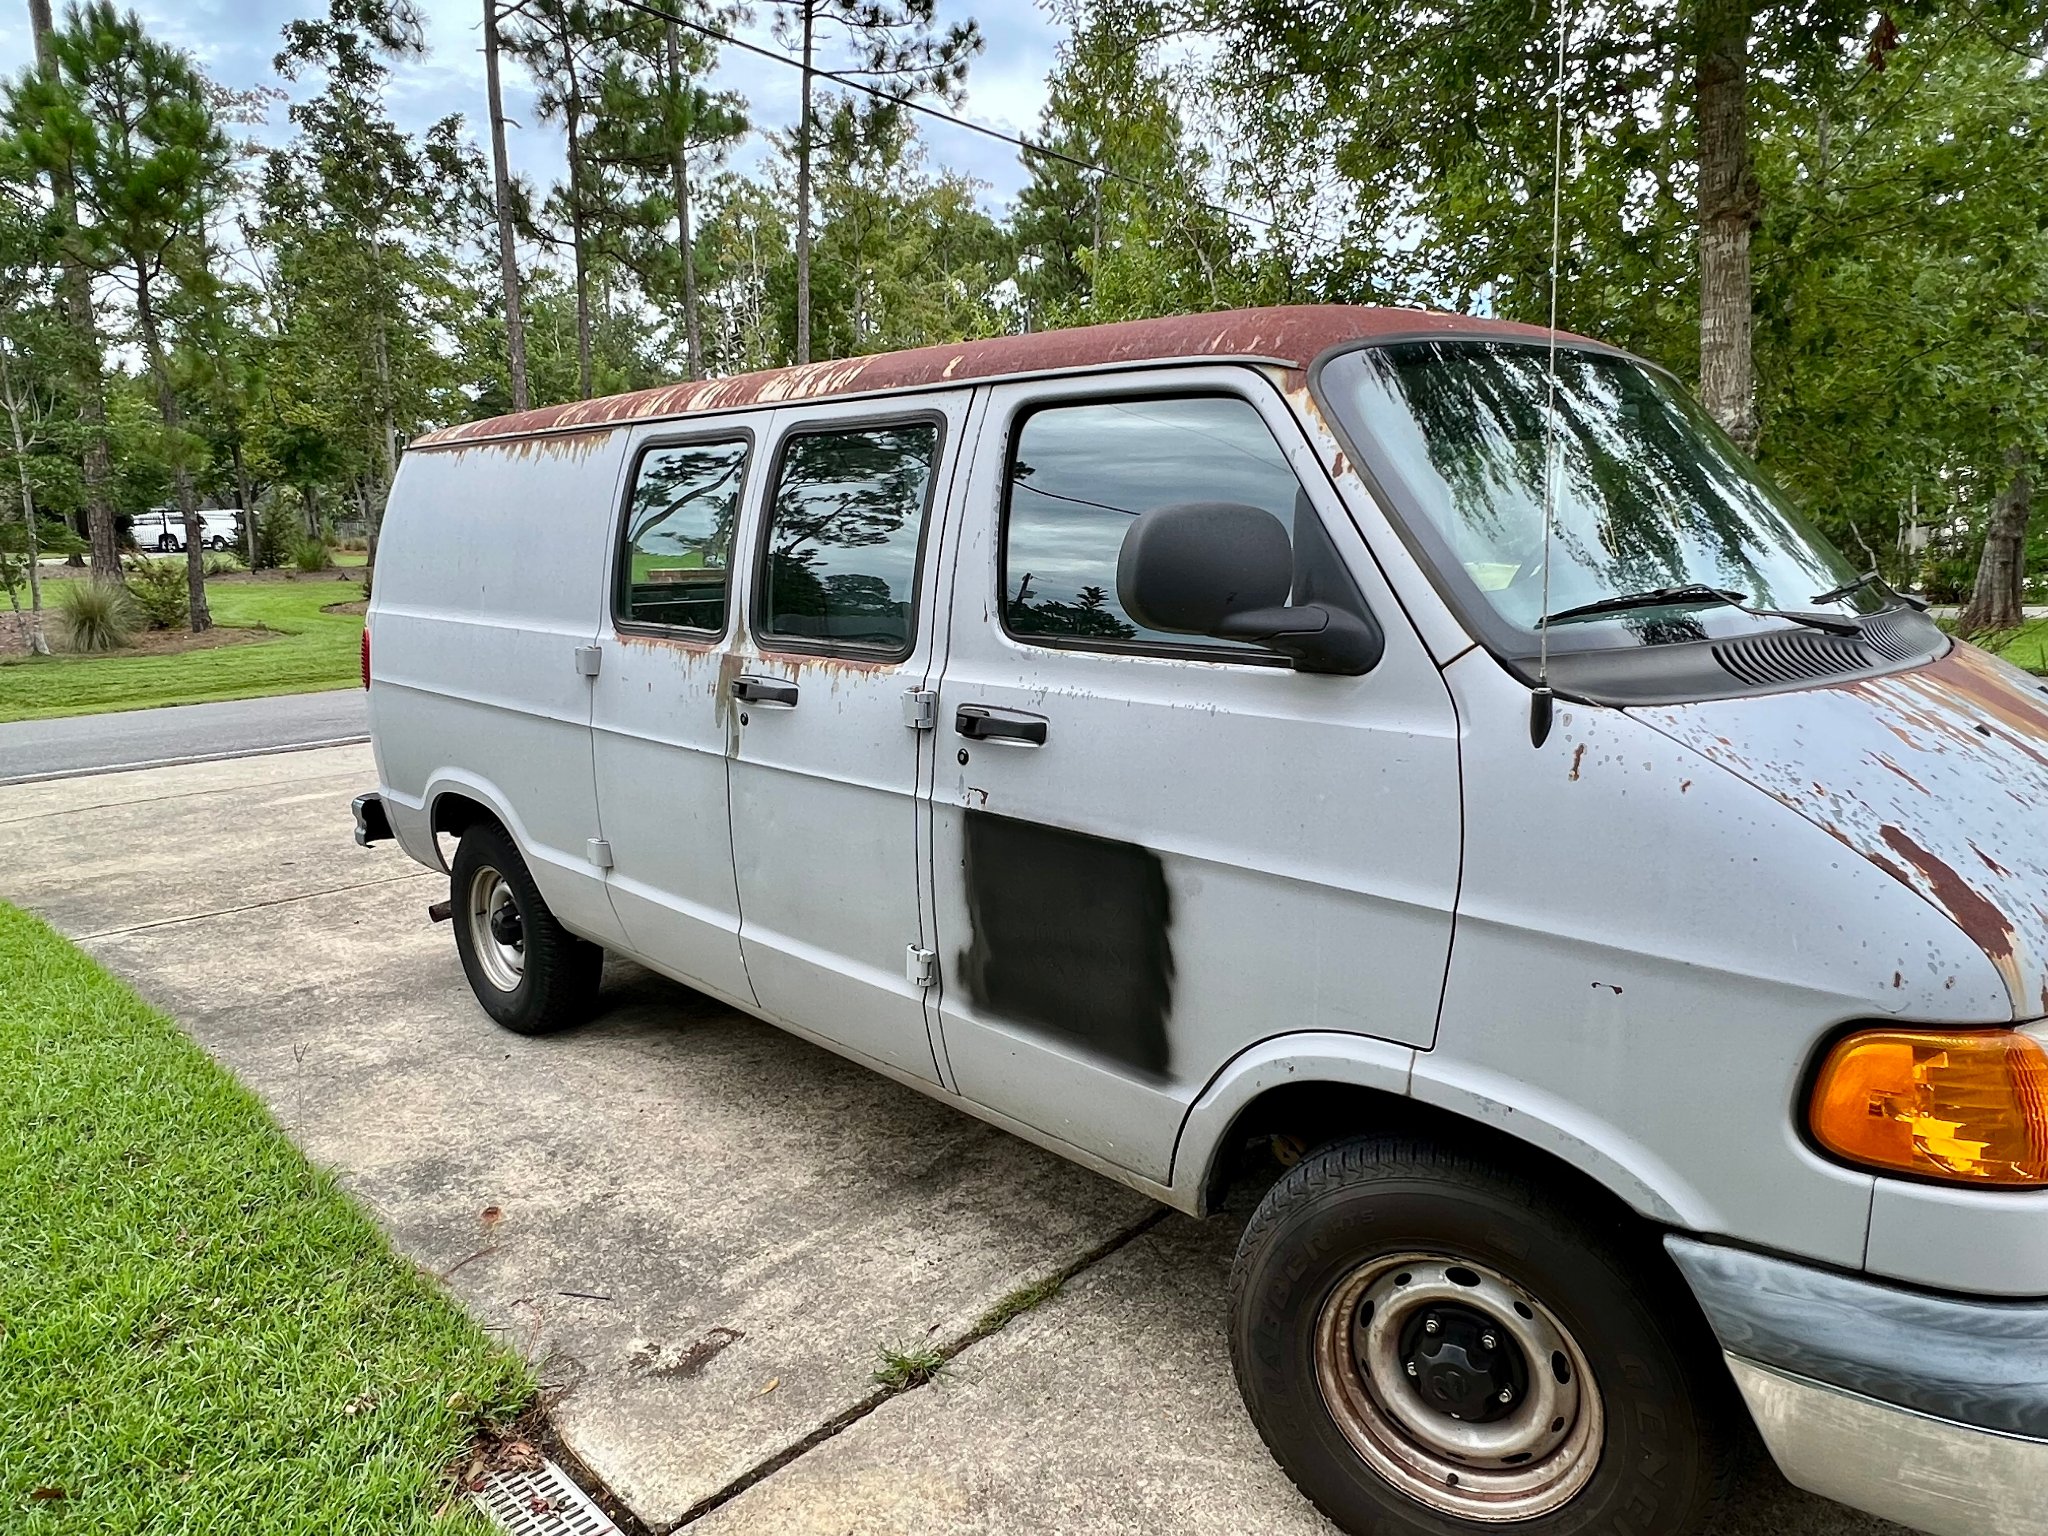
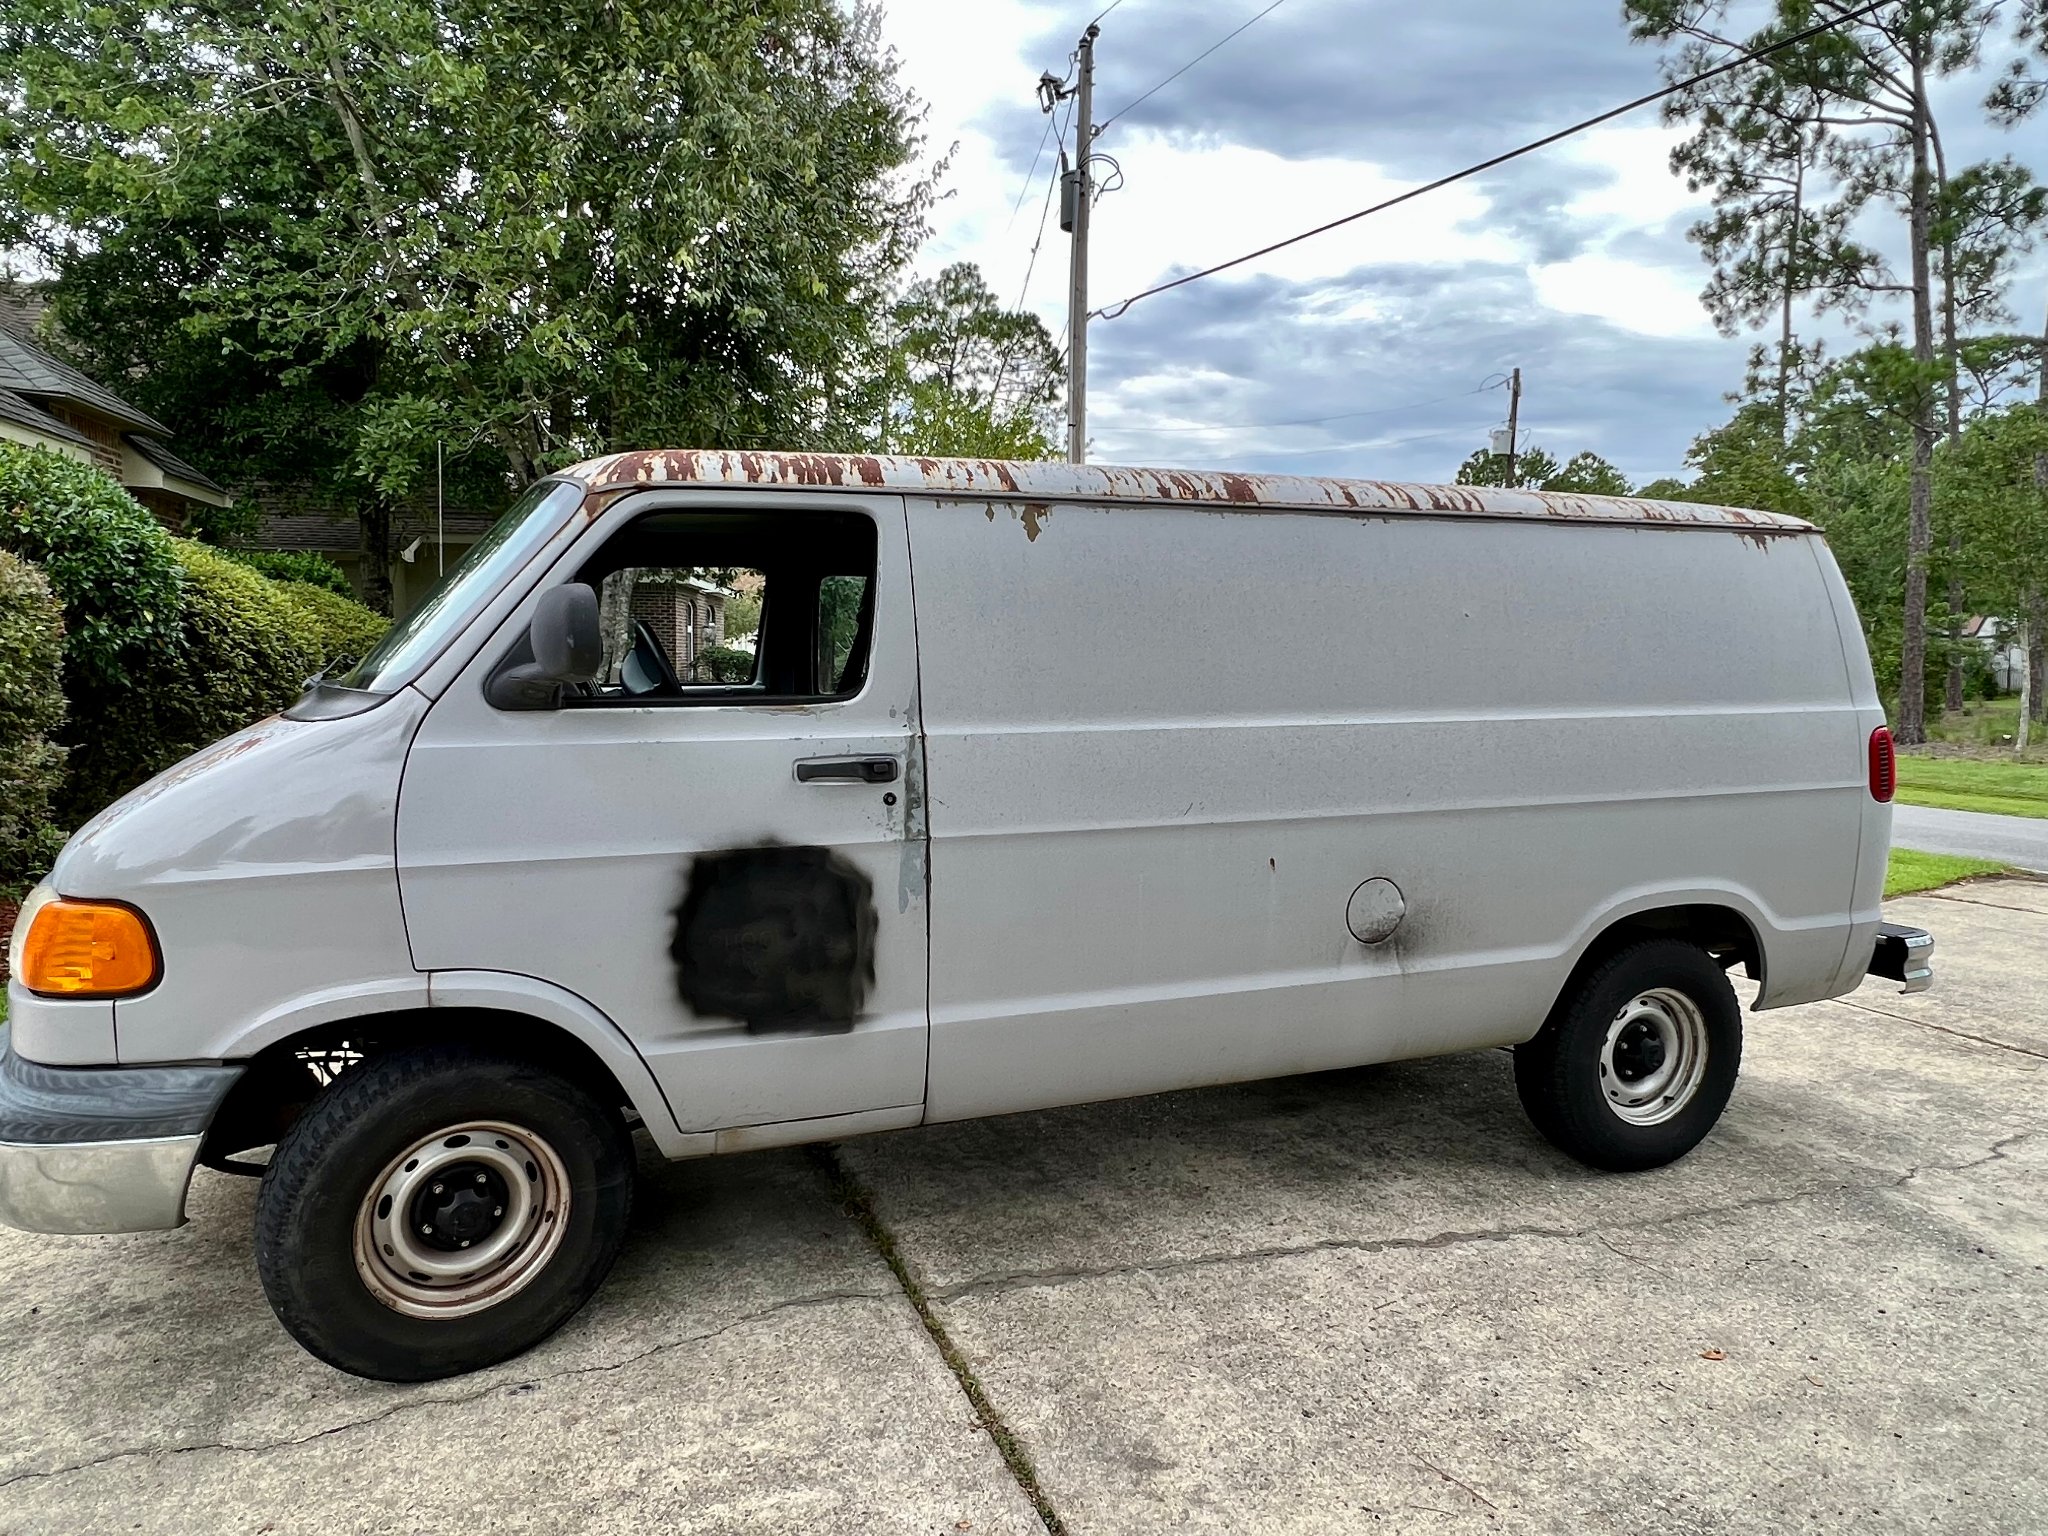
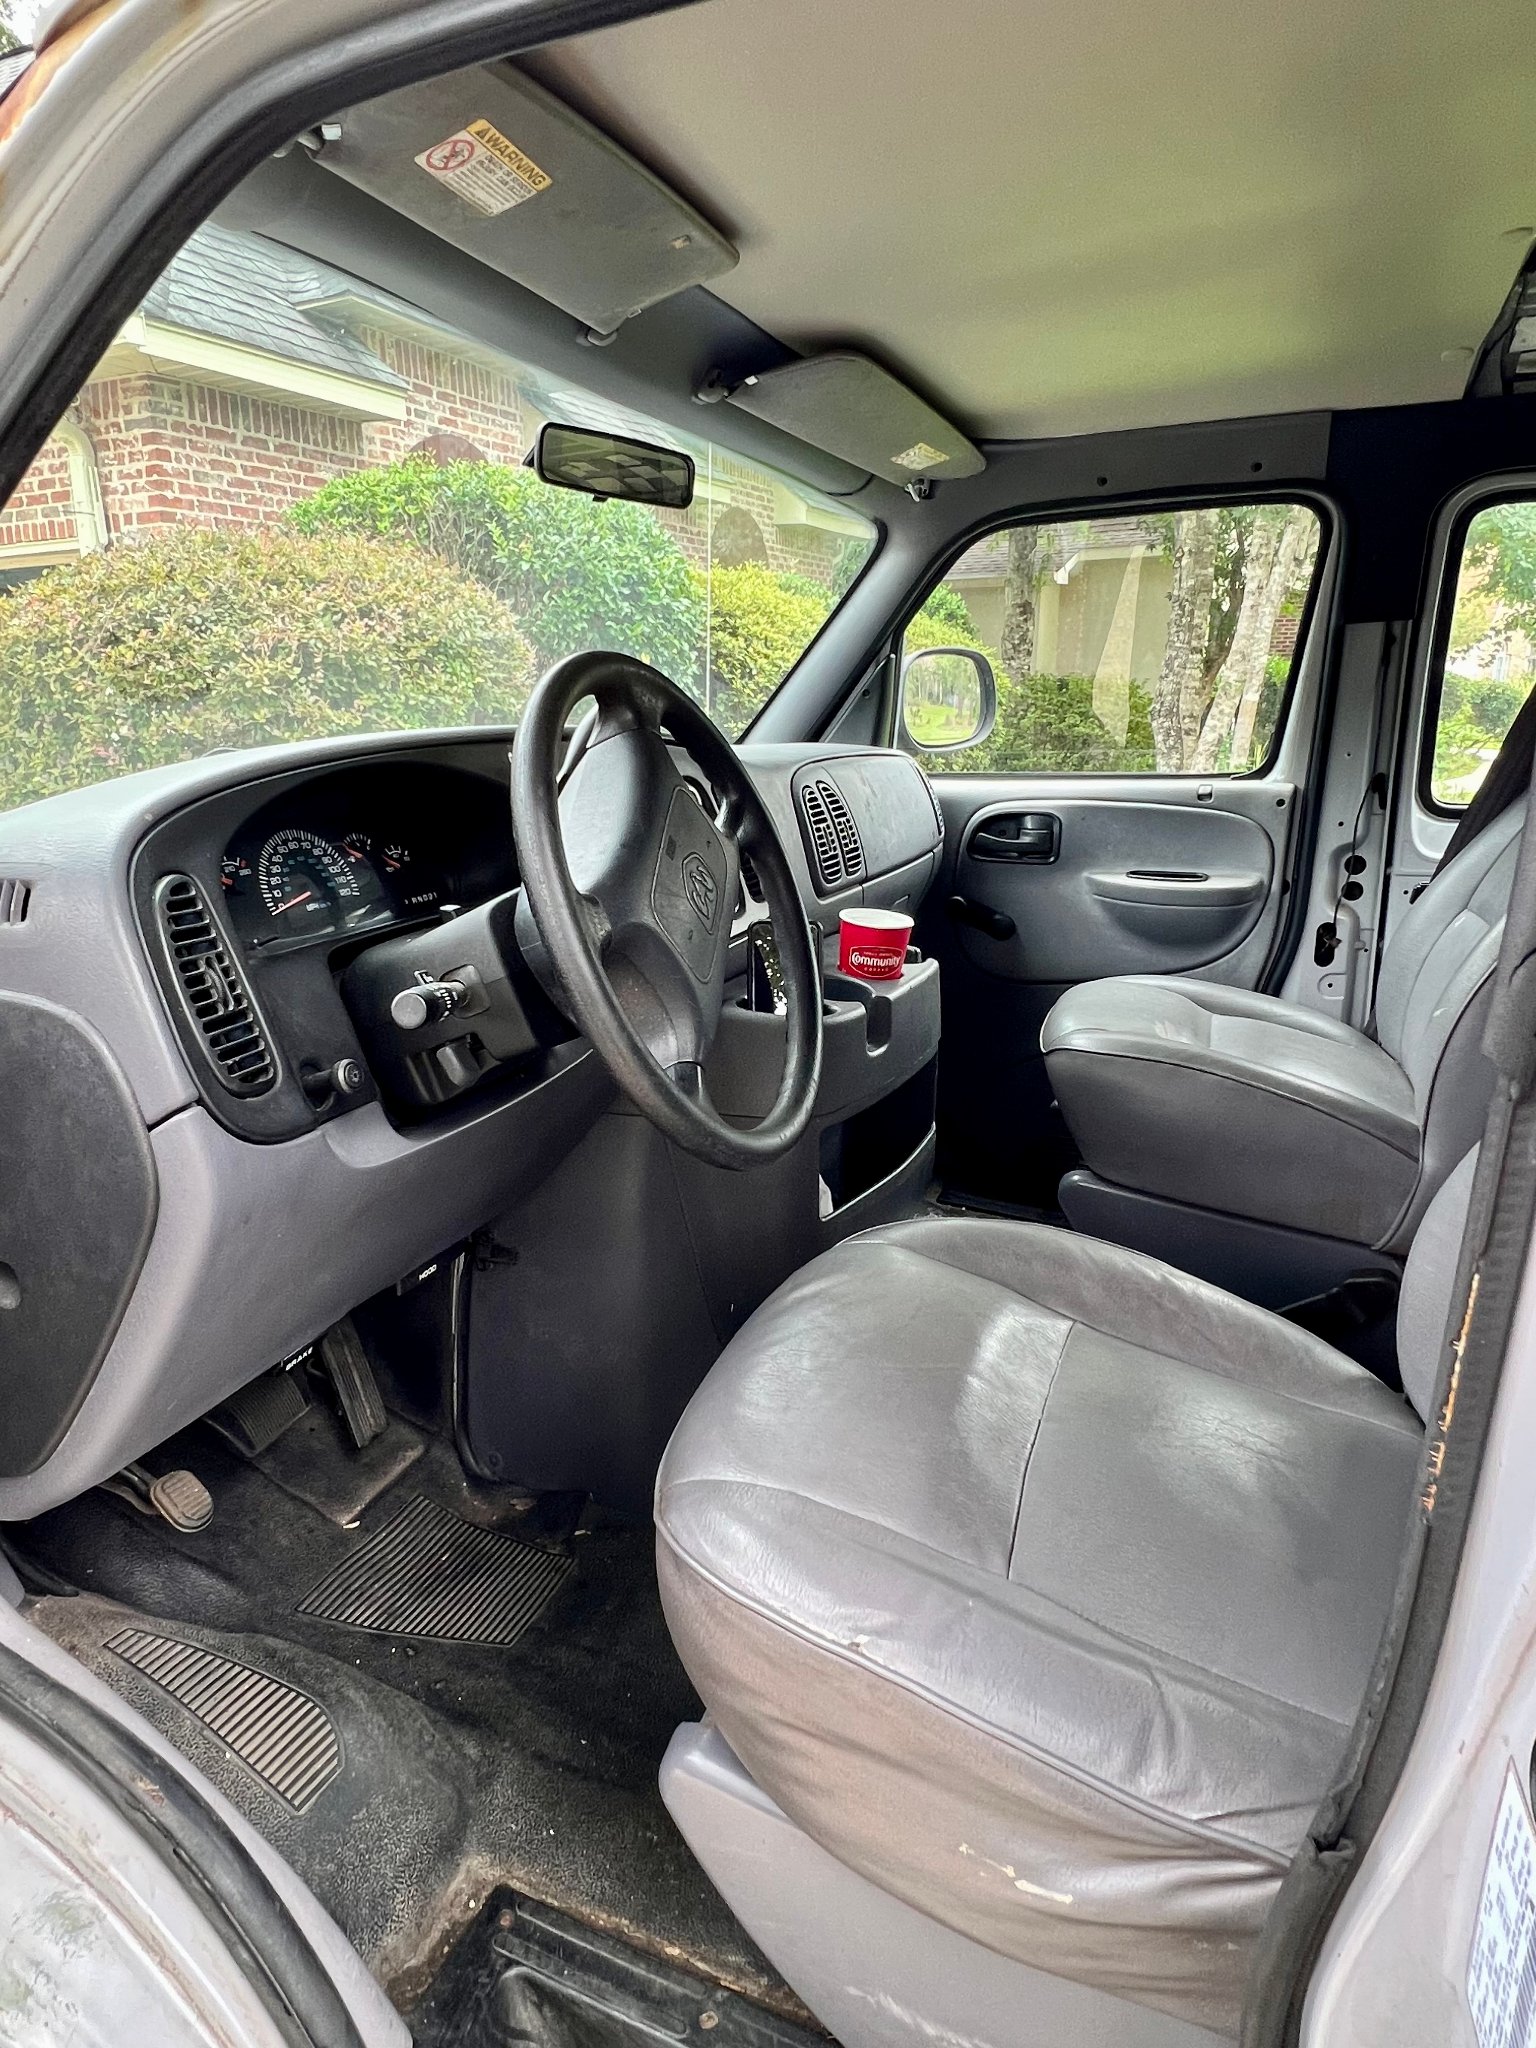
“A 2000 Dodge Ram 1500 Van with only 67K miles that I won from a government auction (was a Ocean Springs School District Child Nutrition Division van) for pretty cheap. Now, she looks a bit worse for the wear, but the rust is all surface, so with a new paint job, changing out the fluids, new tires, and other general mechanical things, she’ll look brand new.
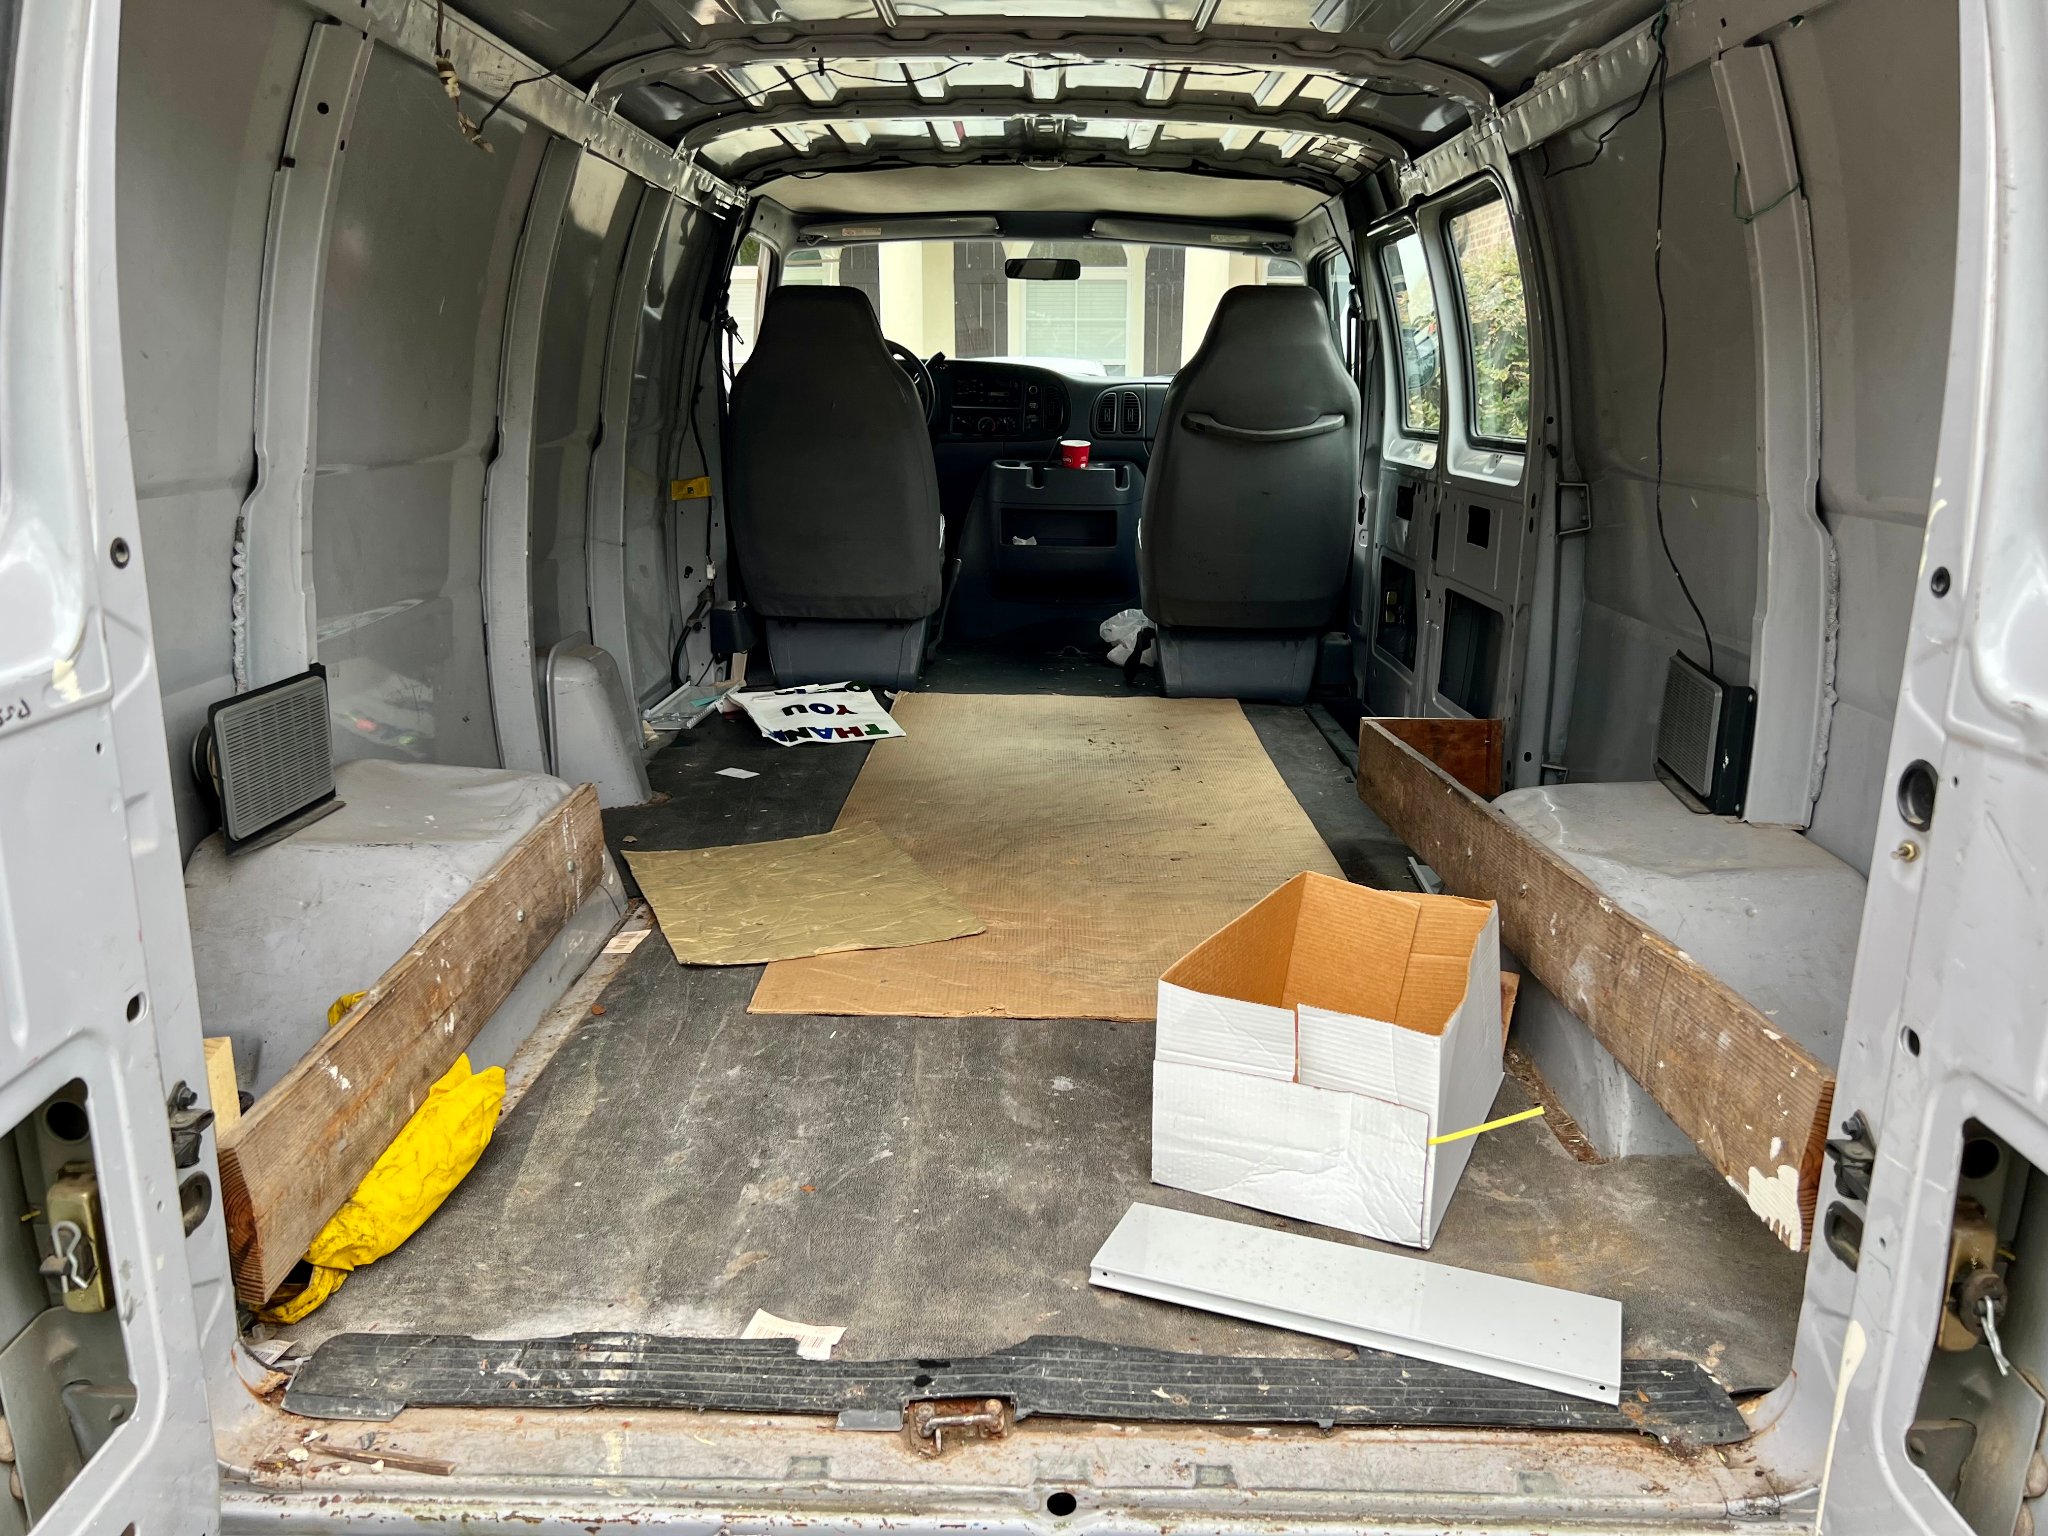
I wanted to get a van to ultimately have an adventure vehicle, especially in my upcoming retired life. Something that can be boon-docked for camping, carrying stuff, road tripping, and would have less of a likelihood of getting stolen or broken into while parked for a while compared to my BMV (which is not quite the adventure touring car anyways) and something smaller and more manageable than our RV, Sheila.
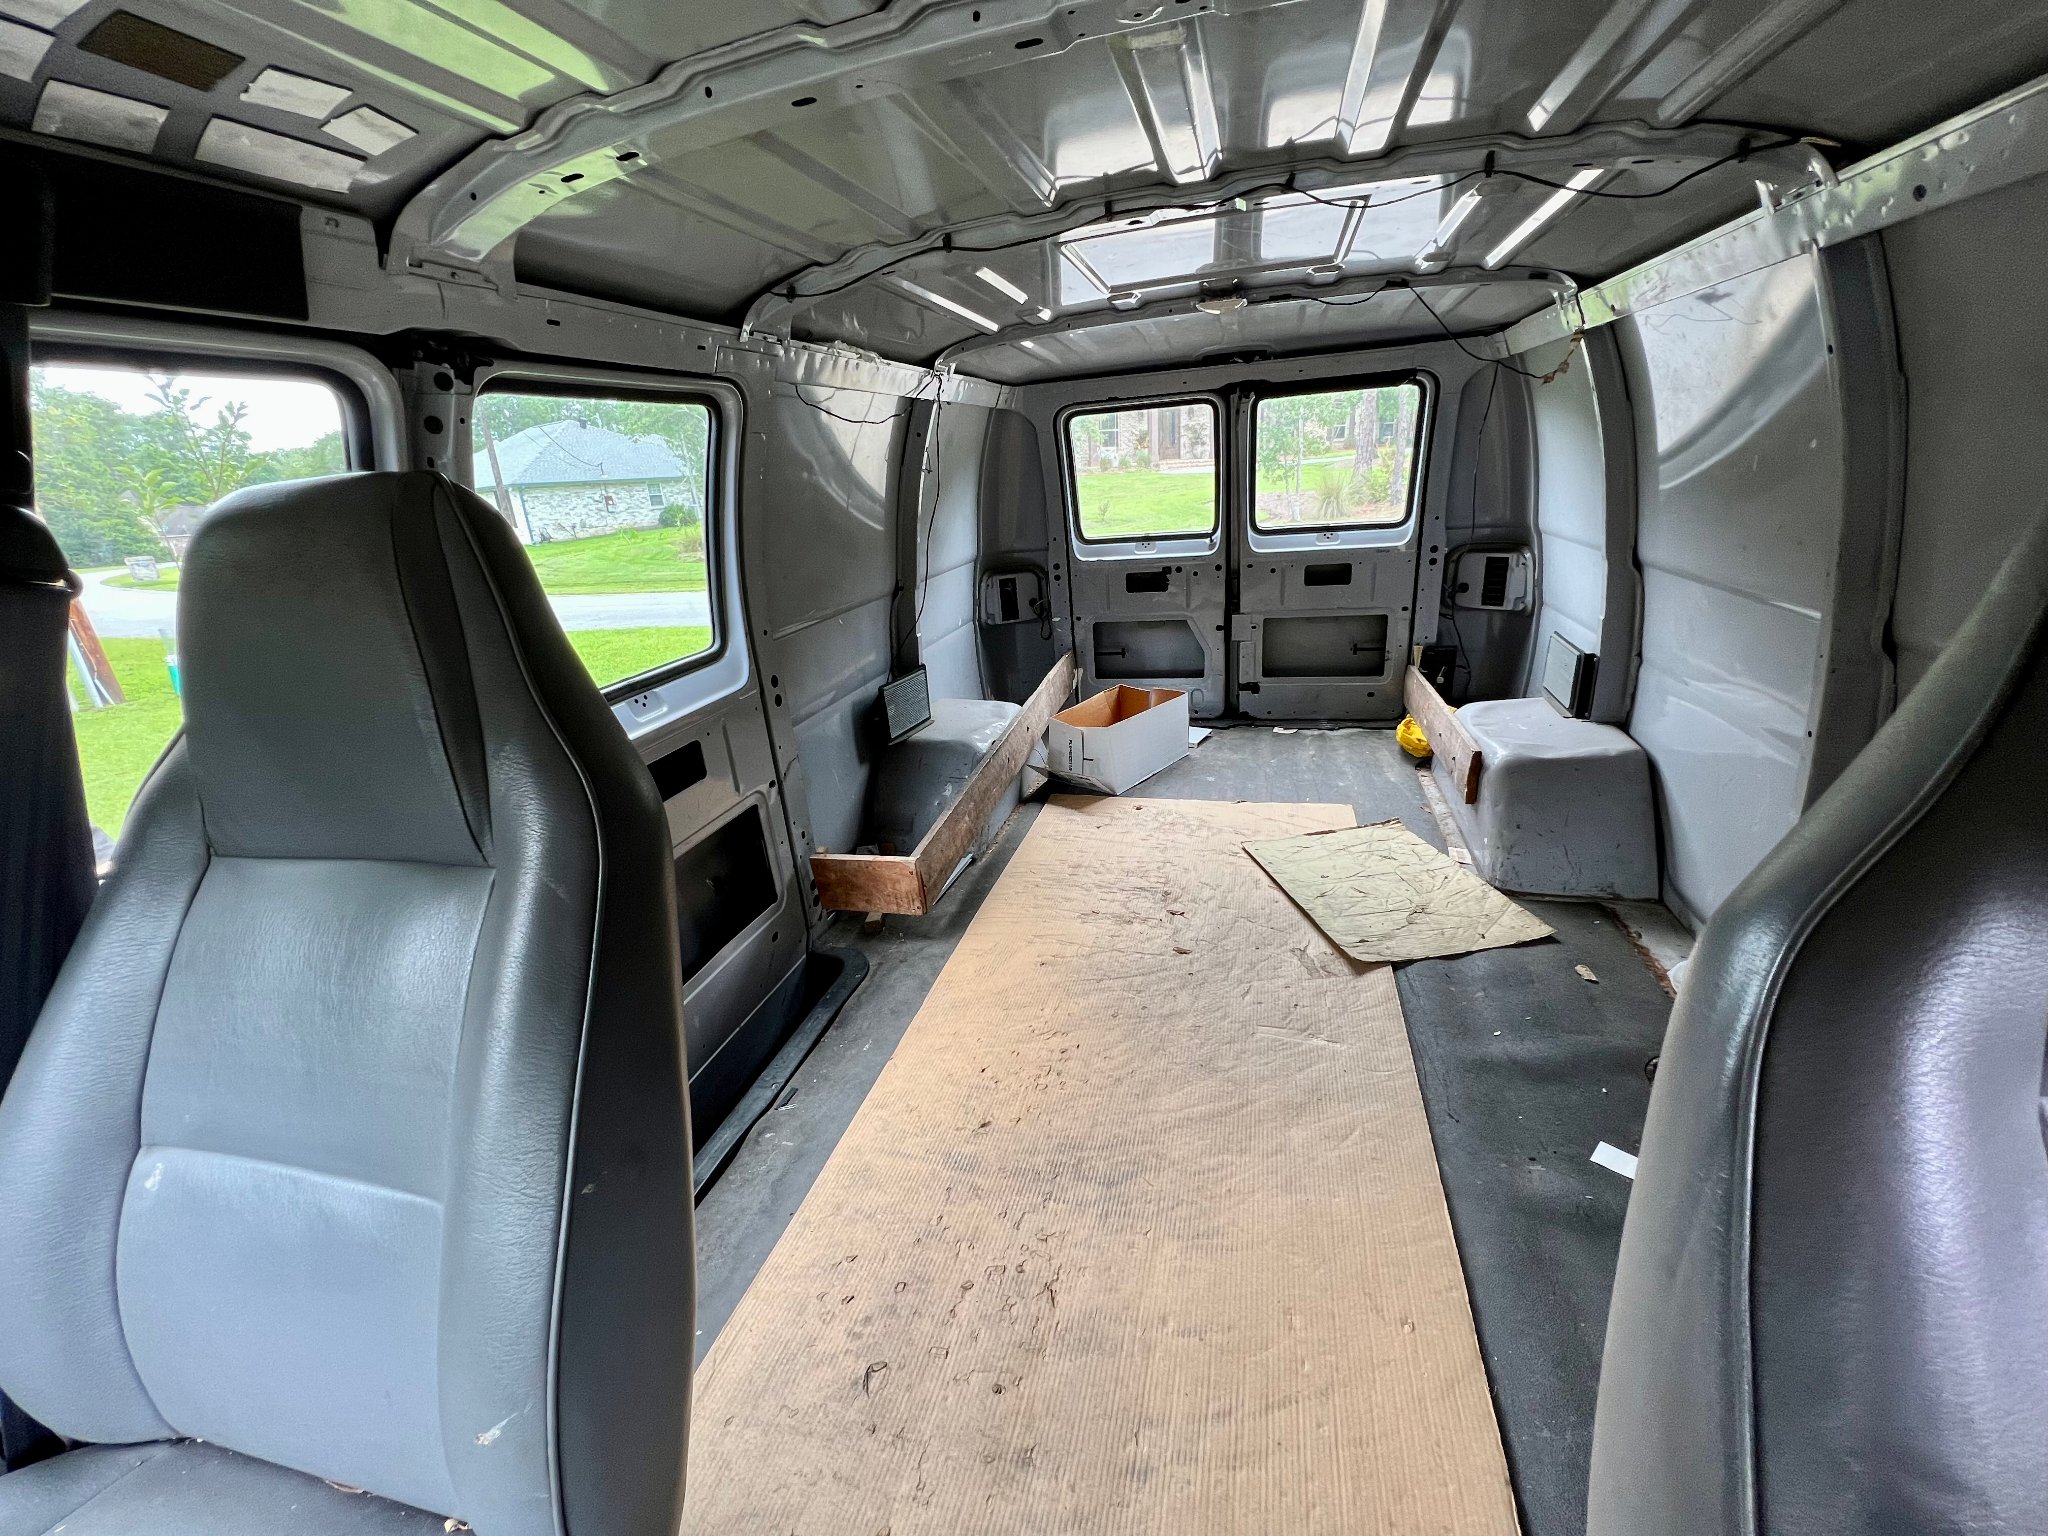
Anyways, excited to start working on this project and I’m going to be documenting it along the way as we transform it from this is a #VanLife van.”