Van Life – Rehabbing a rusty 22 year old Dodge Ram 1500 Van, Part 11 of Many

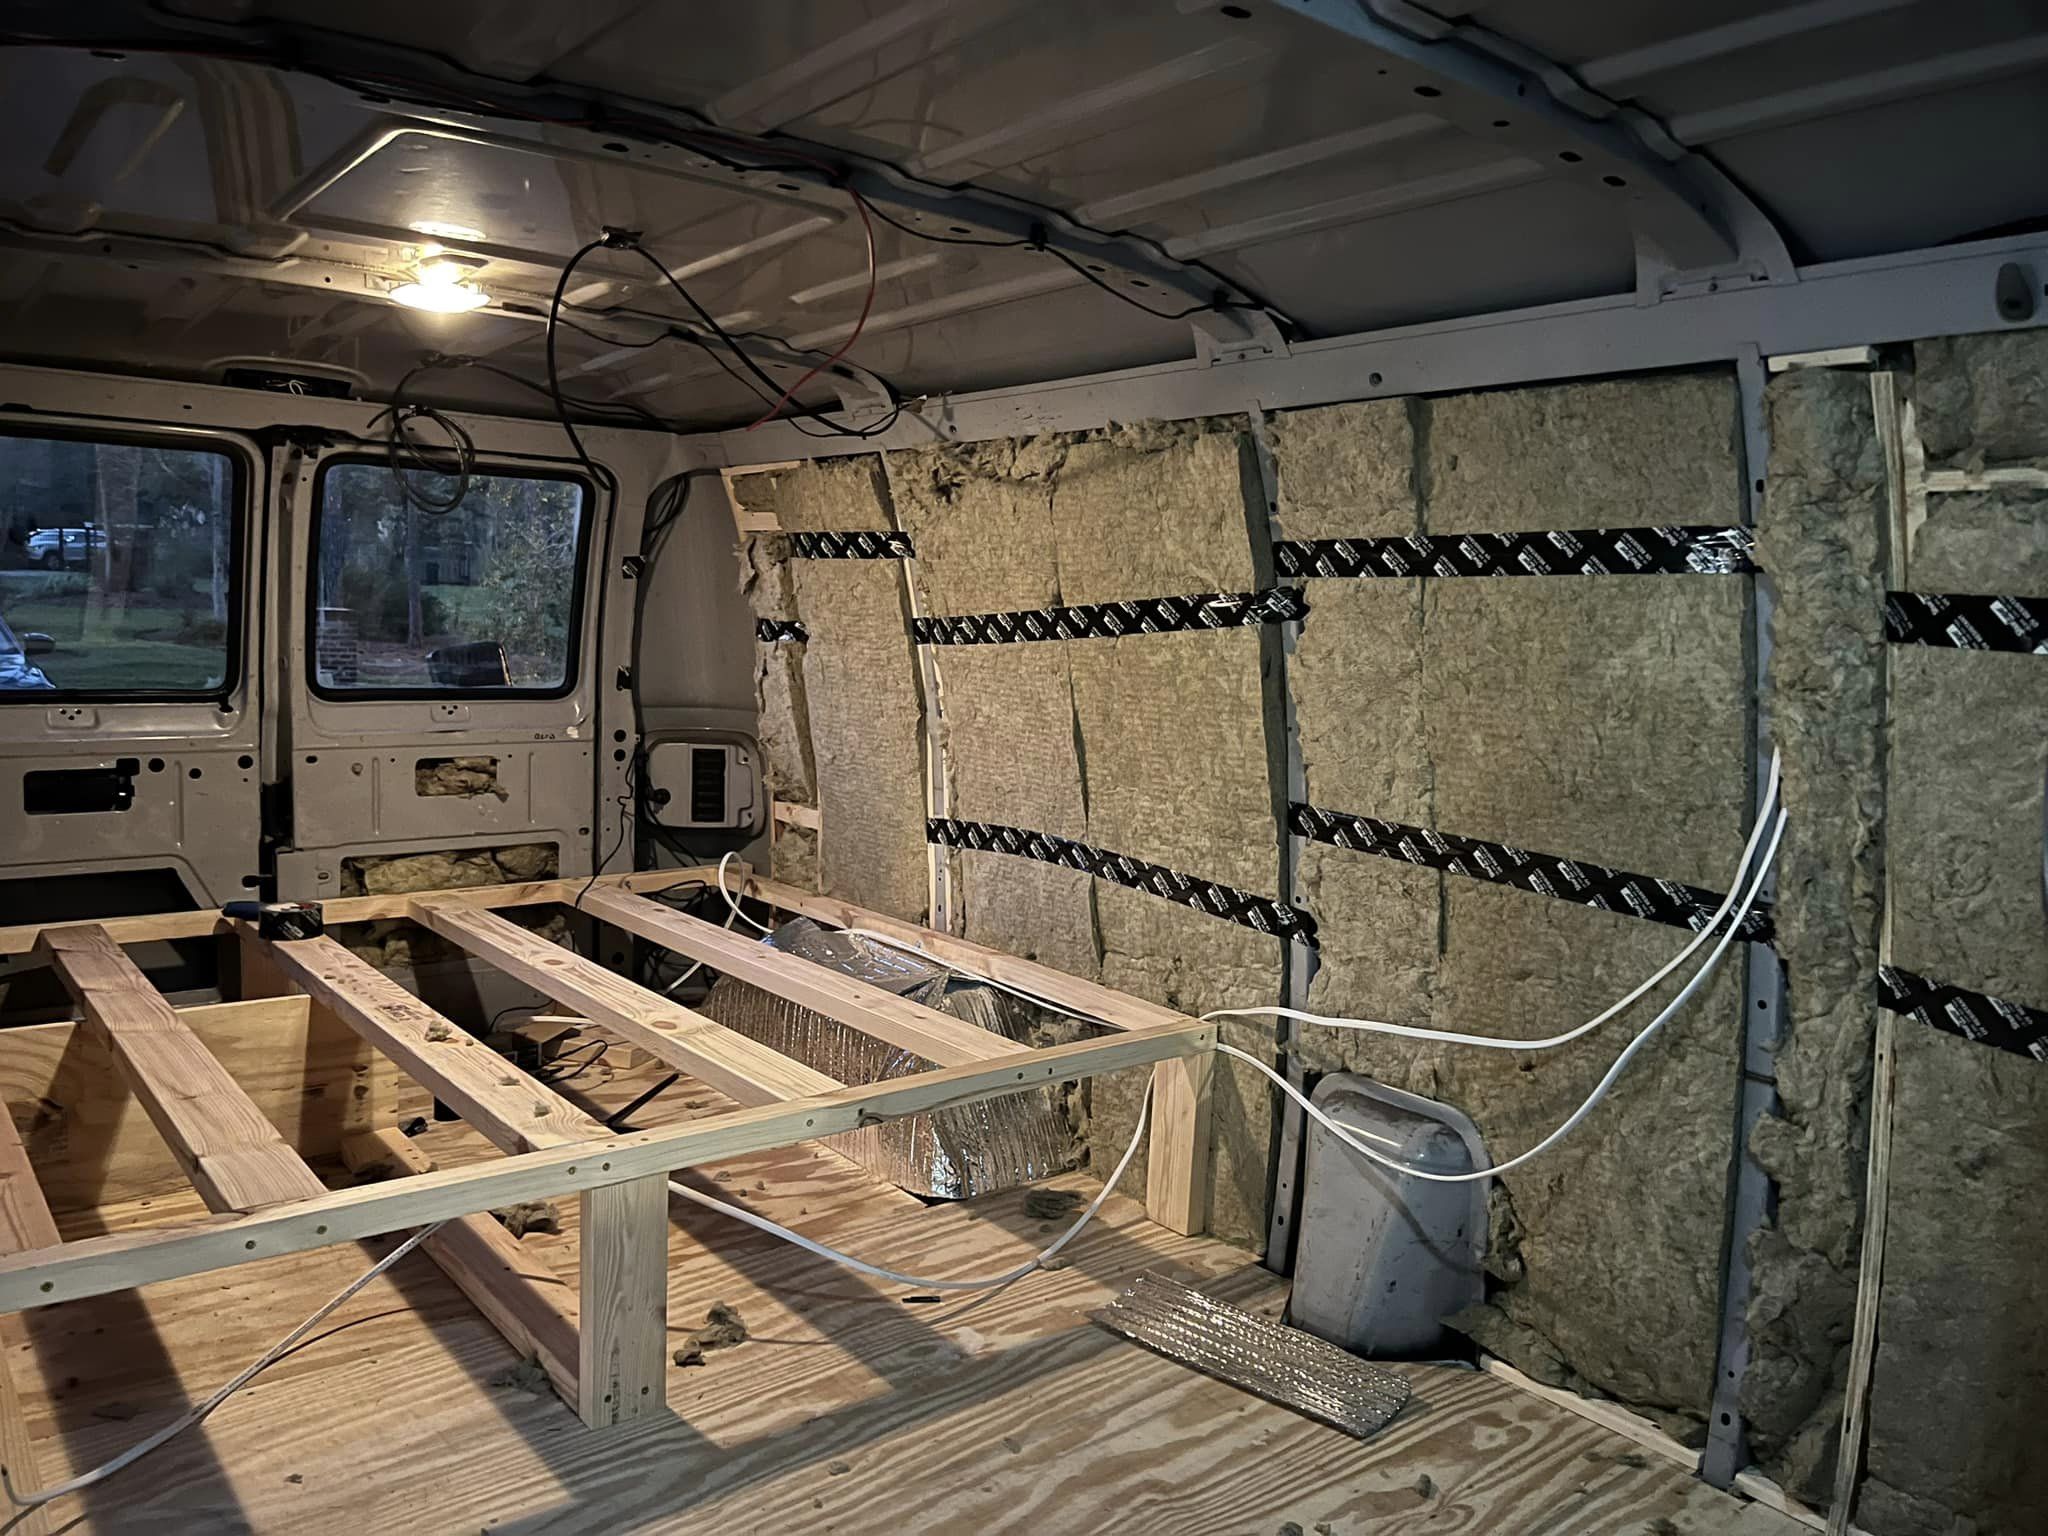
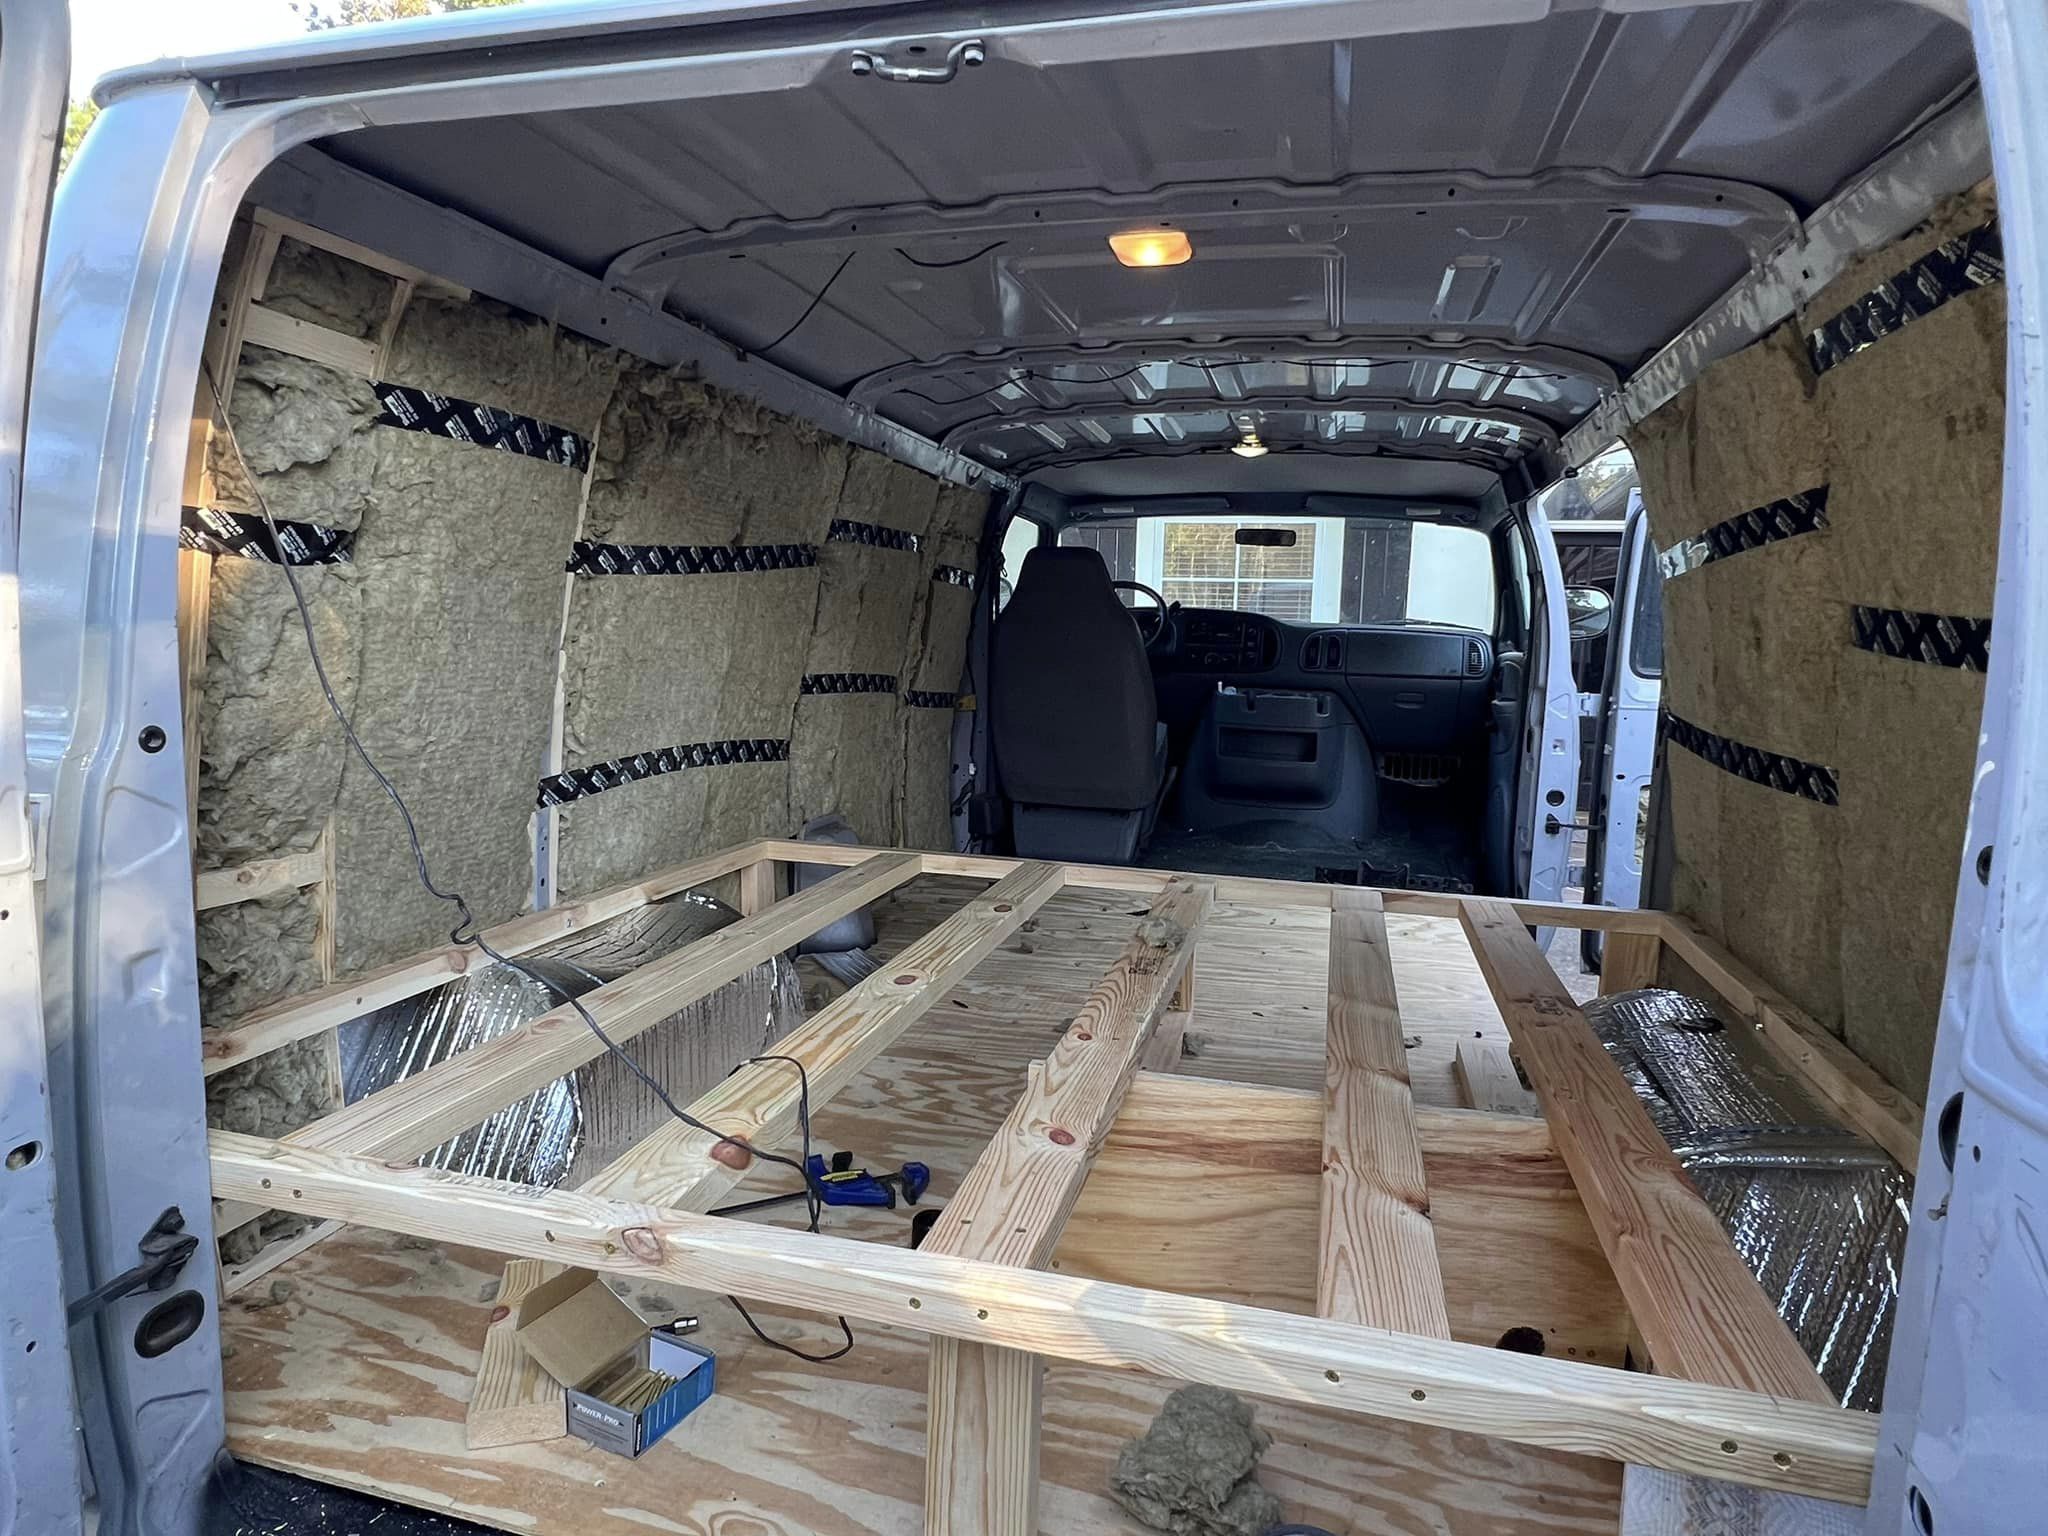
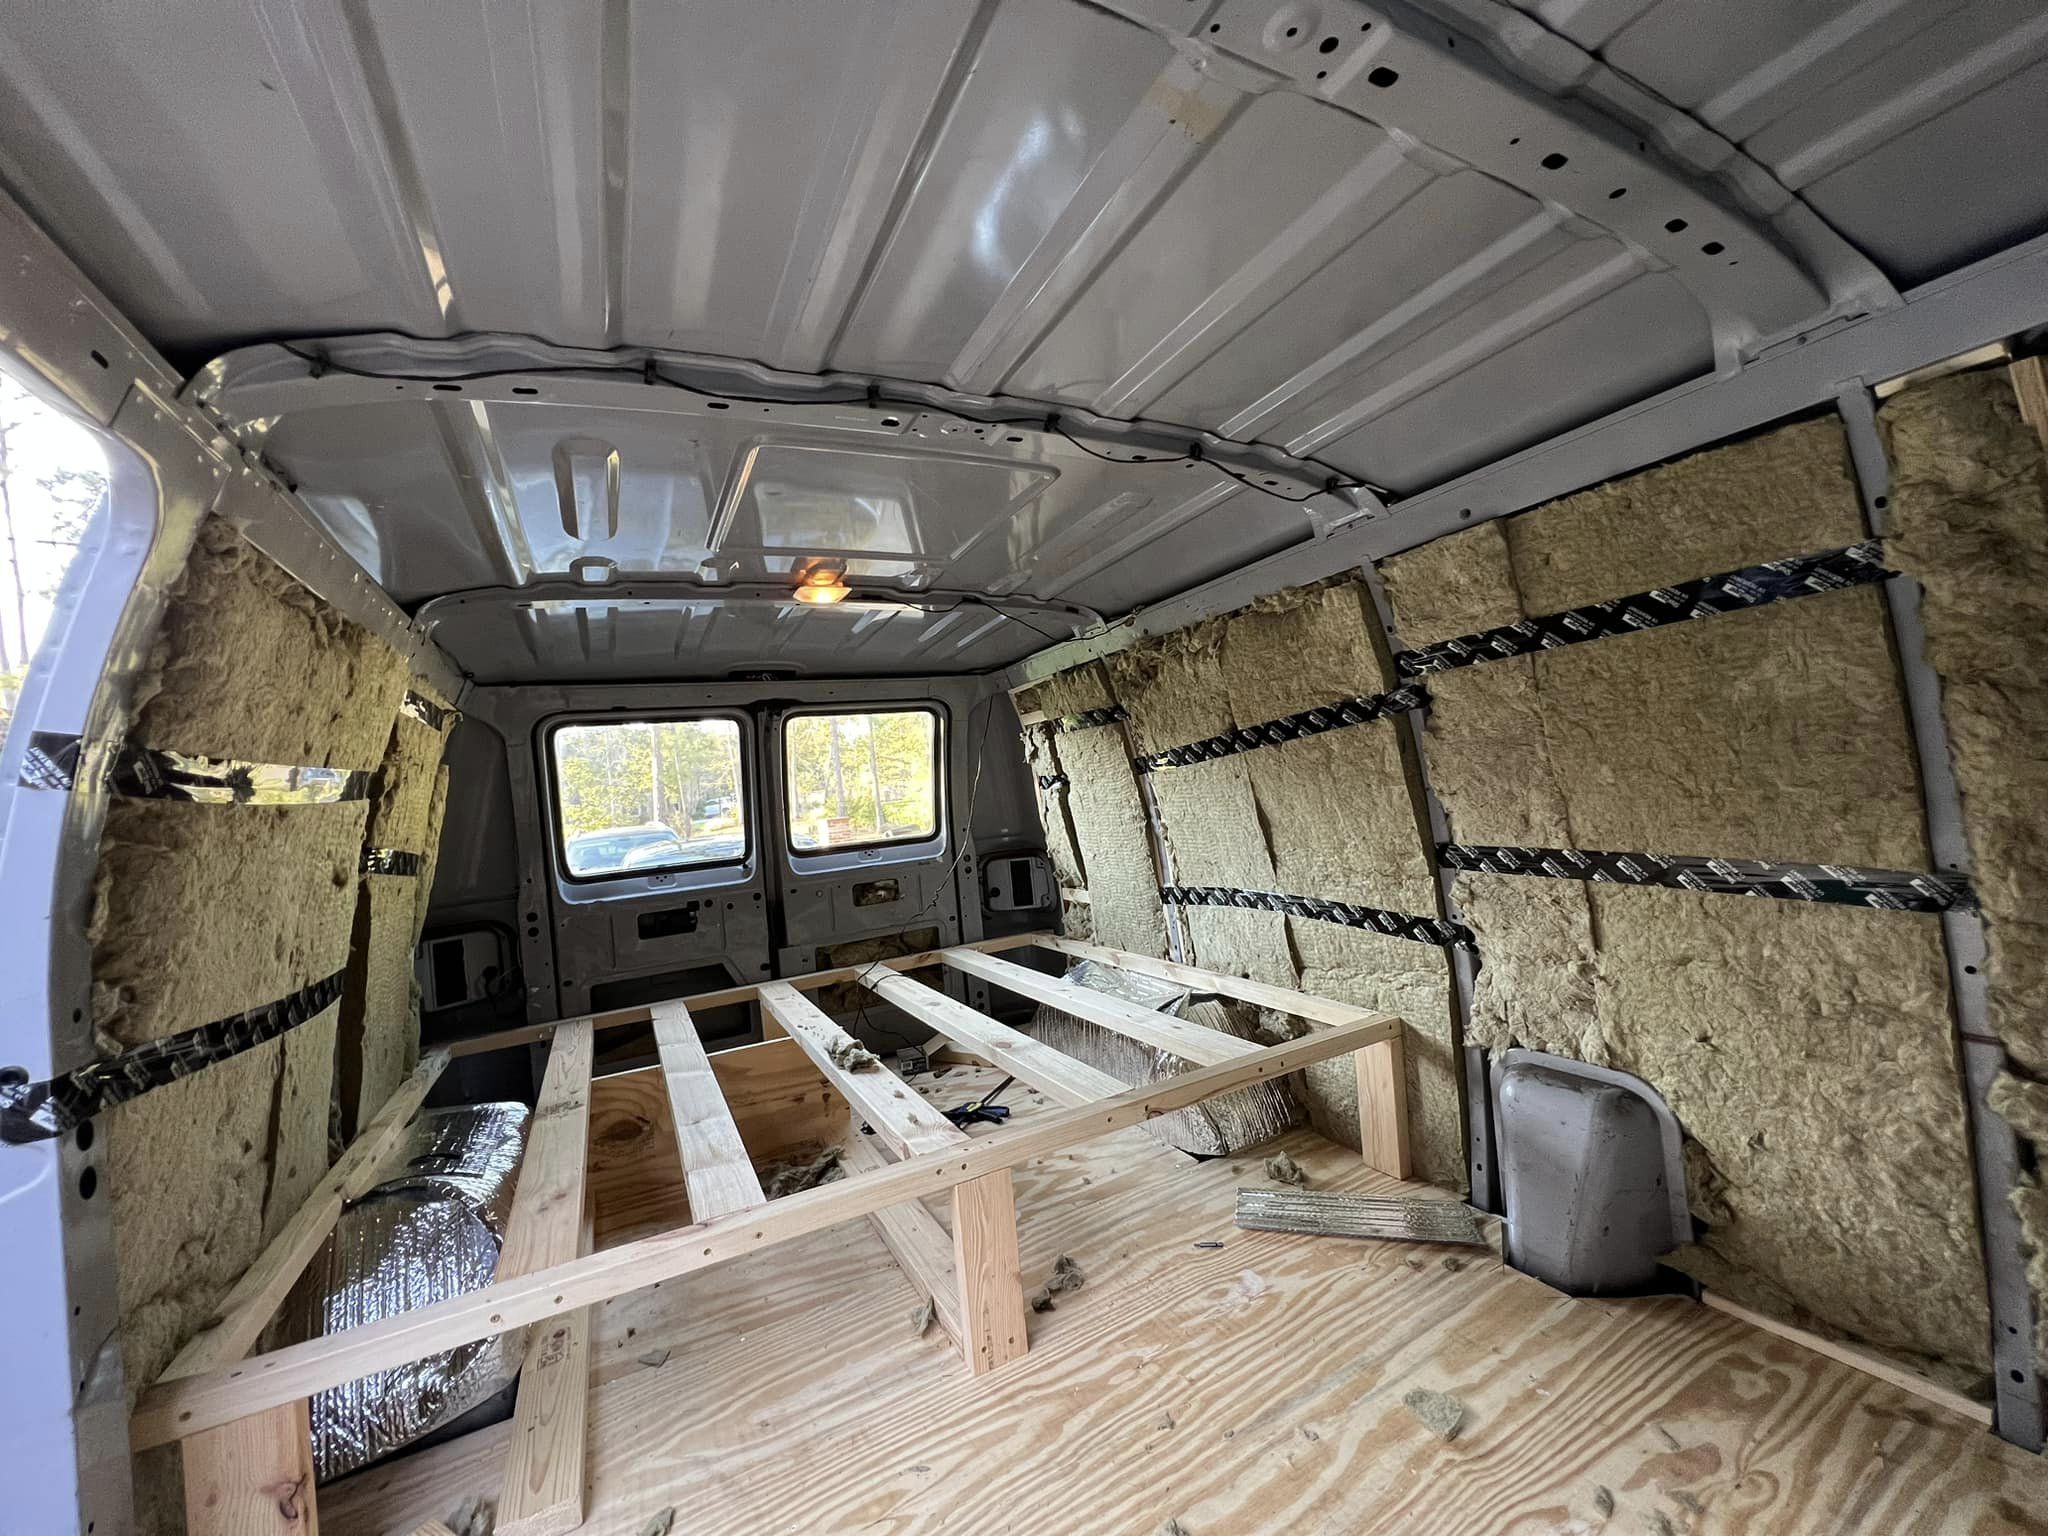
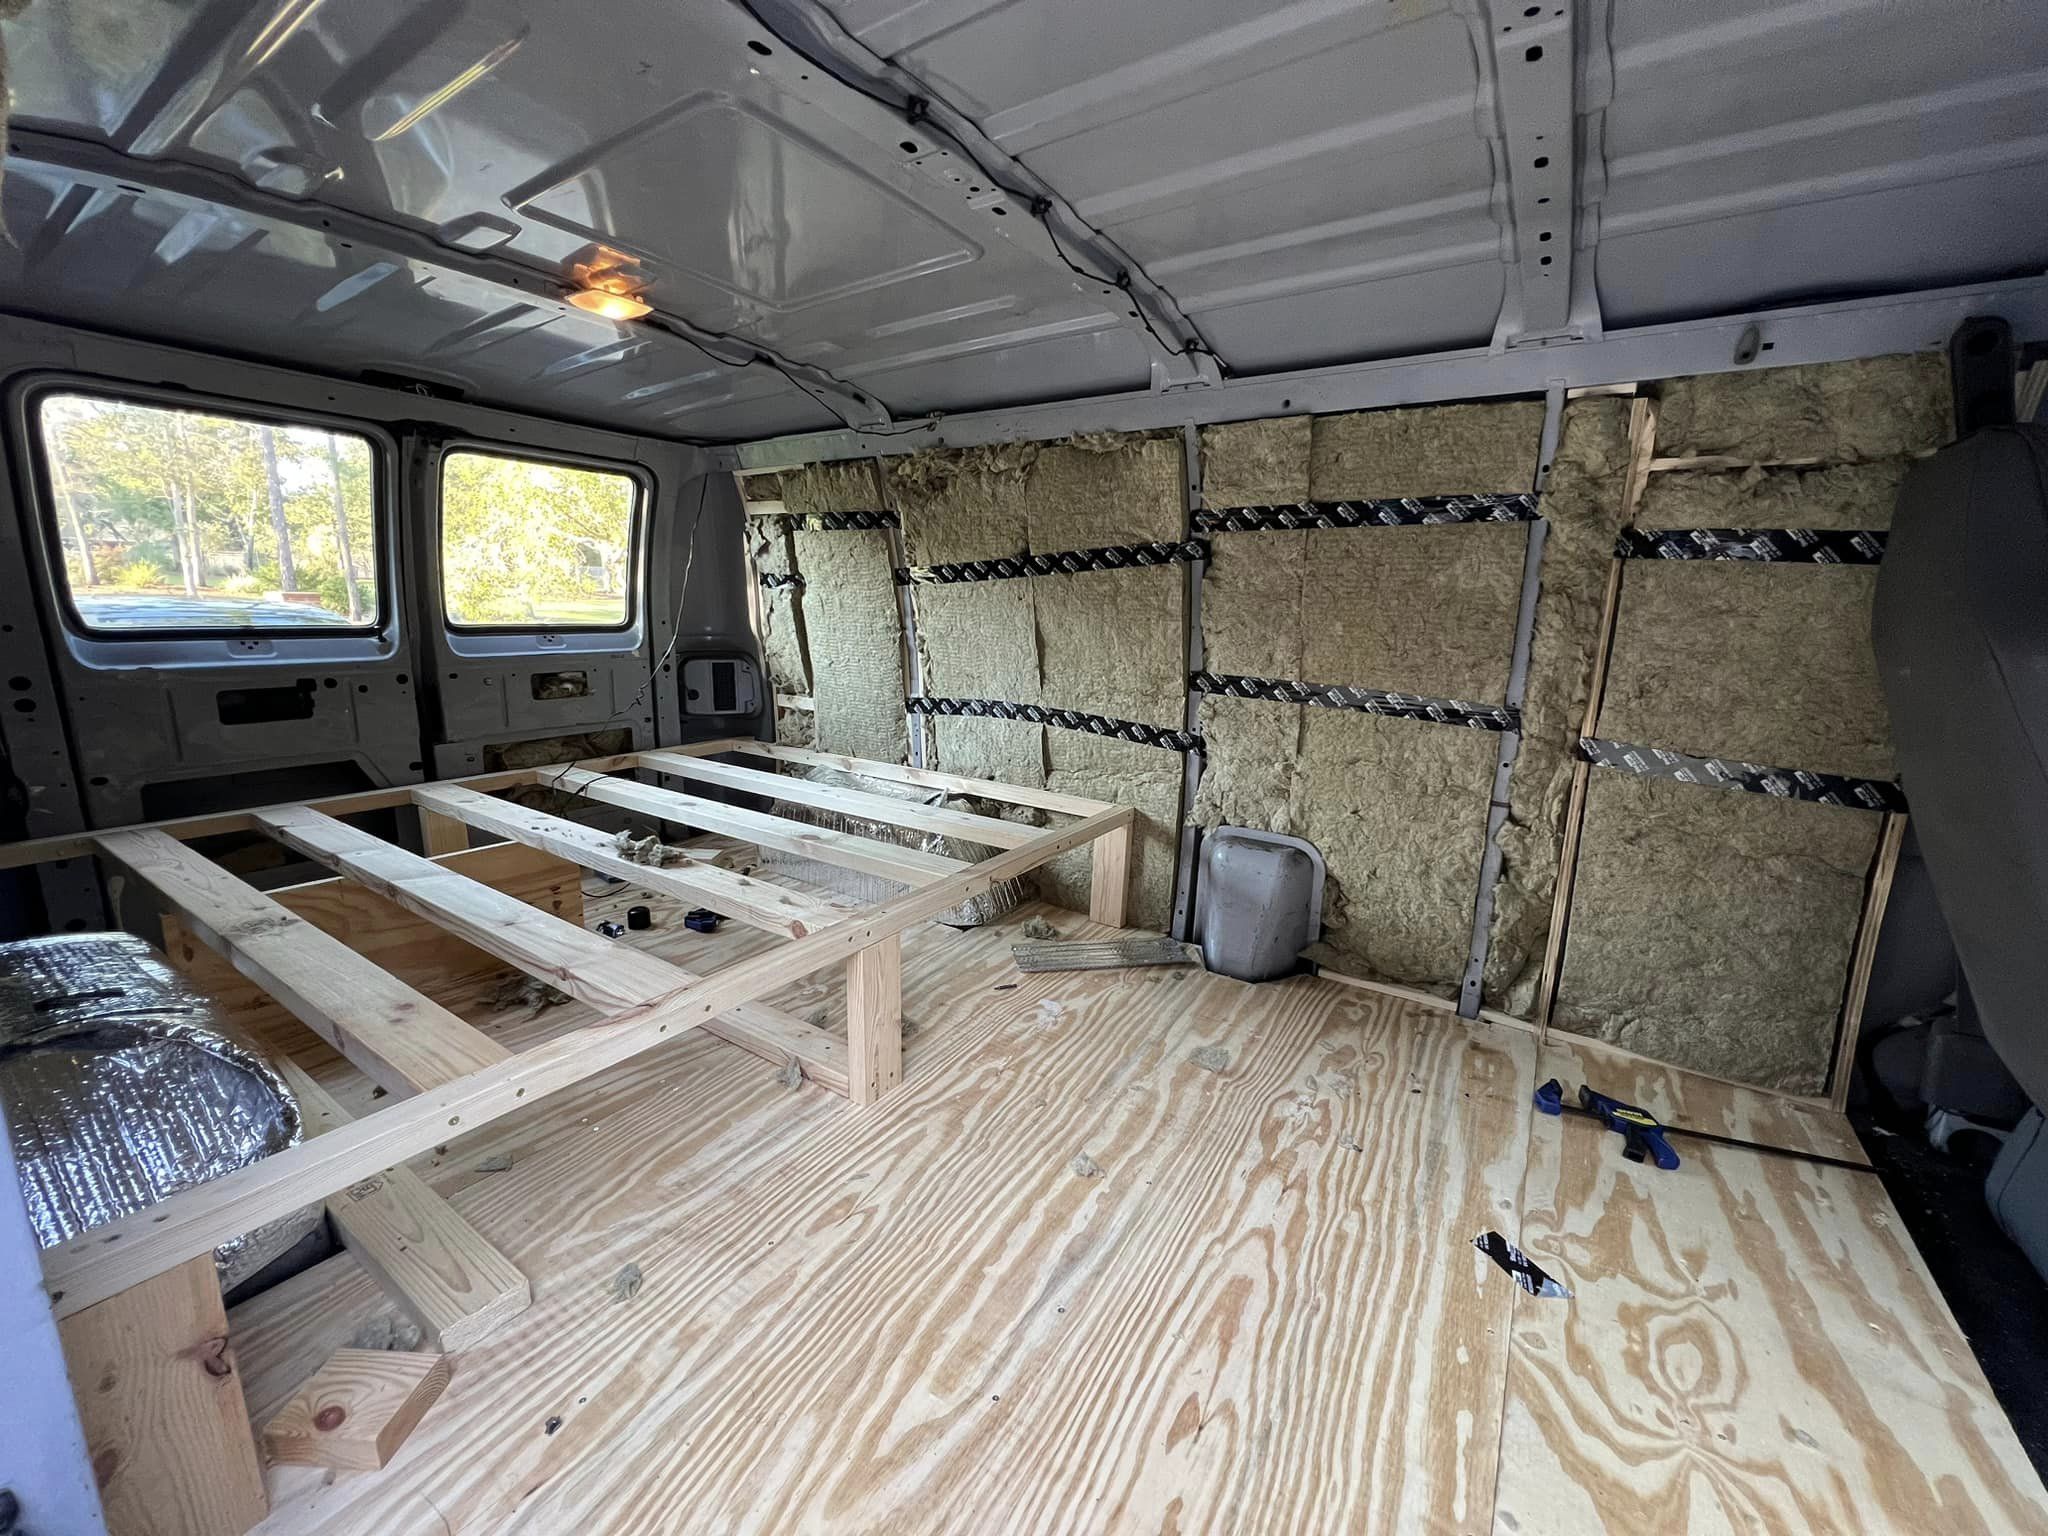
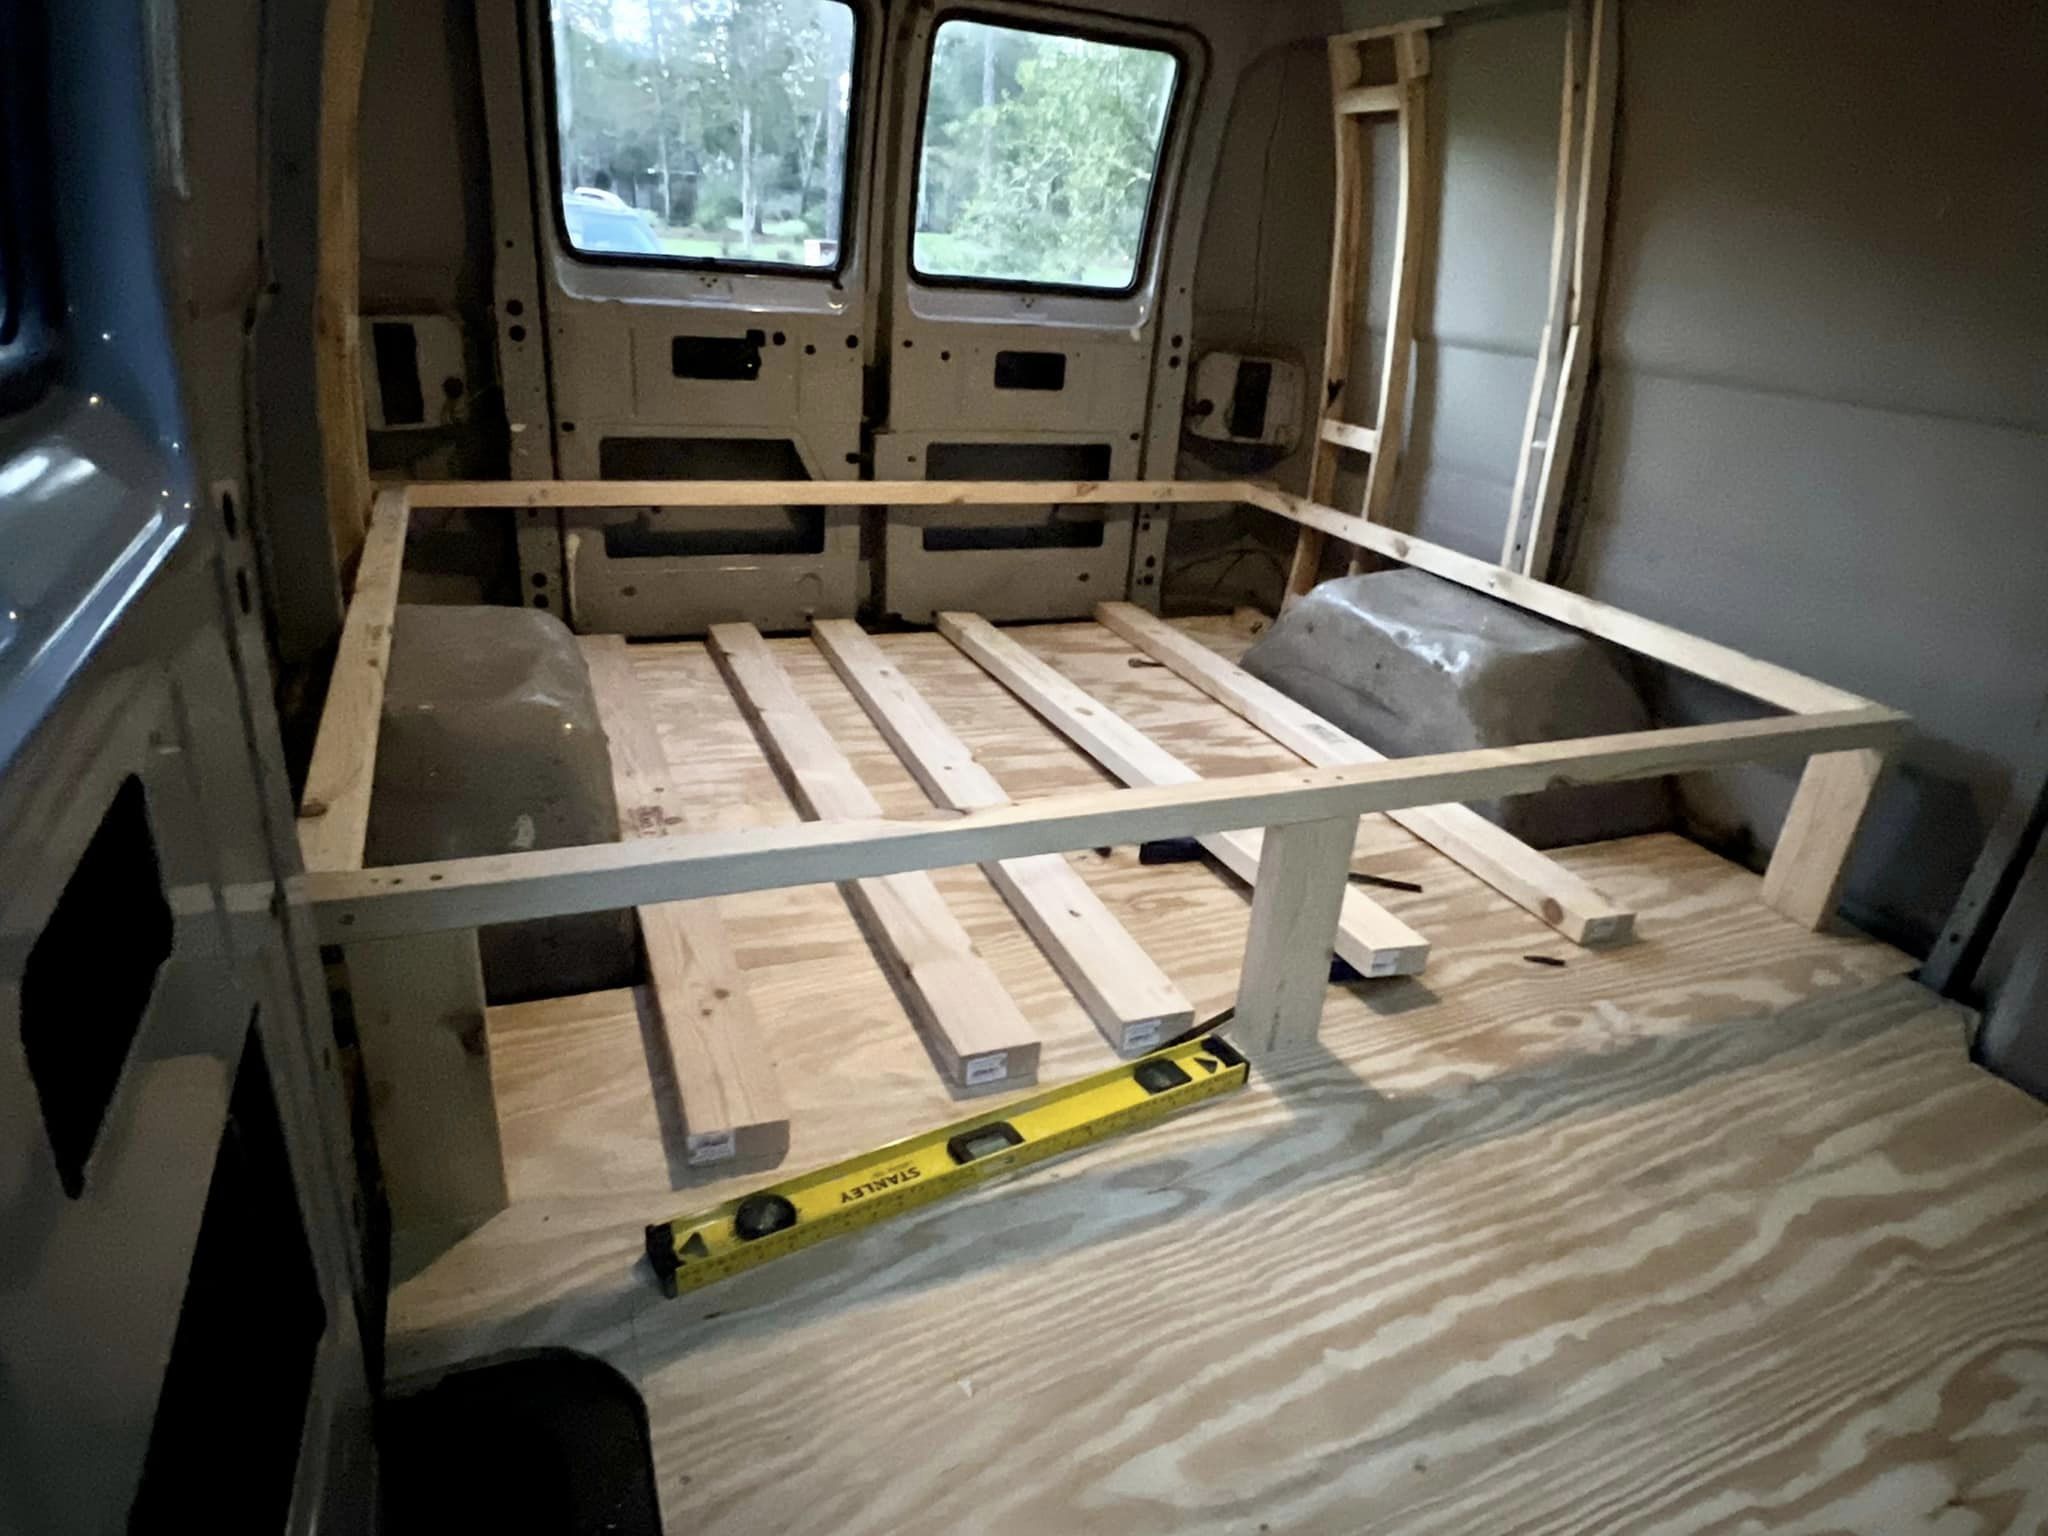
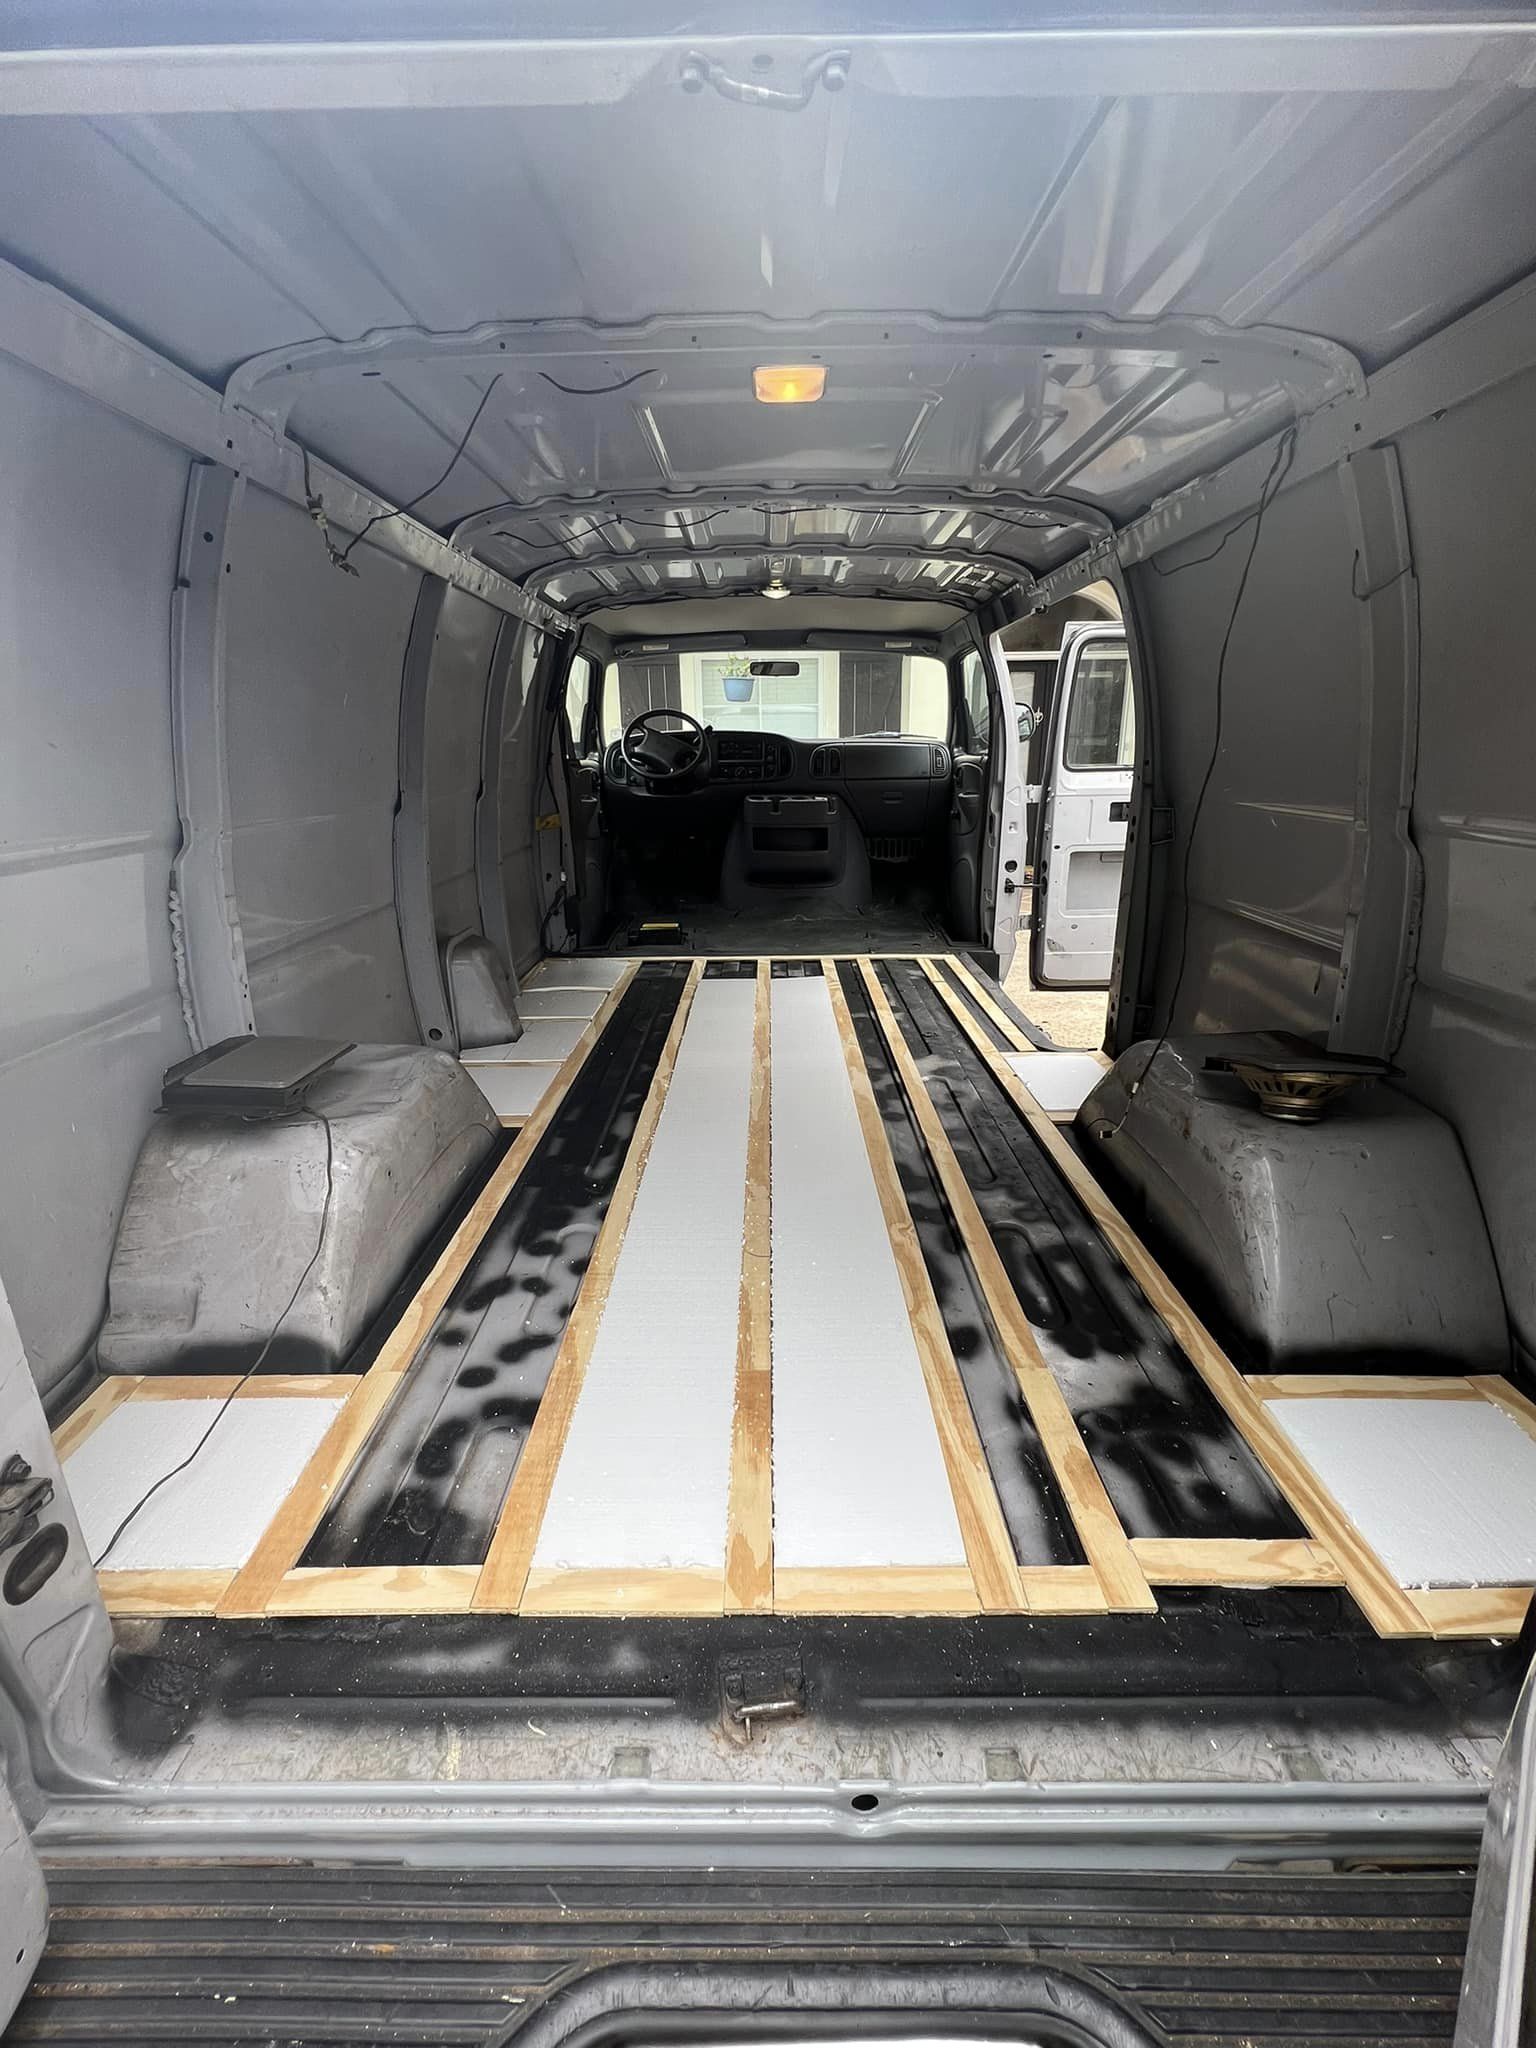
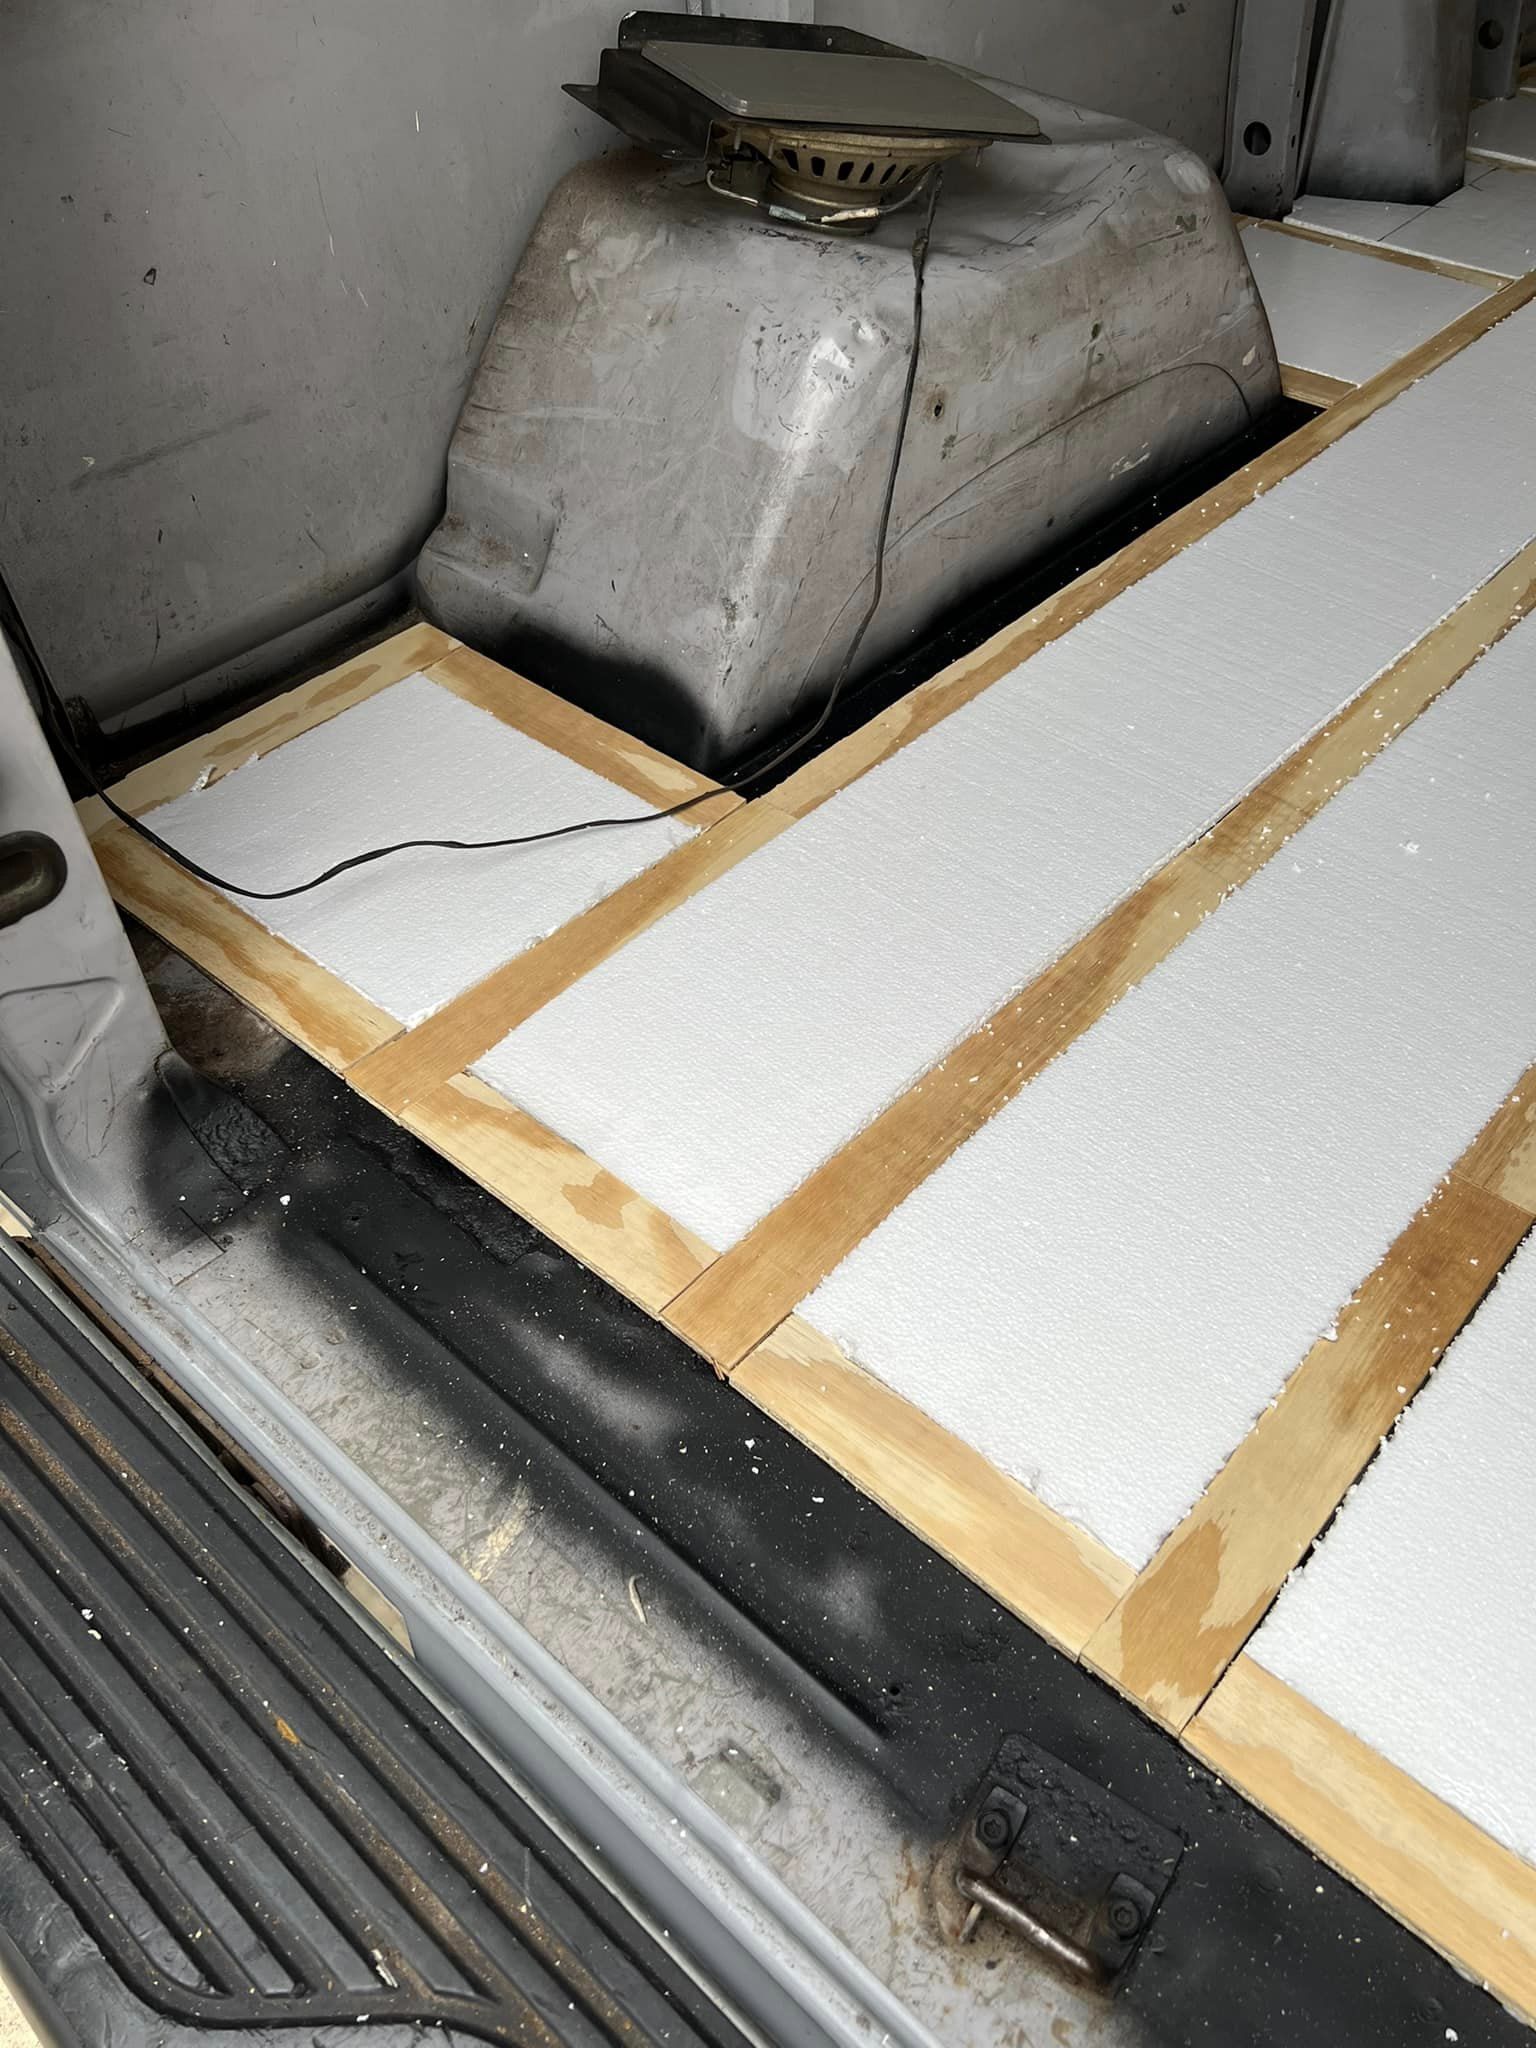
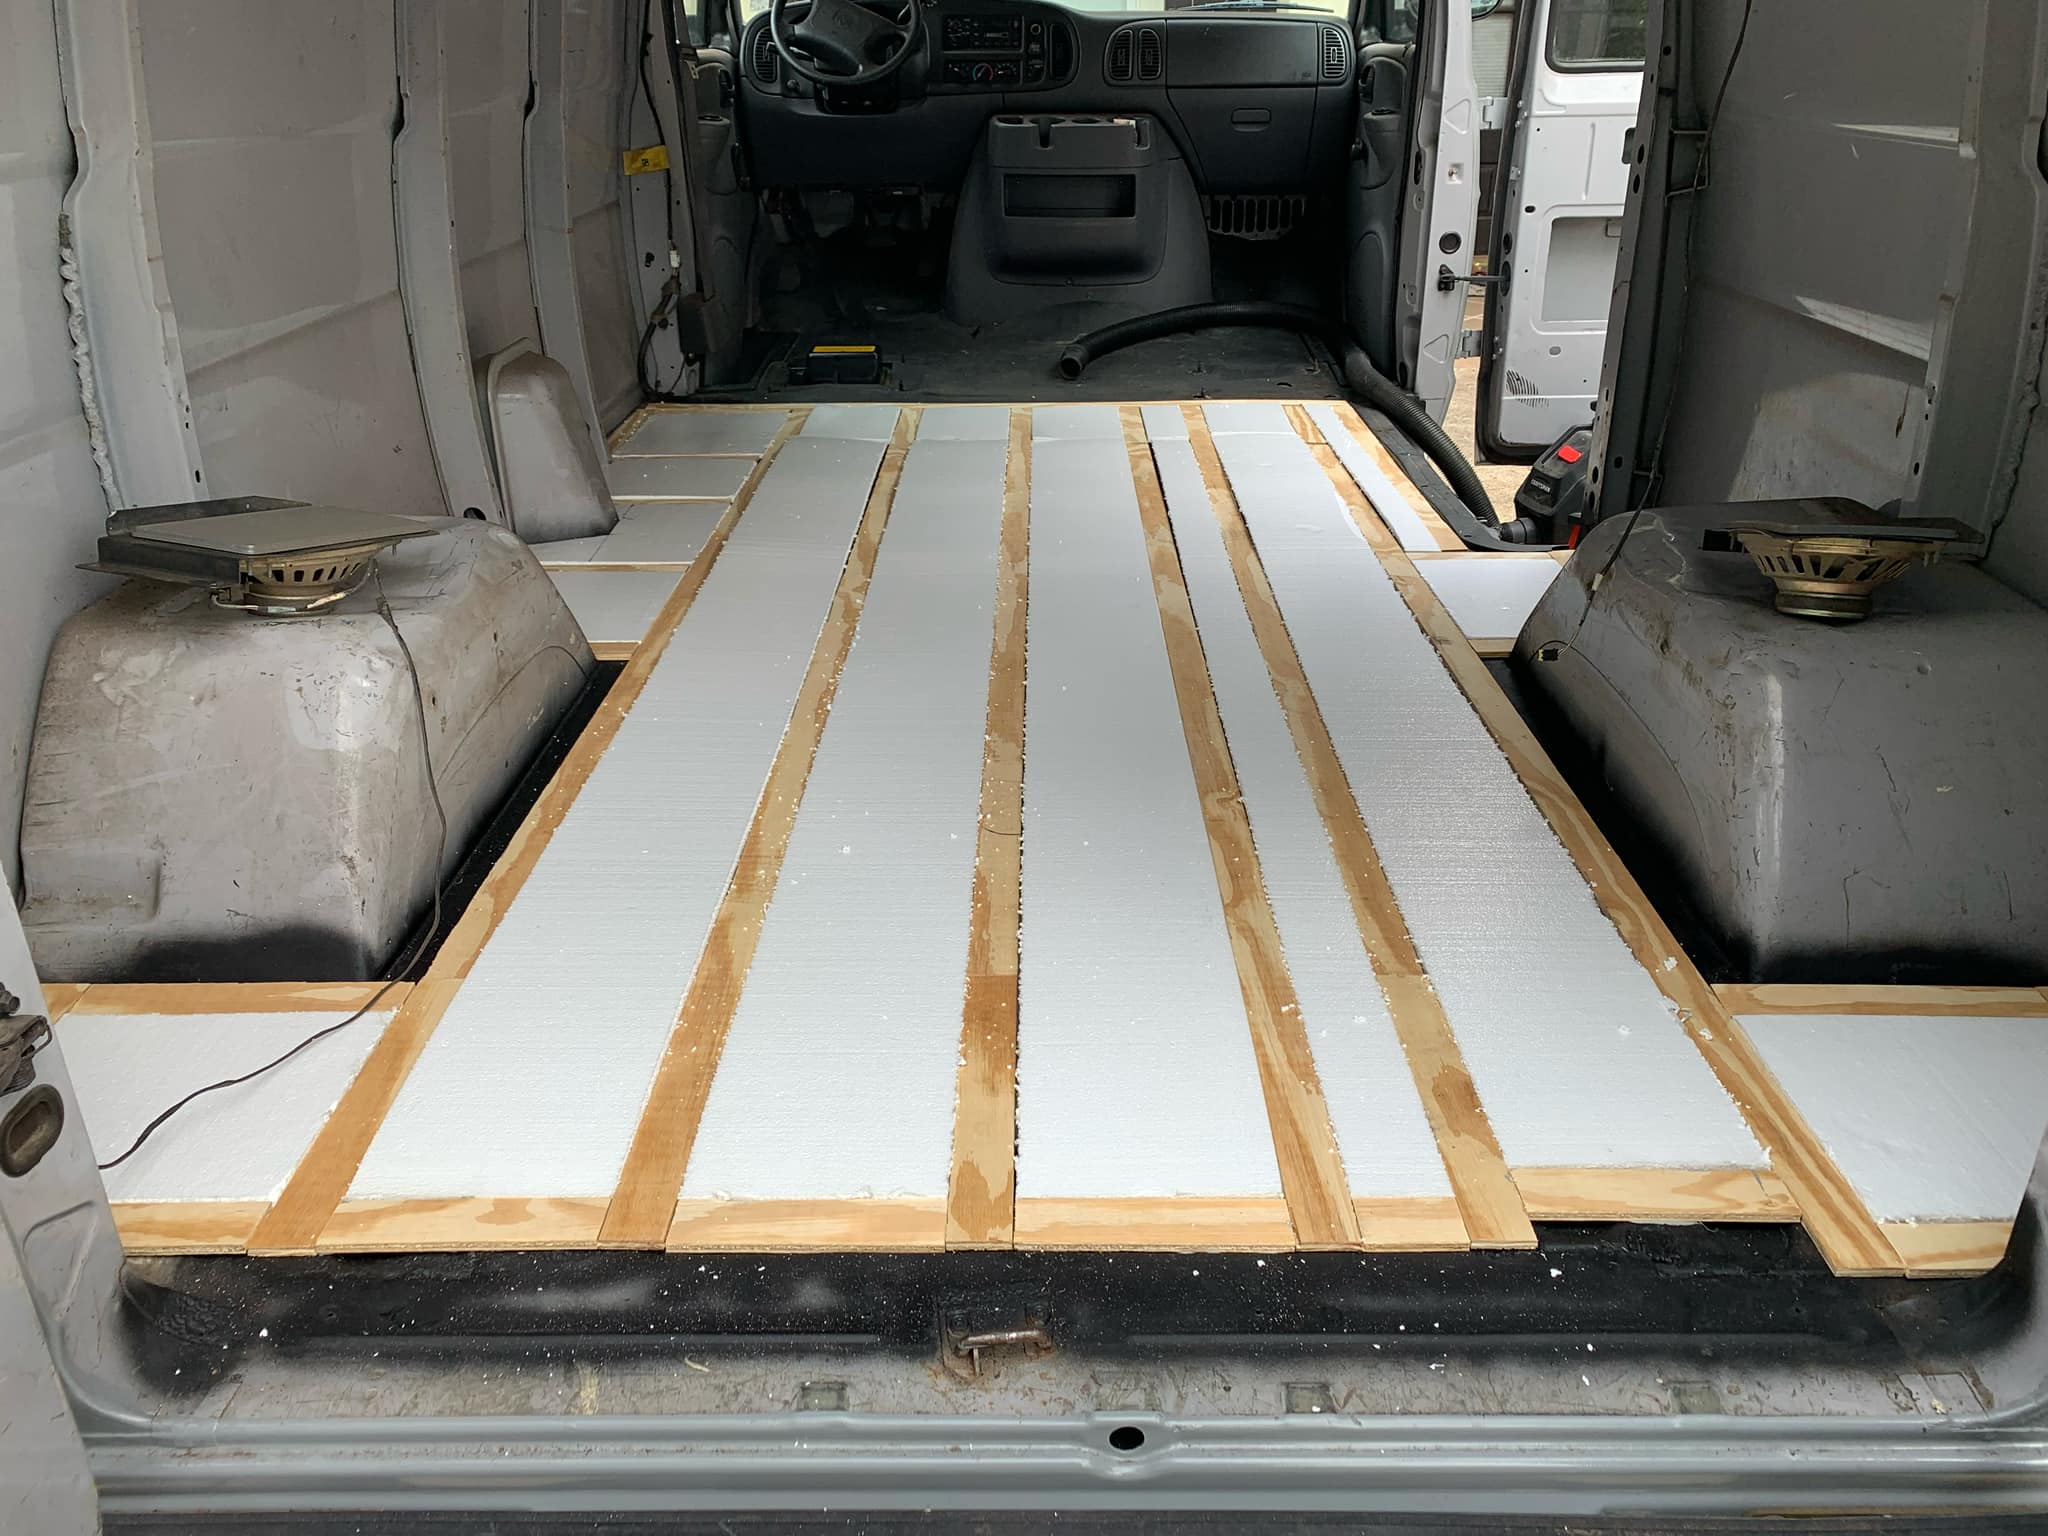
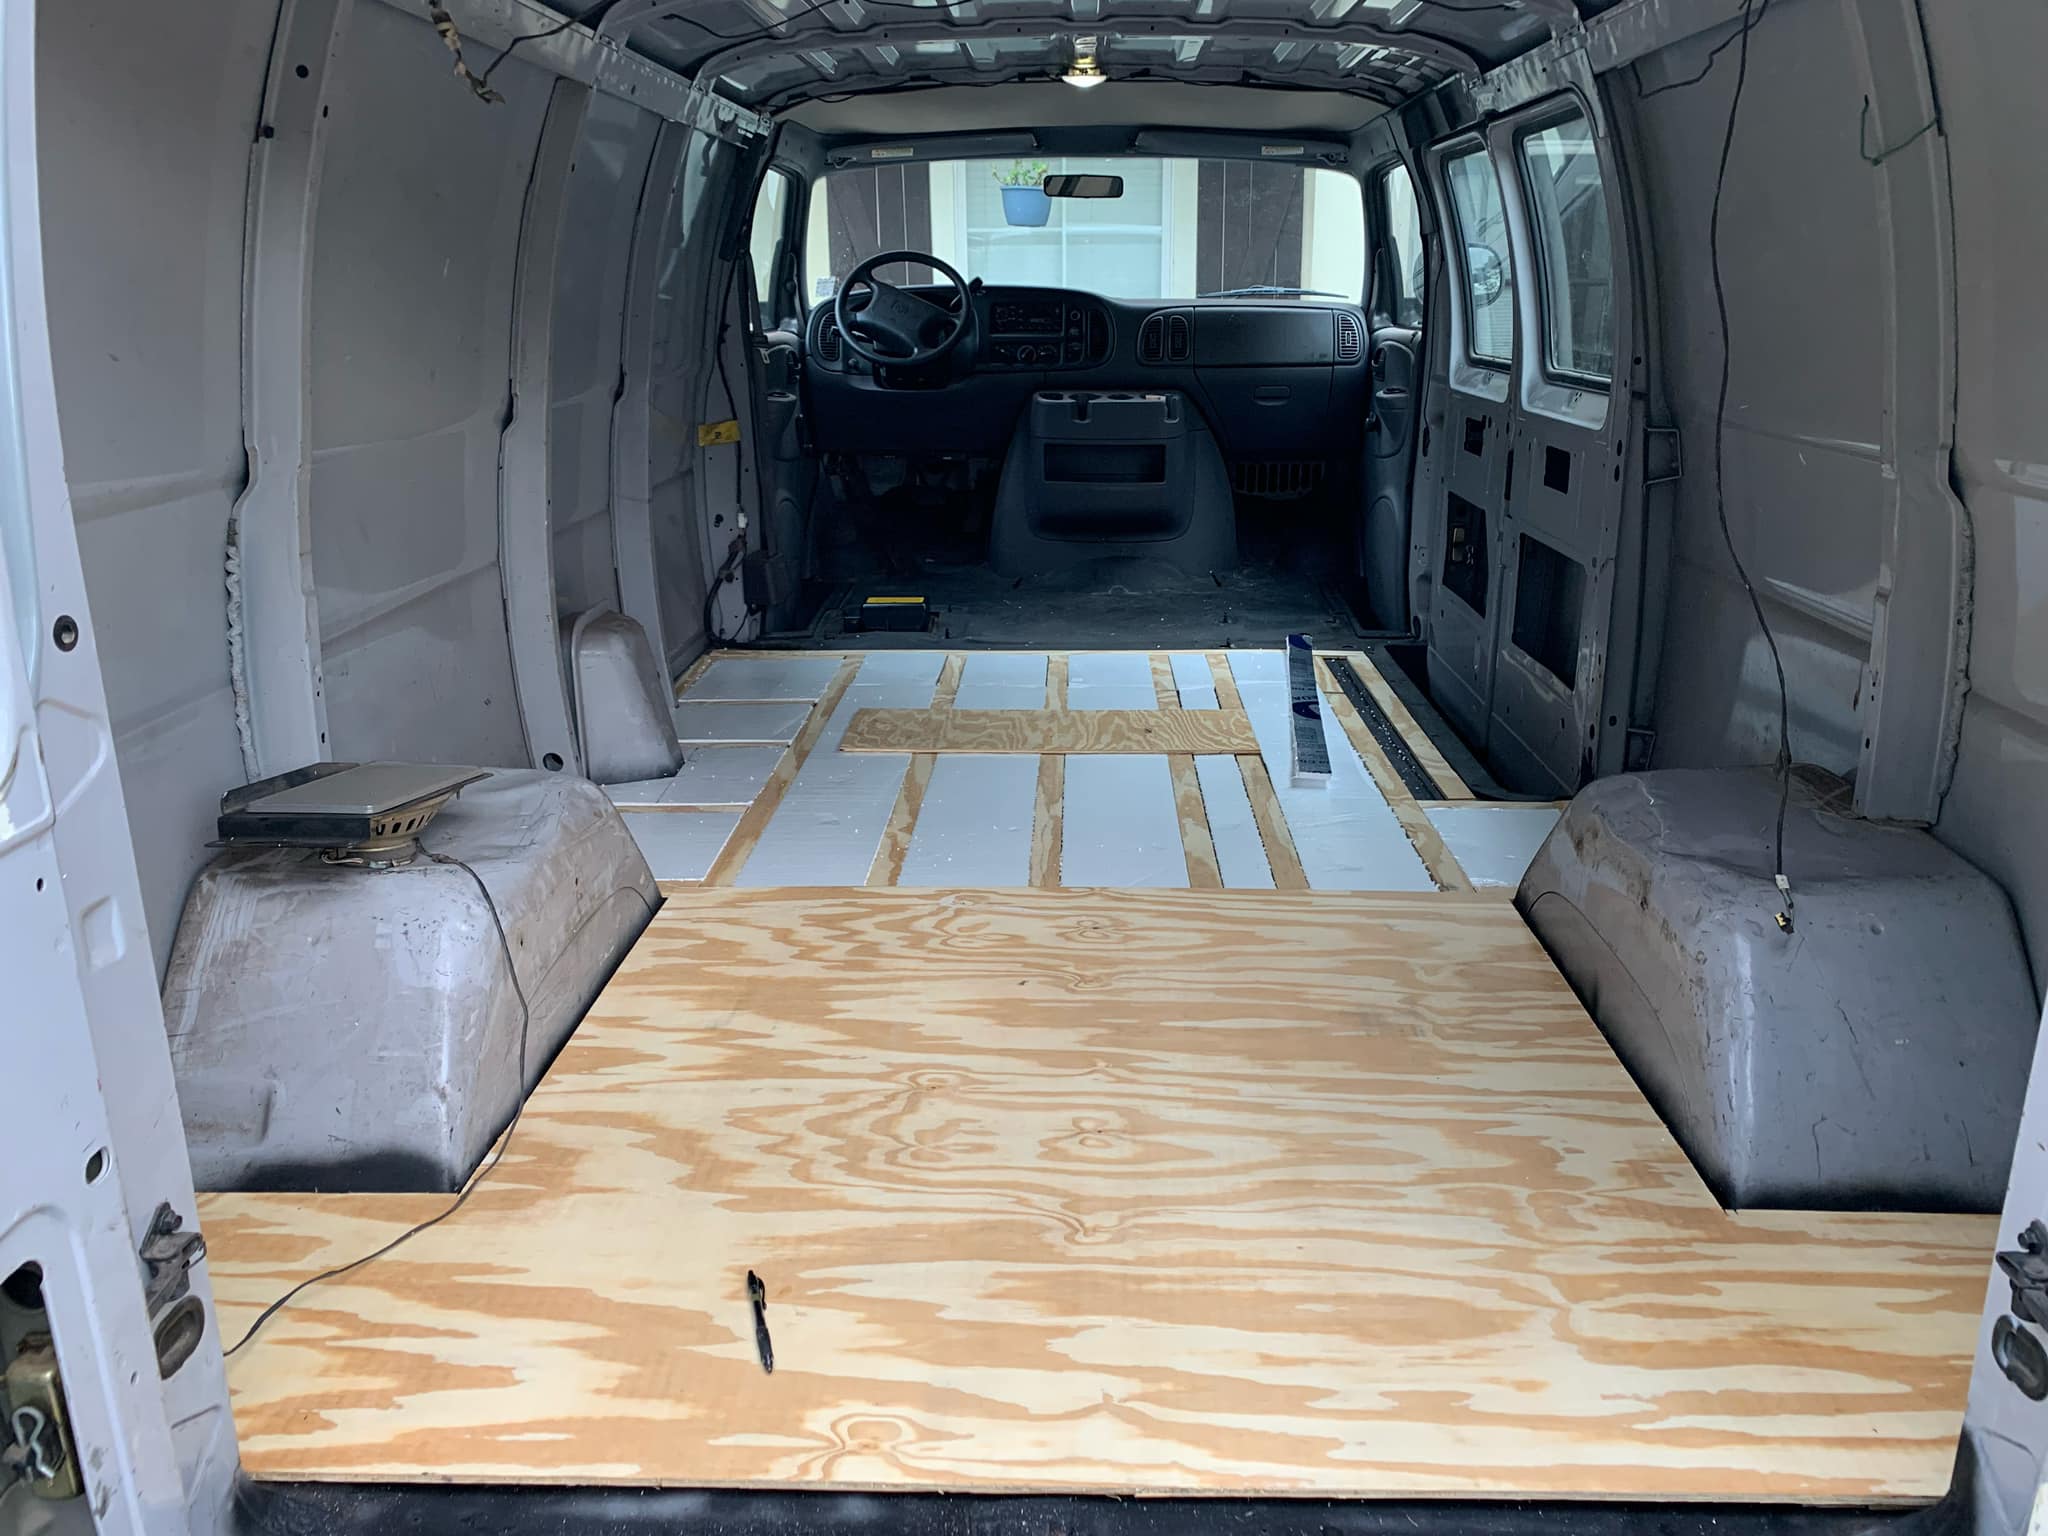
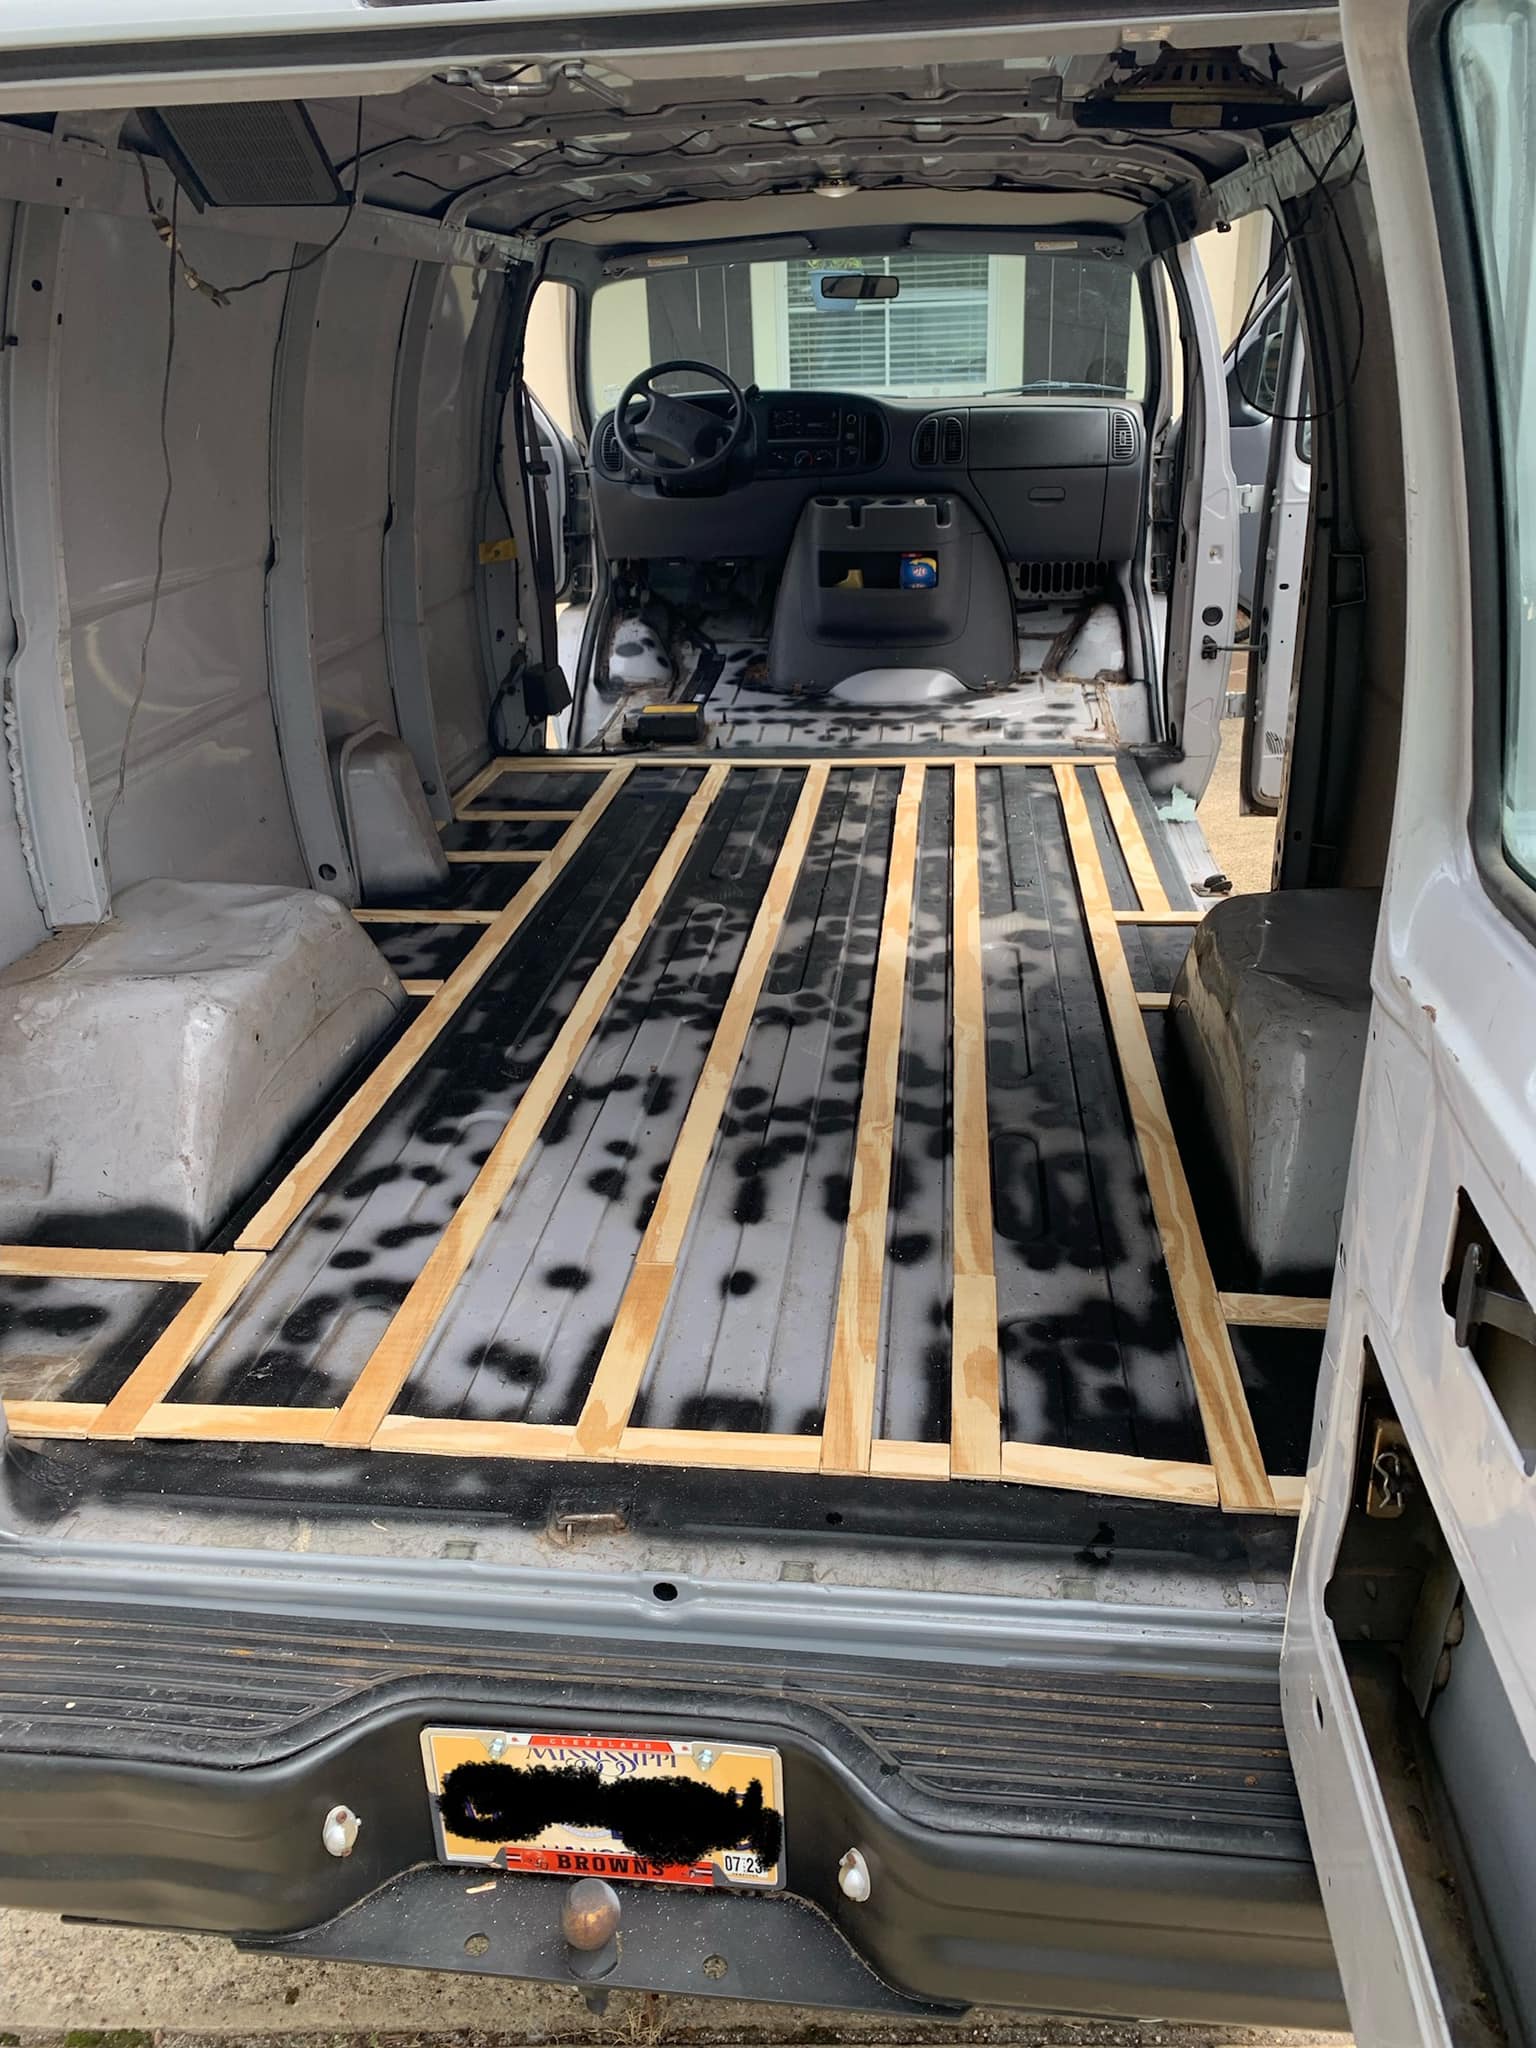
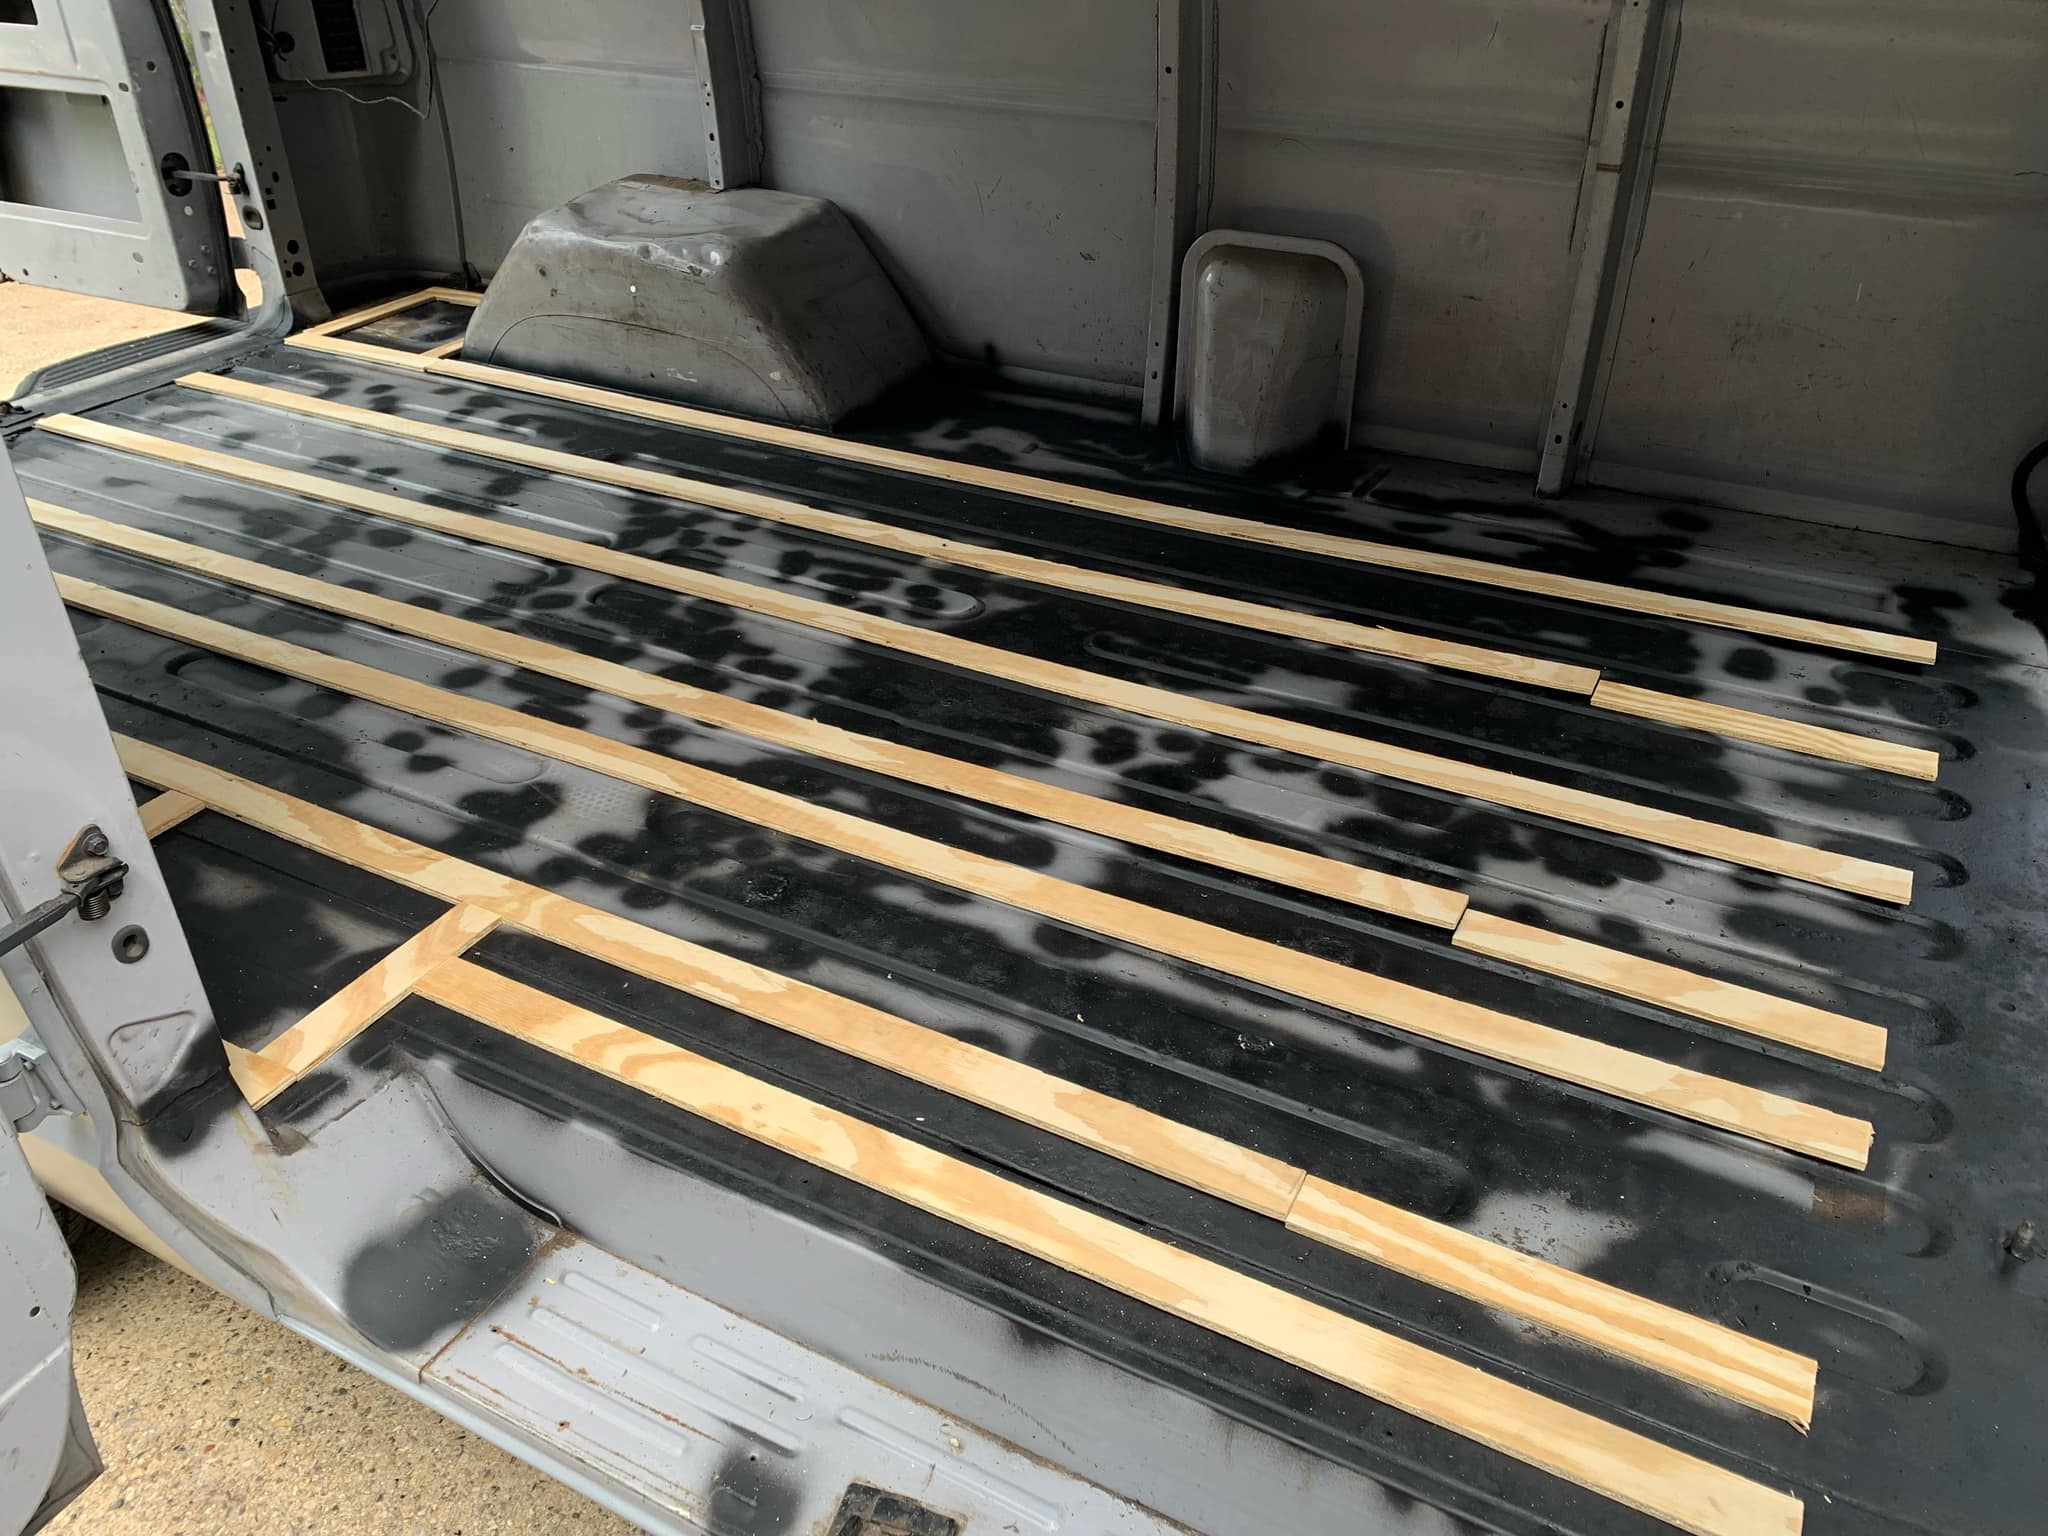
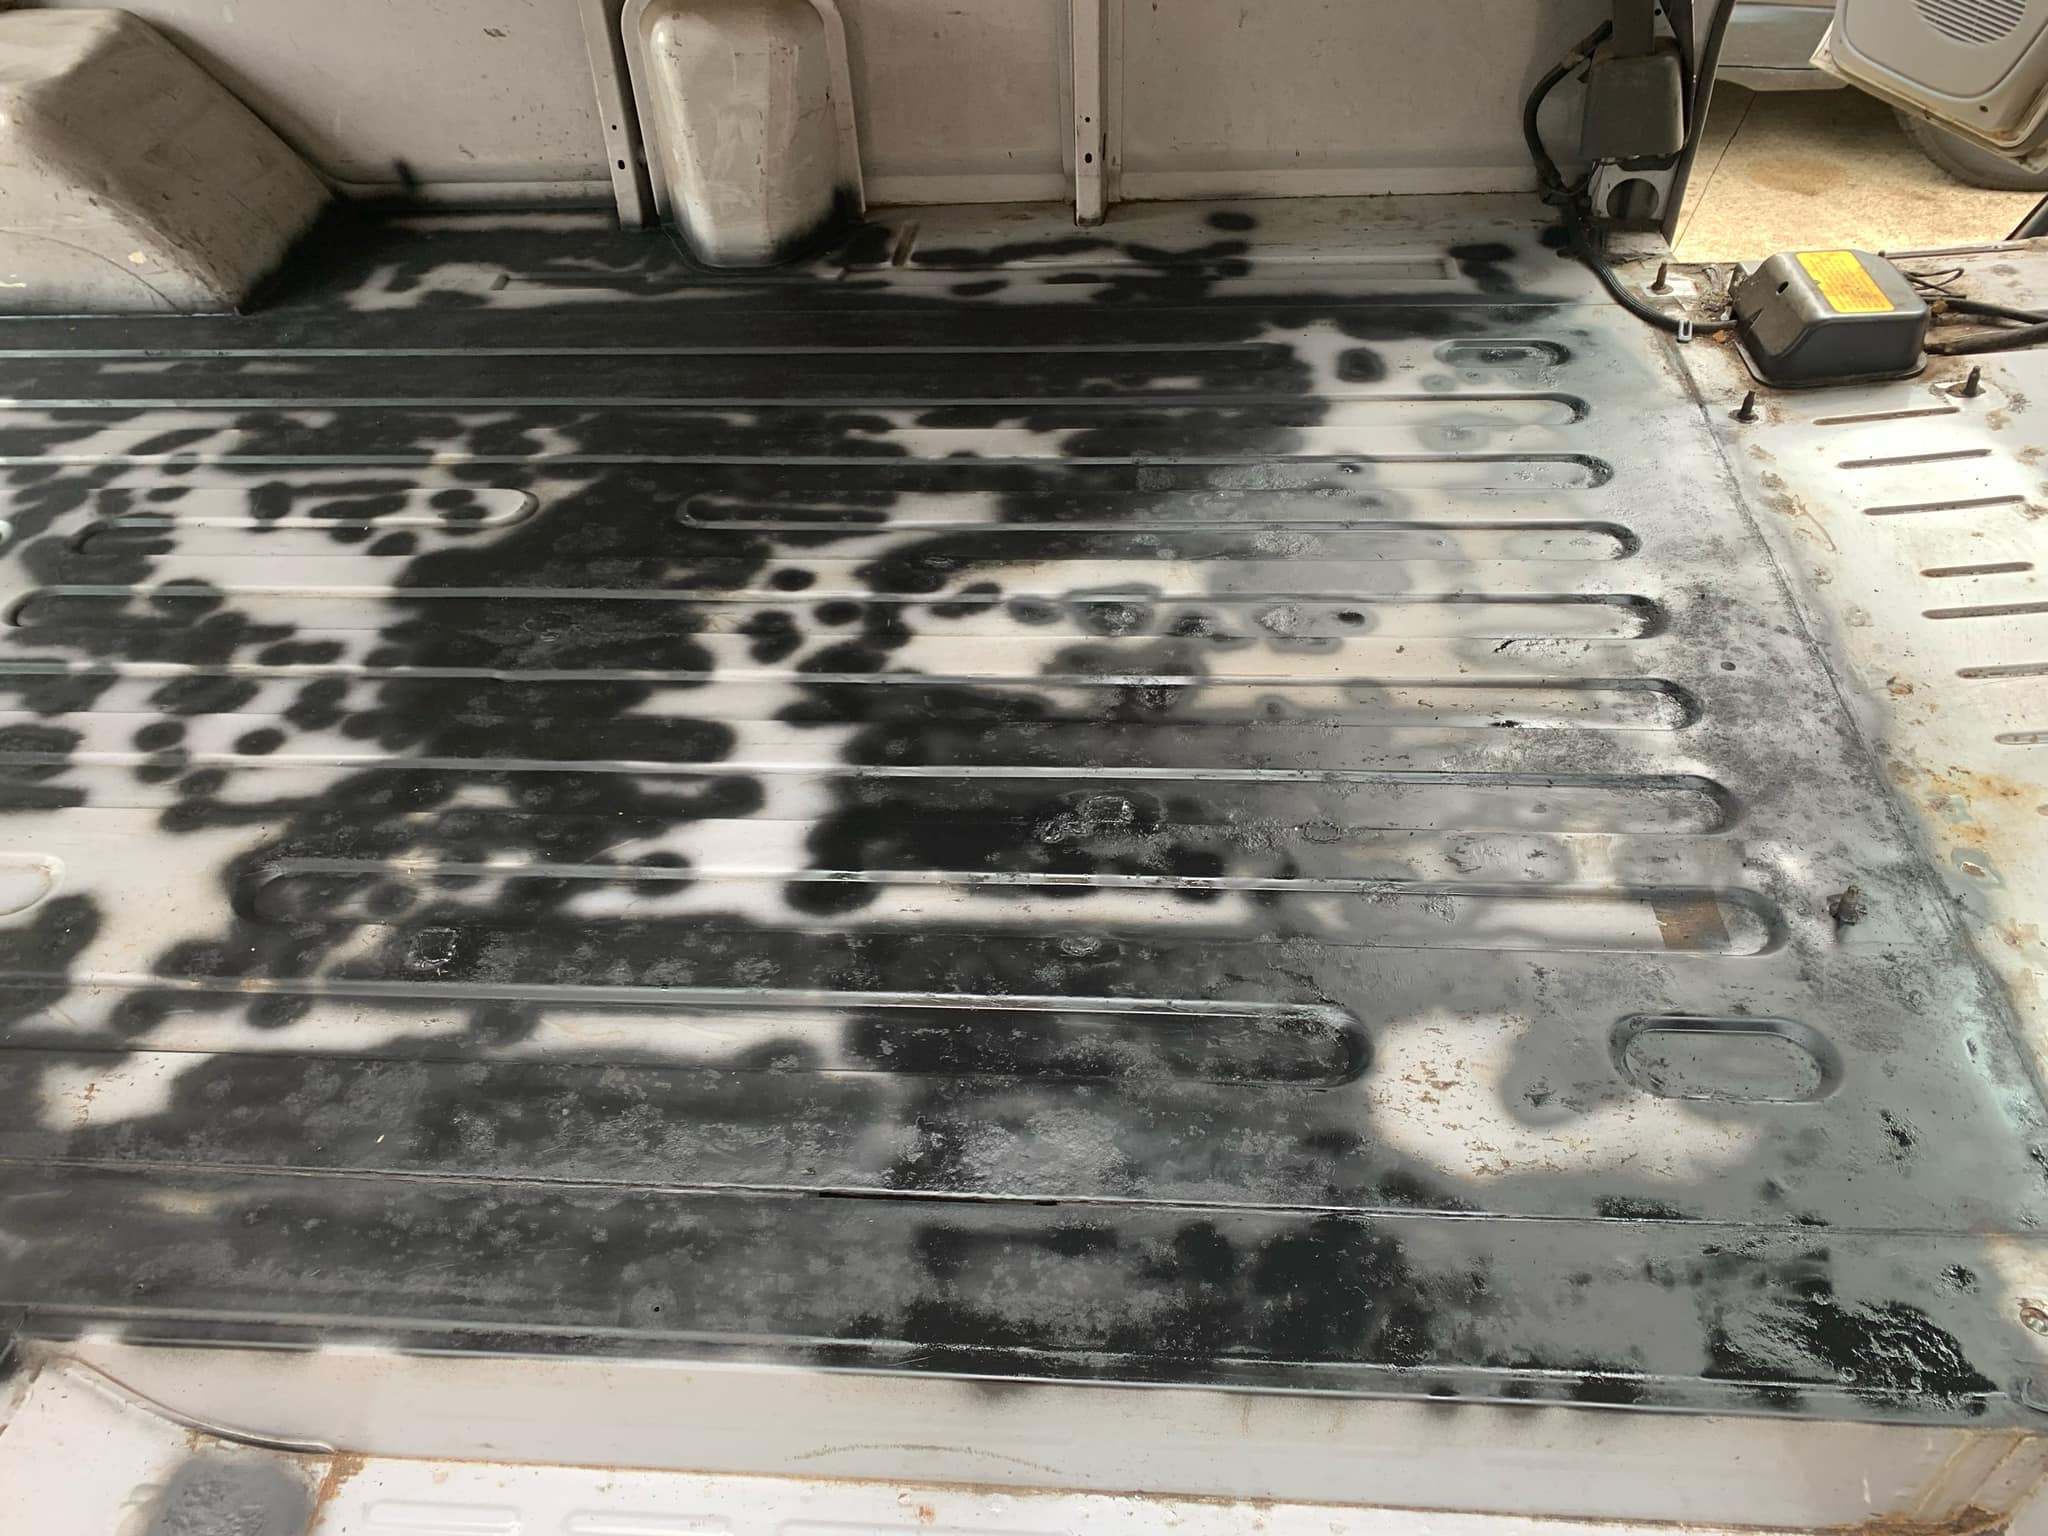
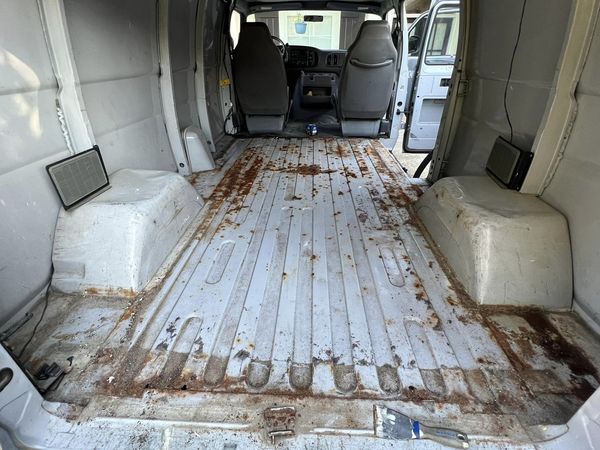
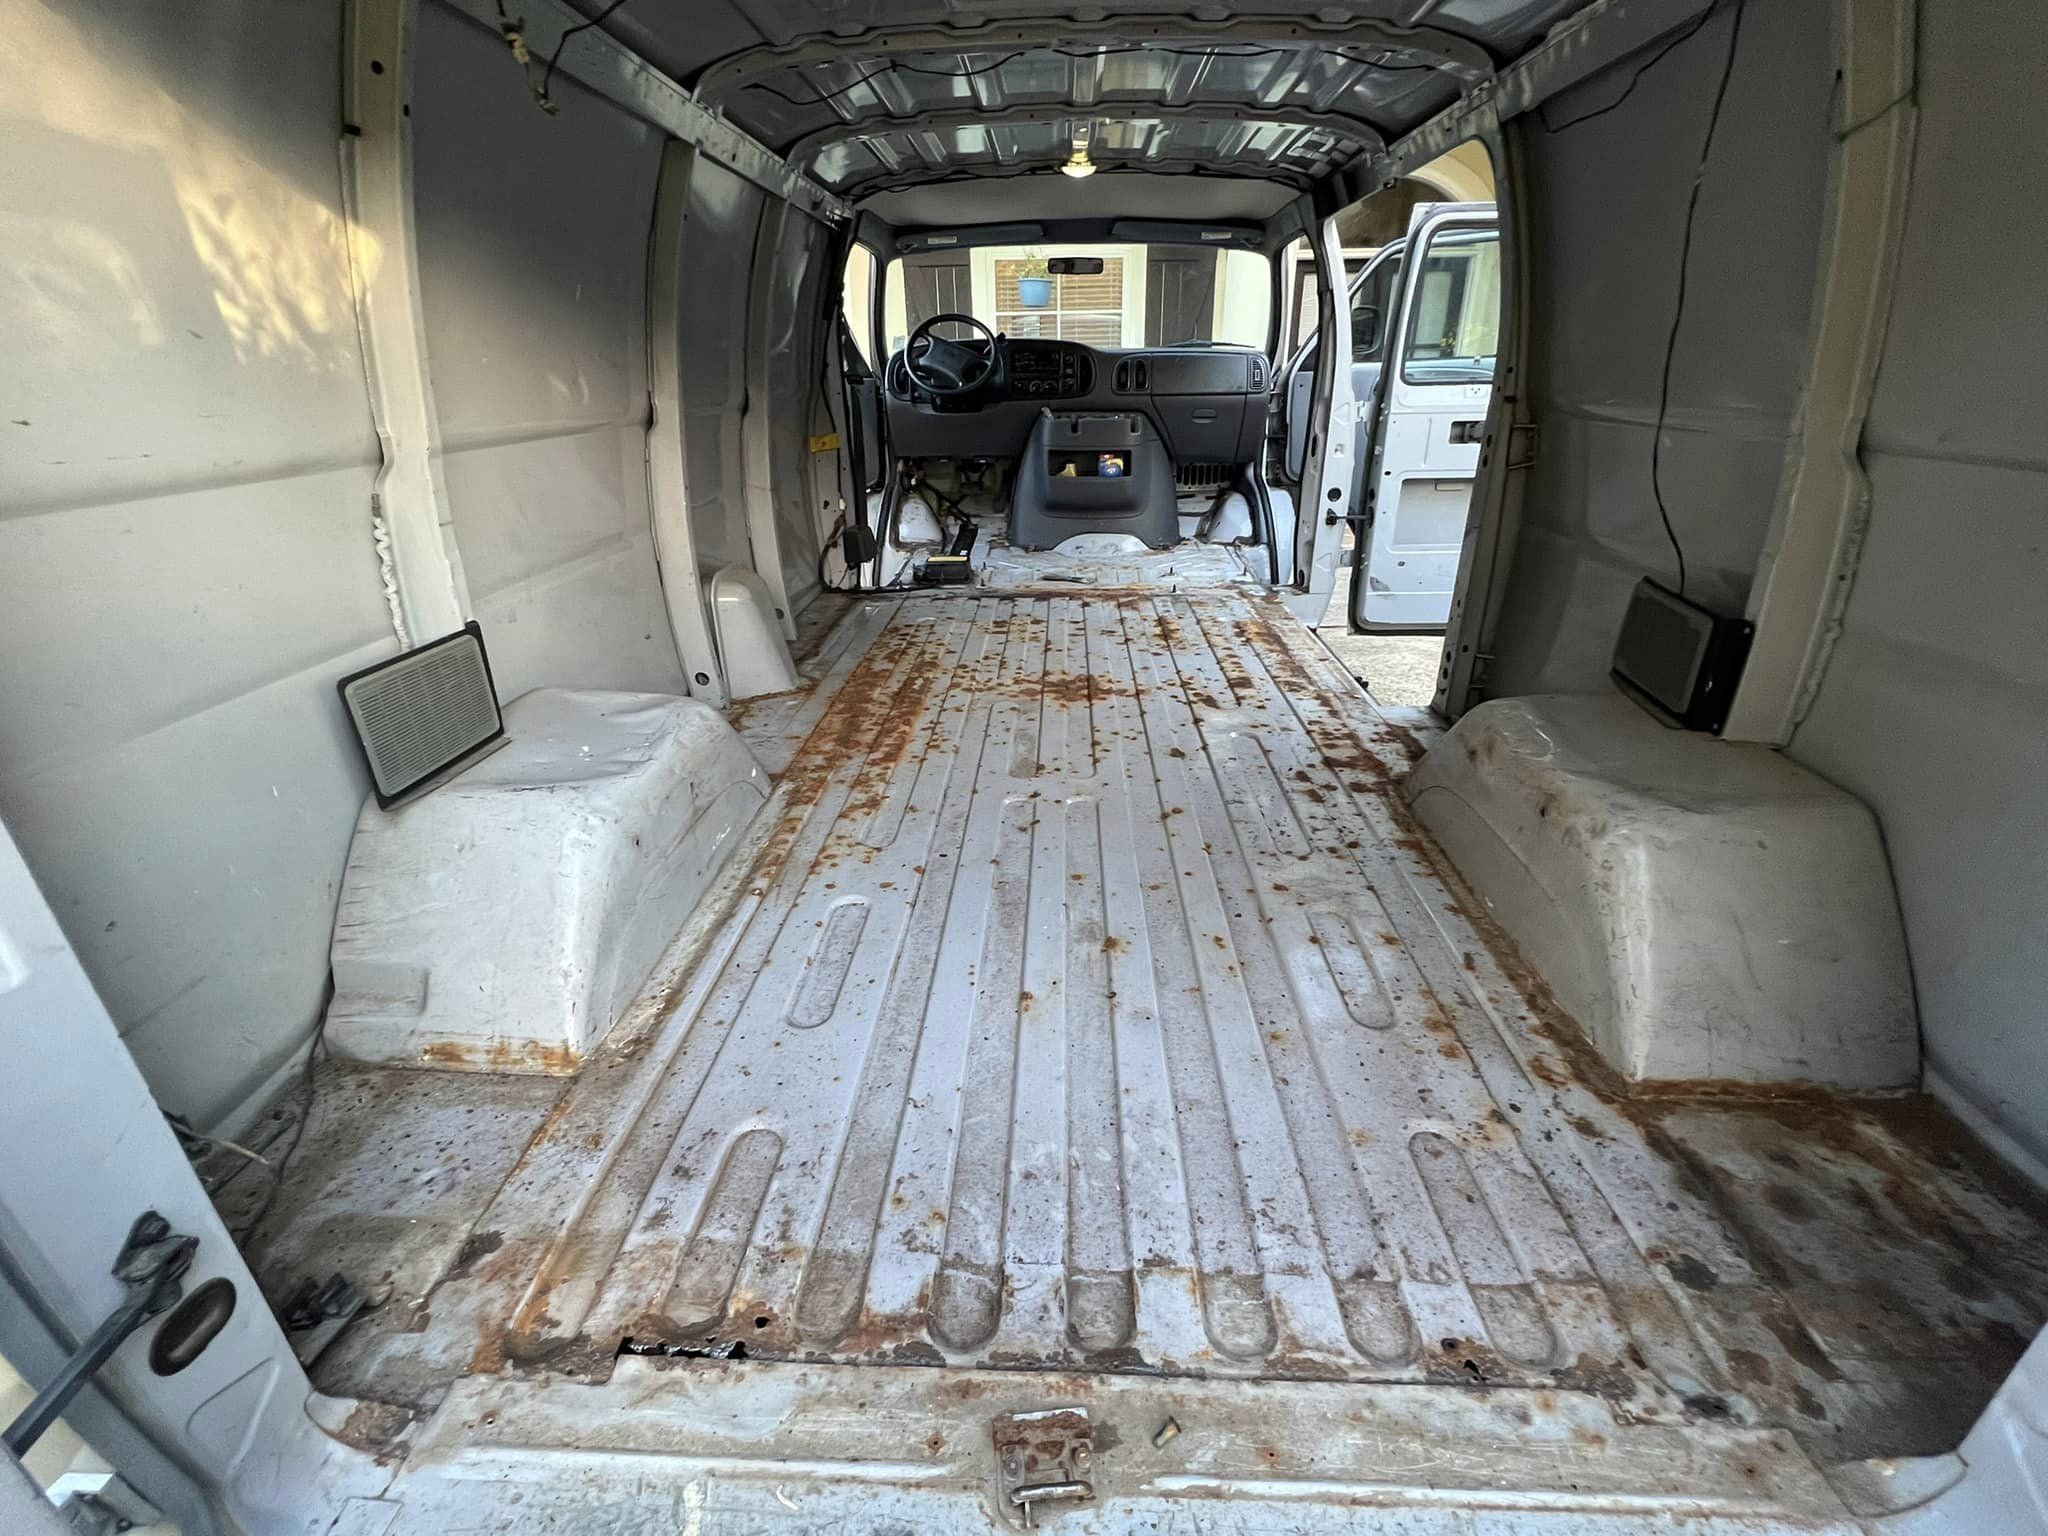
Van bed slates were finished before our trip and today, we ordered her mattress (6 inch memory foam short queen). We started on the insulation (taped until the walls going in) and ran wiring for the lights, the fan (Maxx Air 7500K), and outlets.

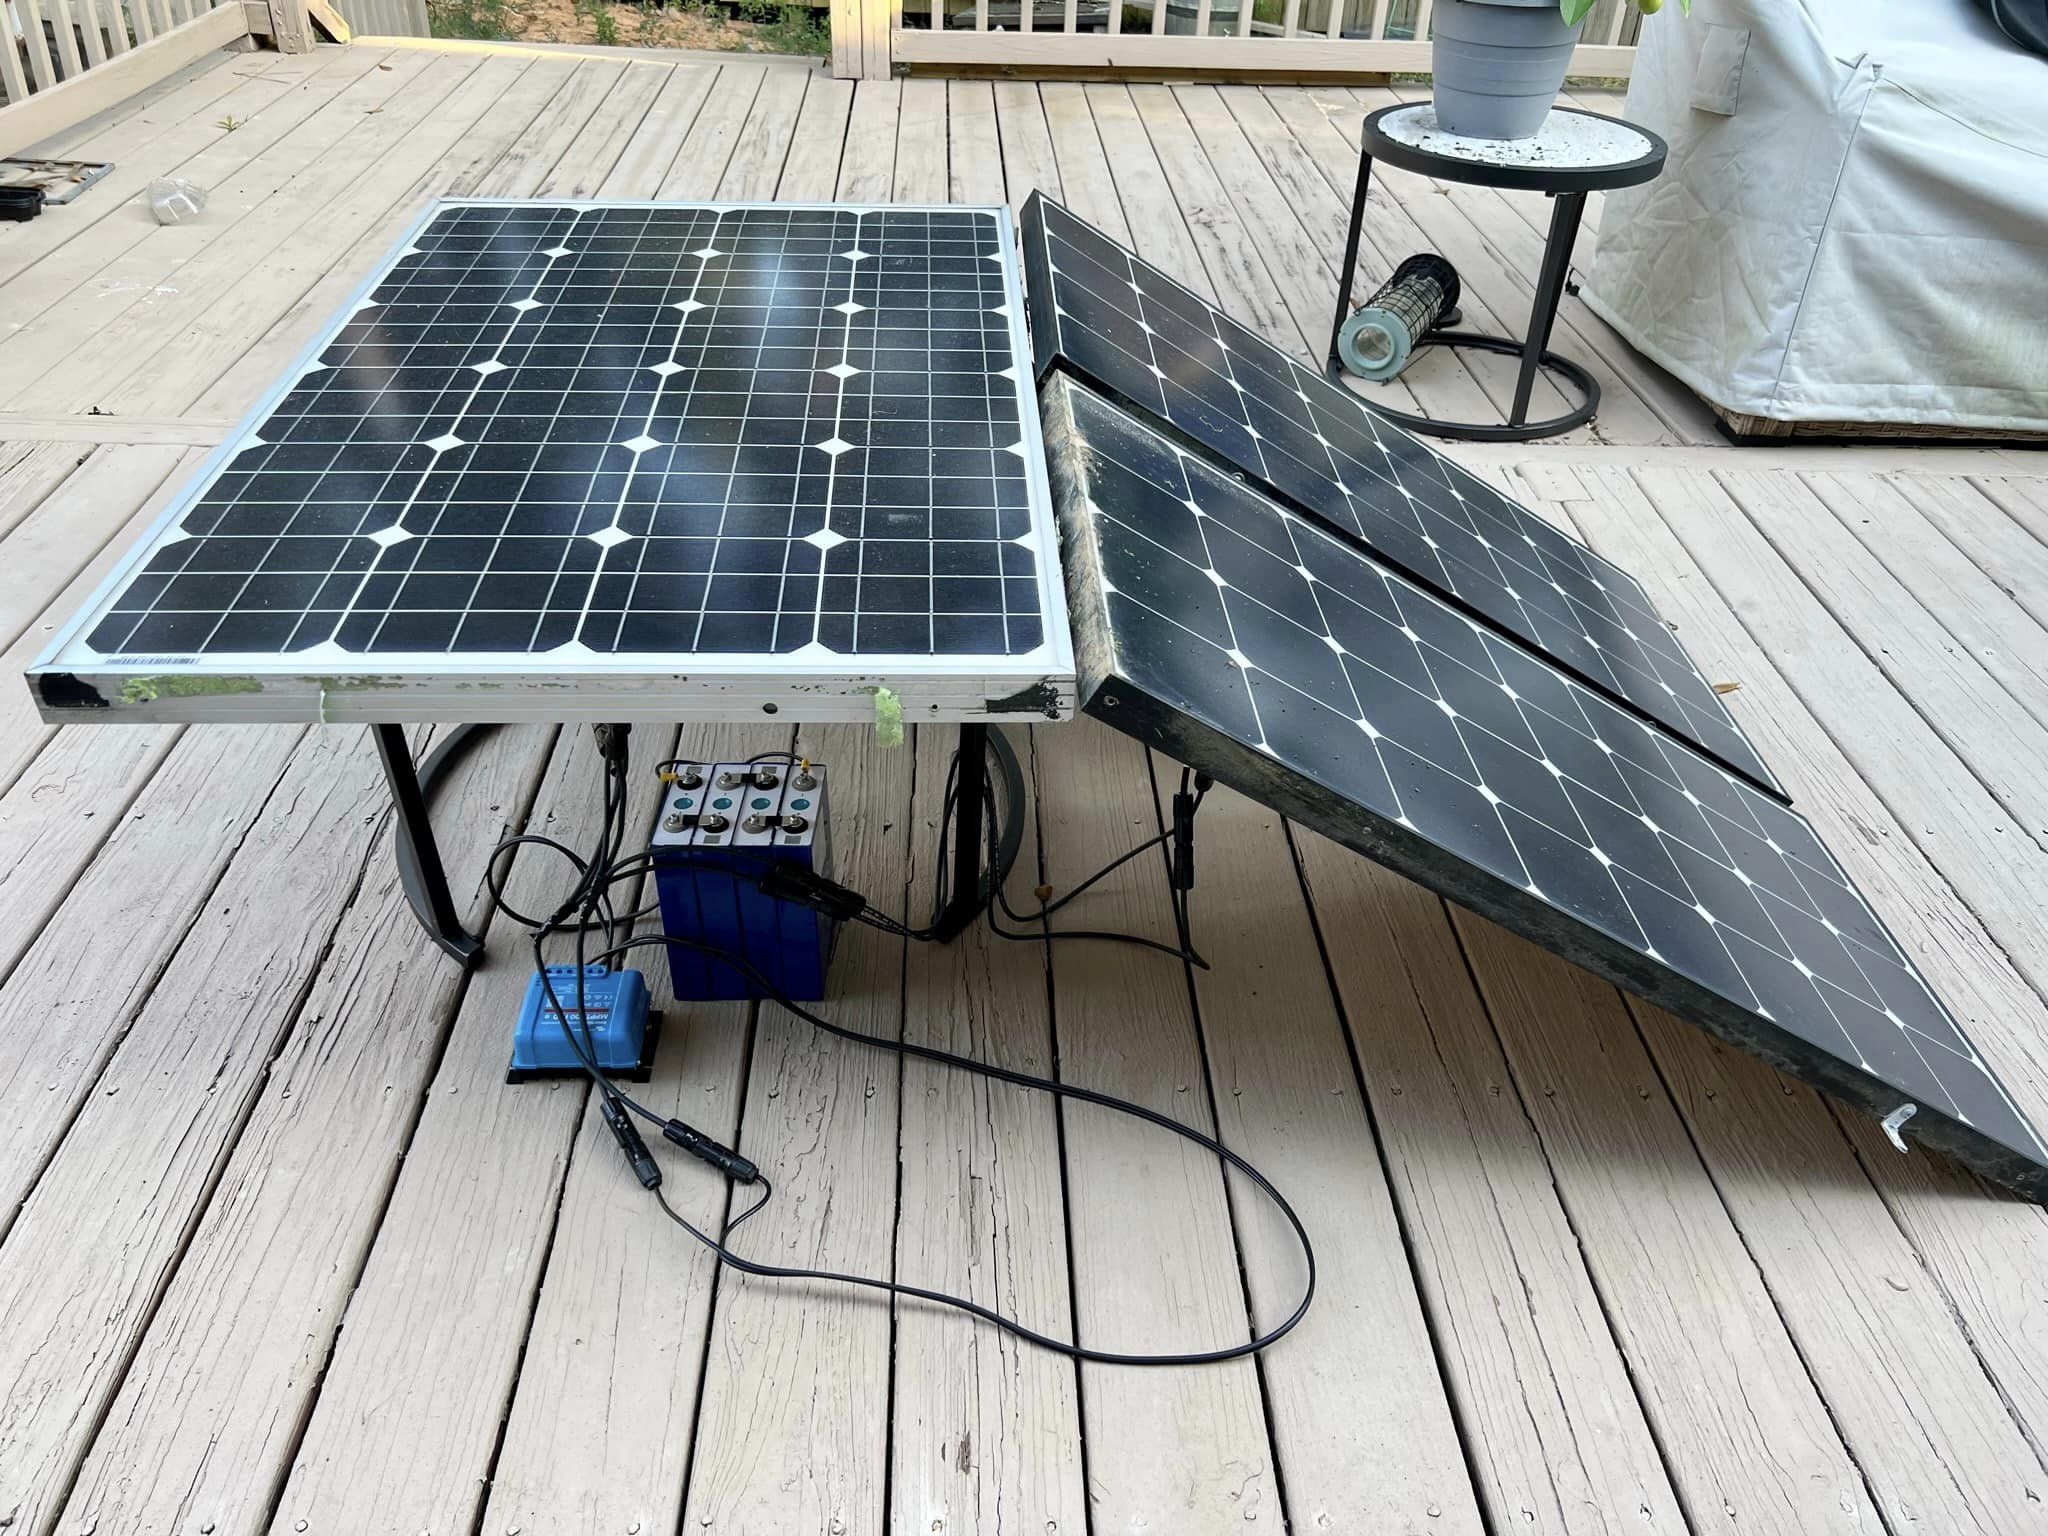
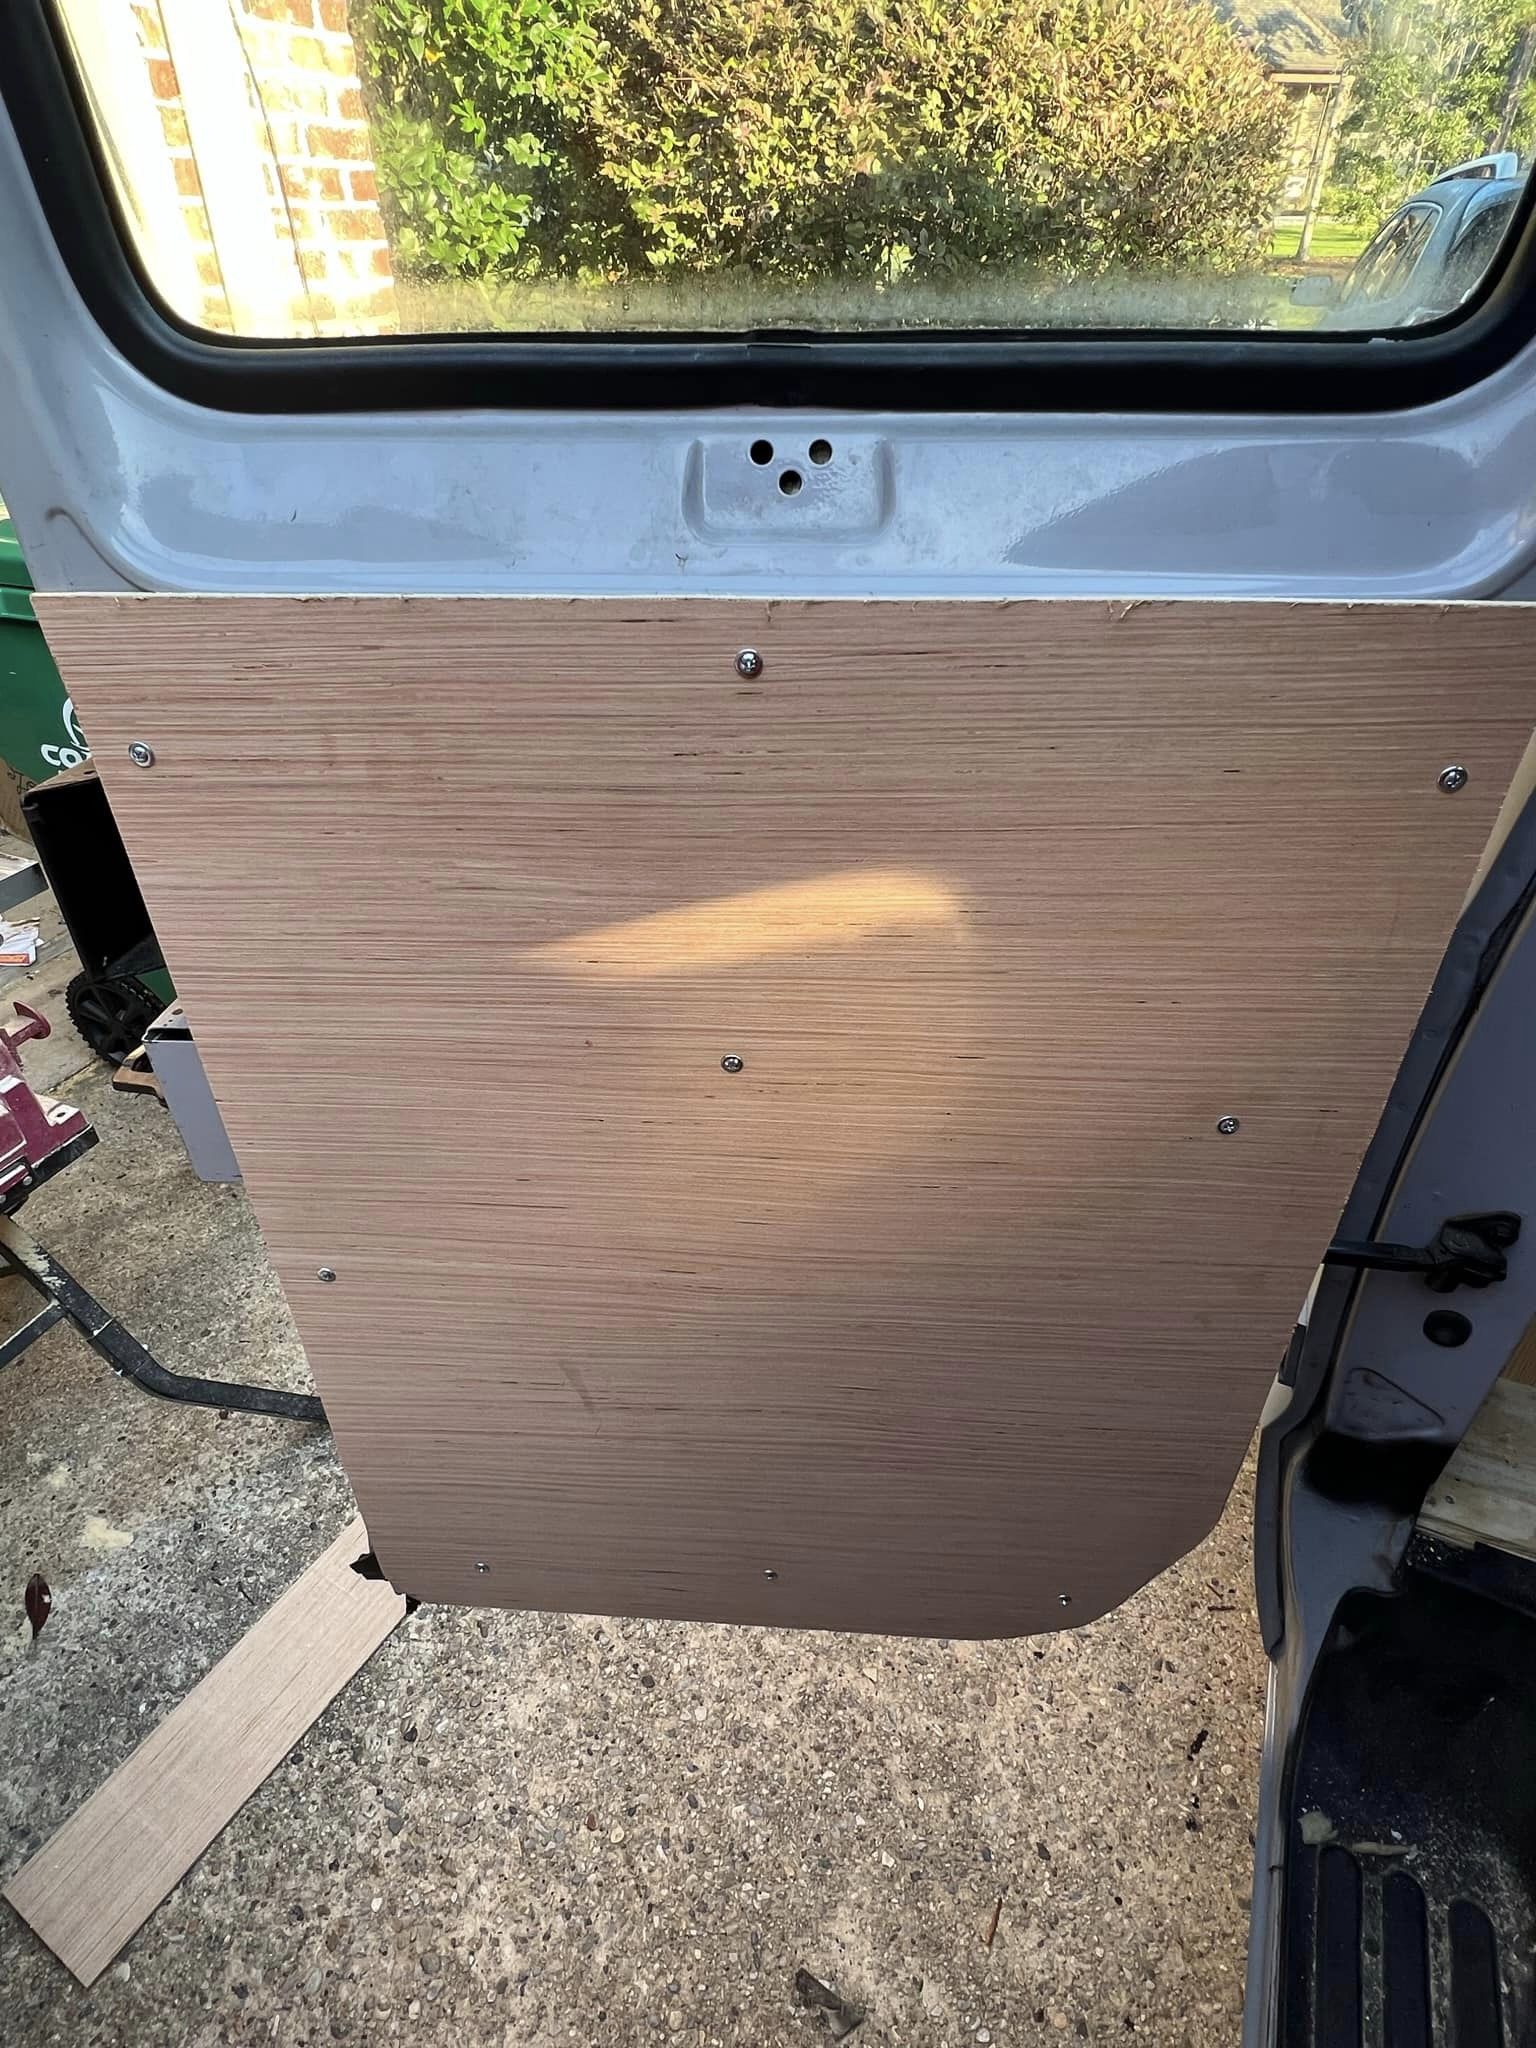
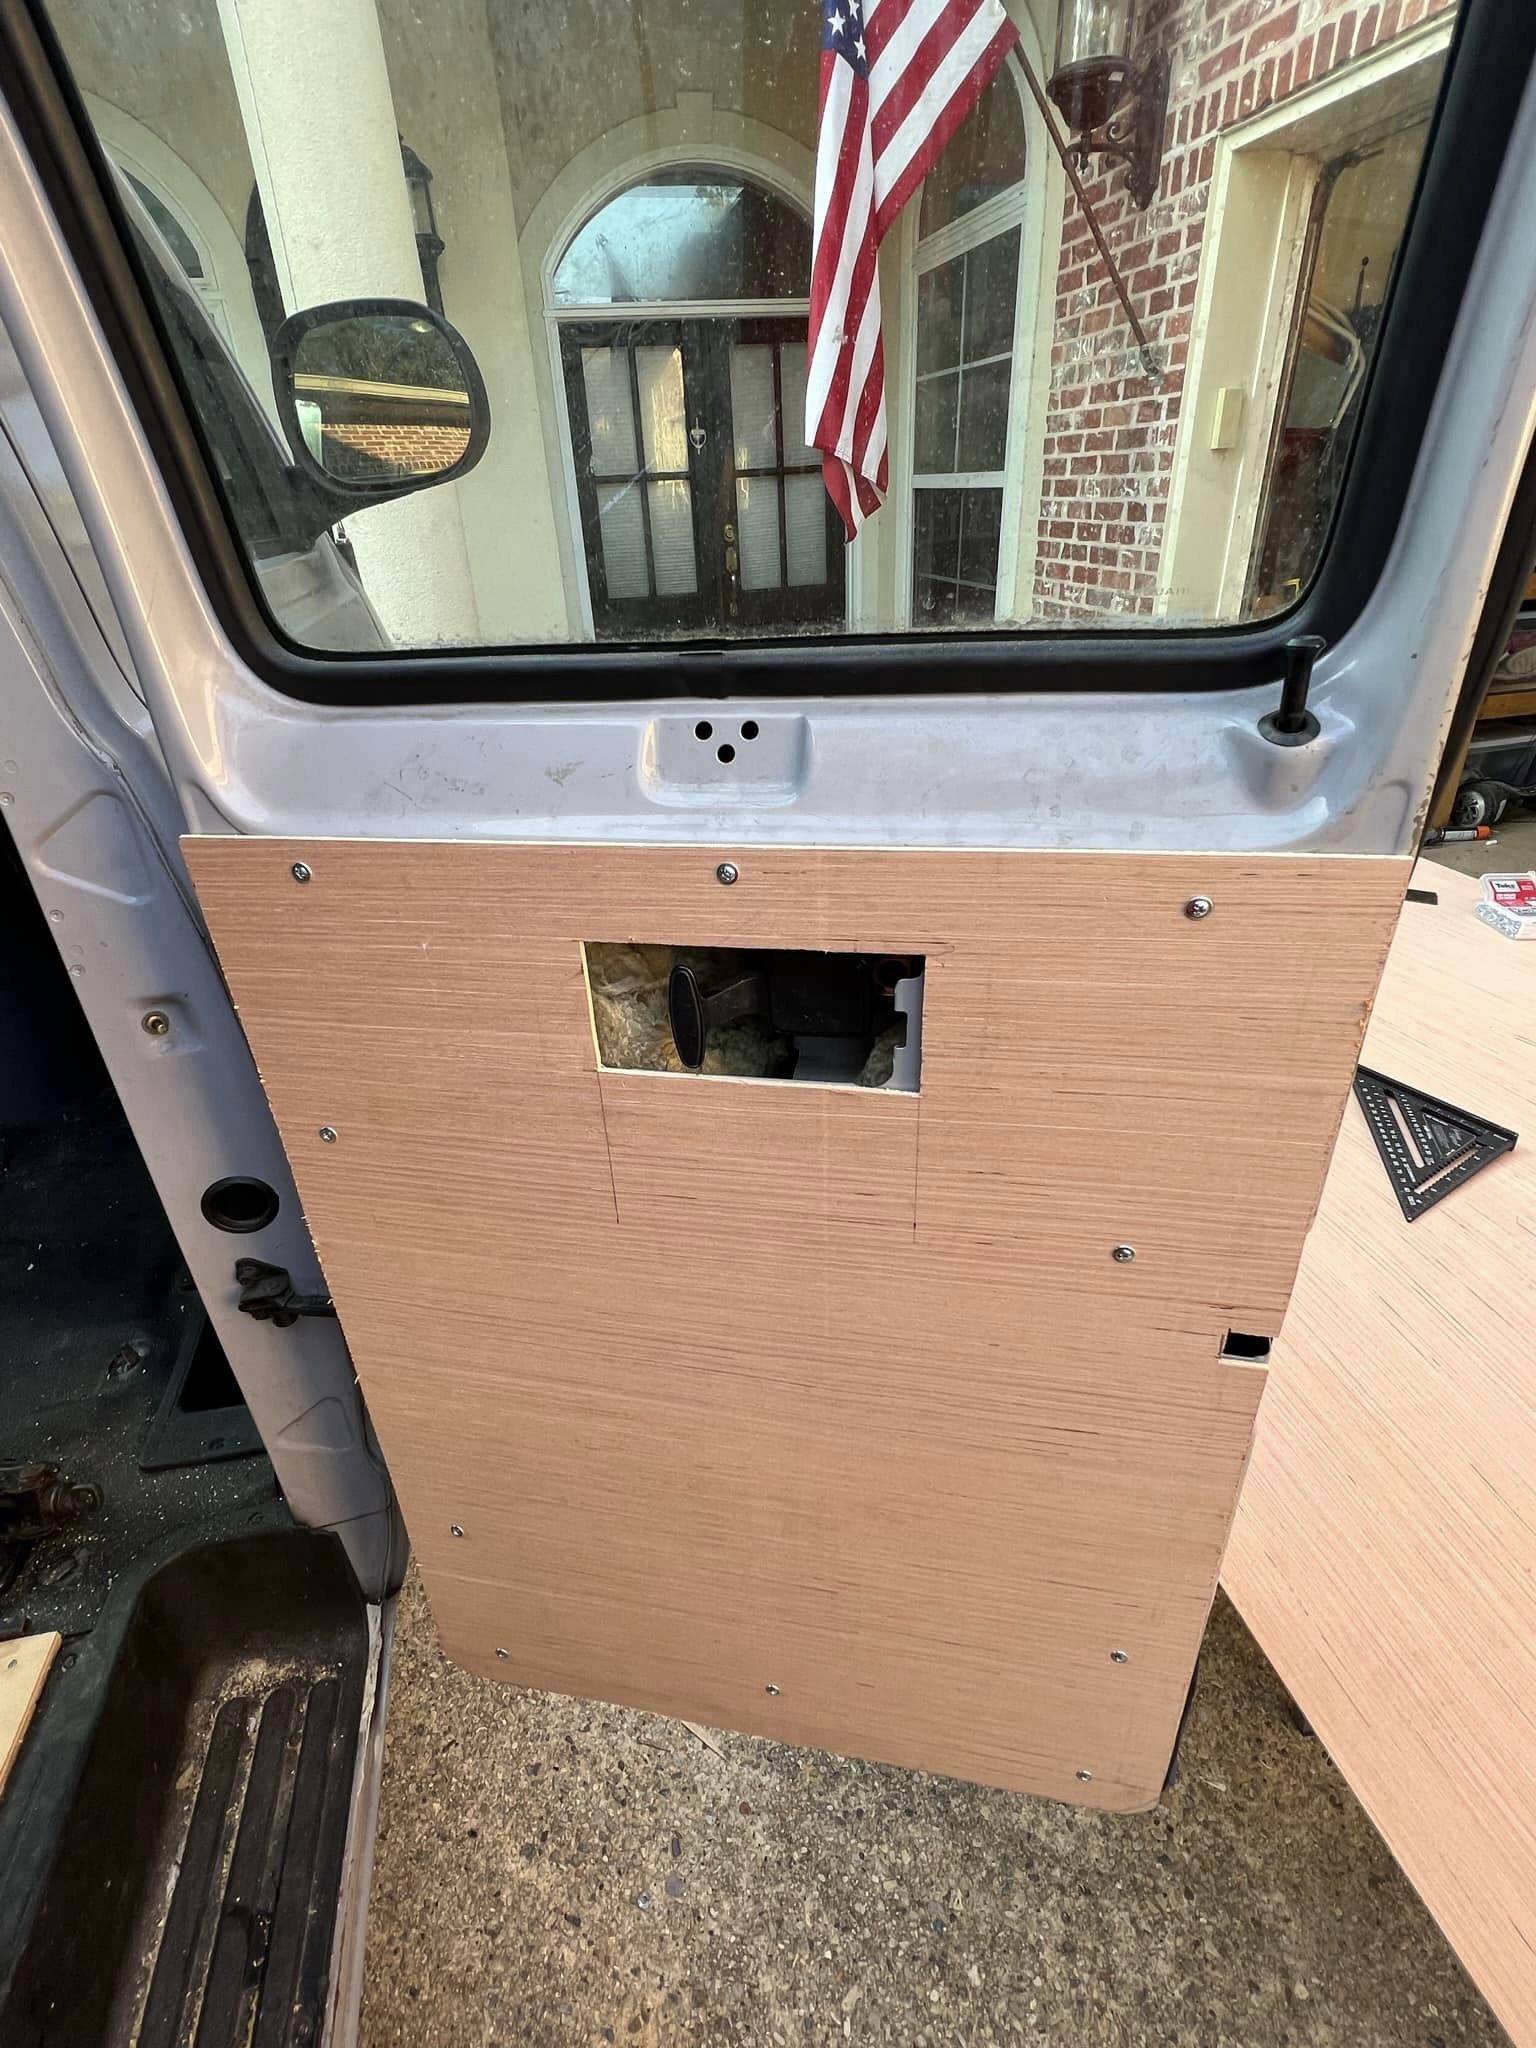
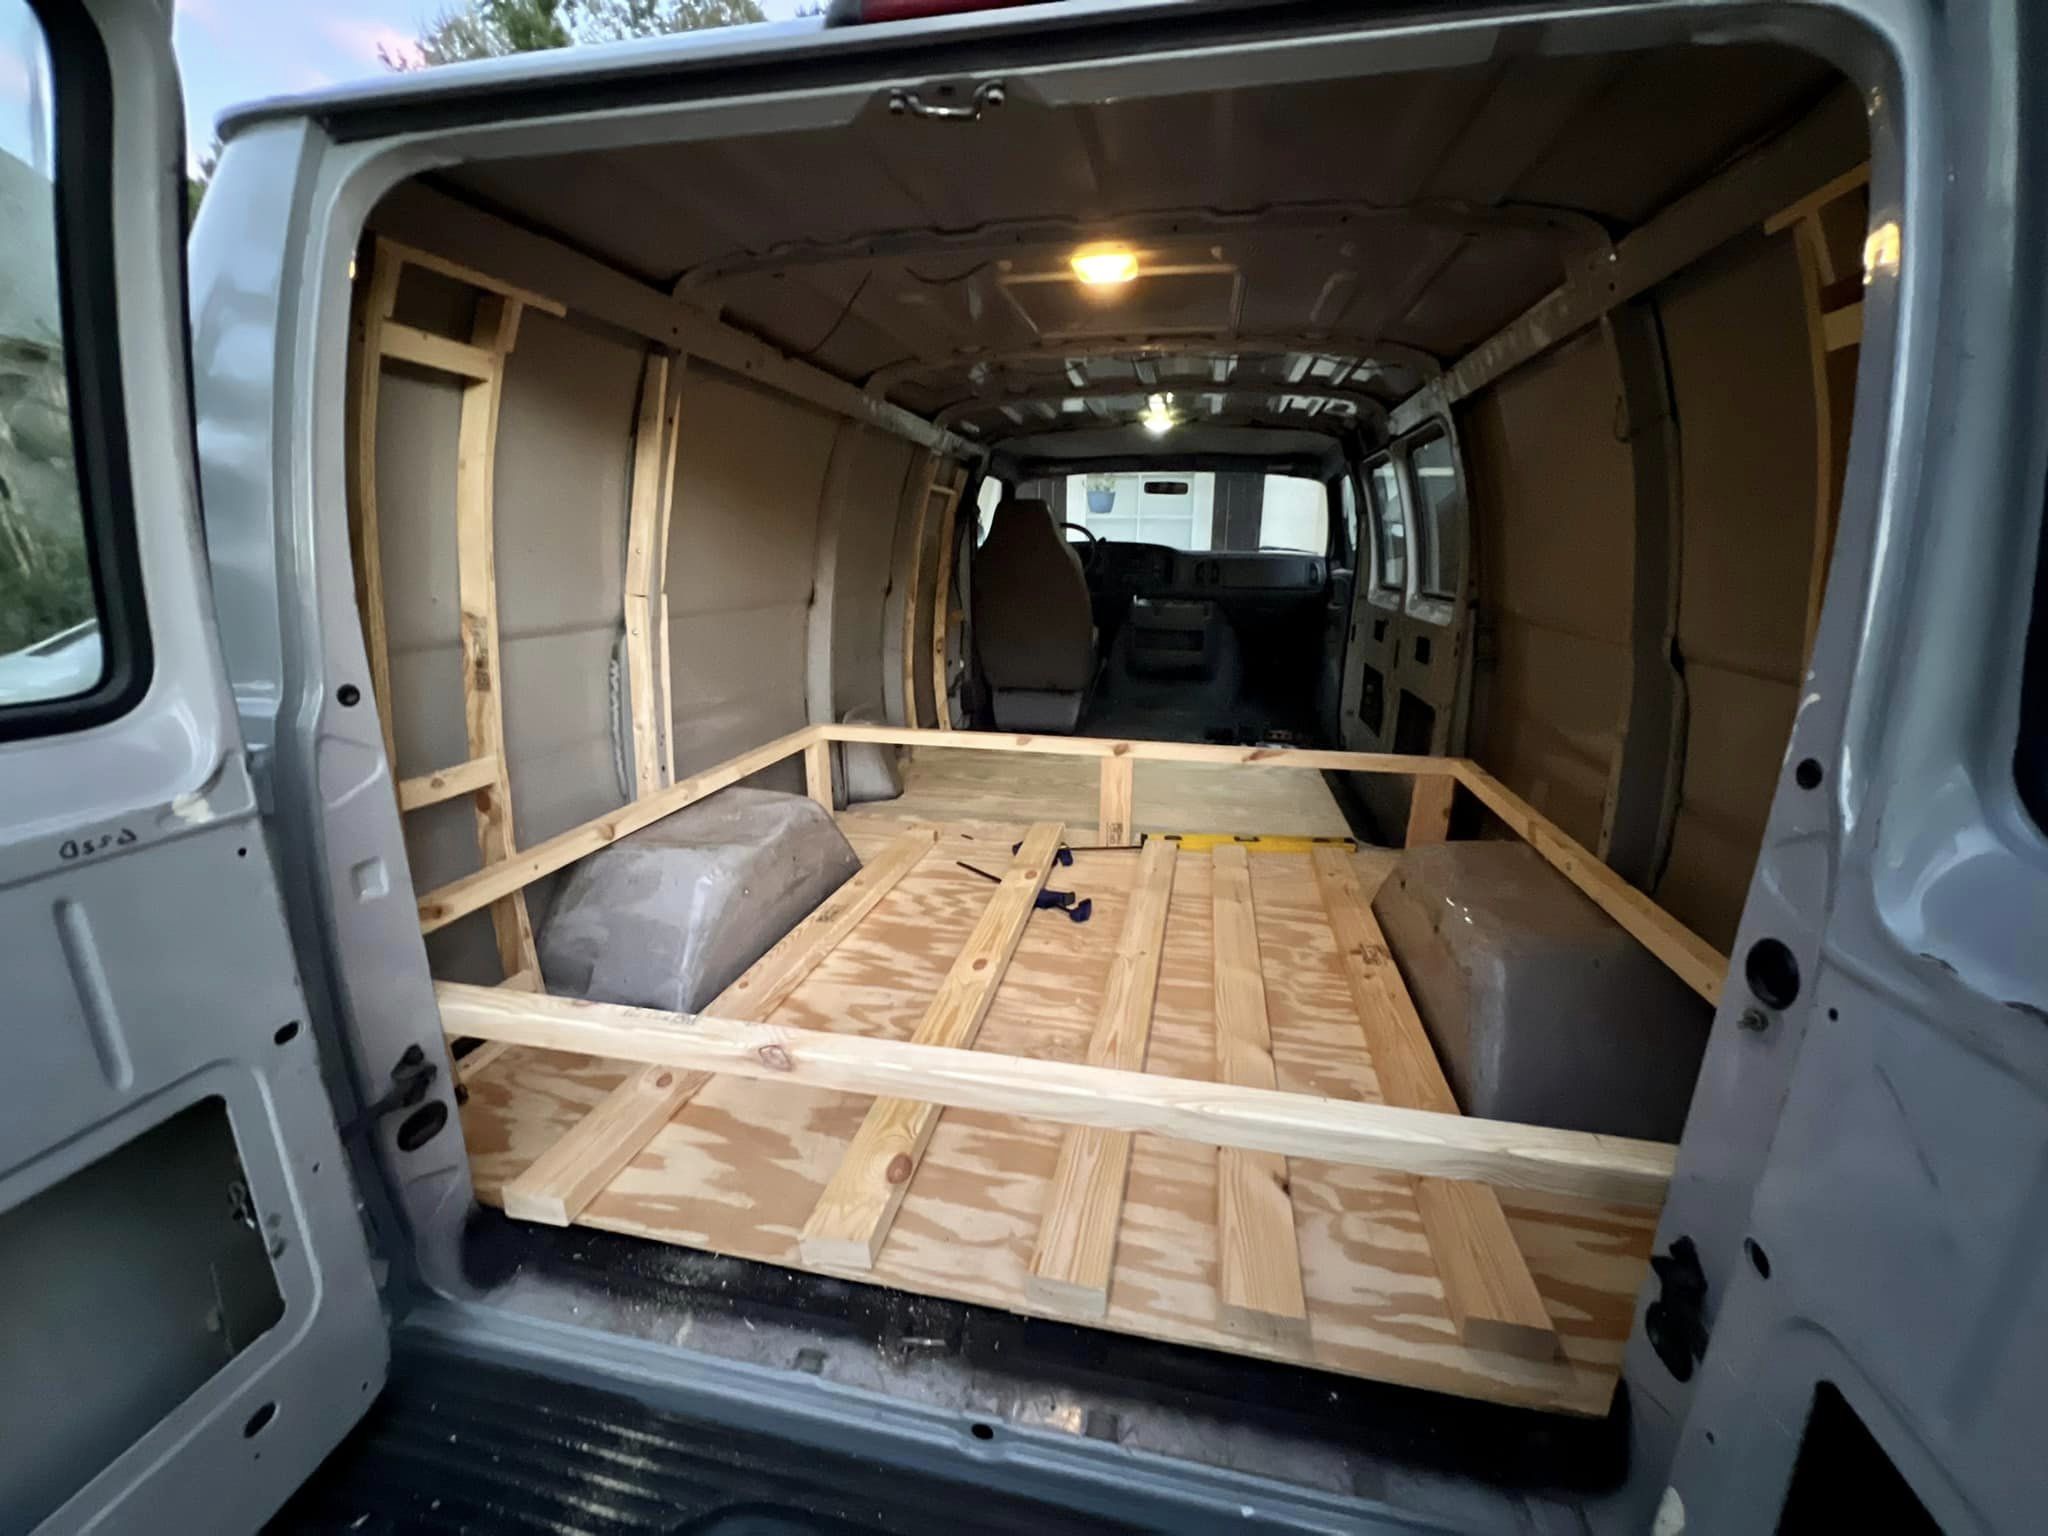
We then started to get the walls and door panels going, we also setup the solar testing on the back deck since these are old re-used solar panels that originally came on our RV and we removed. Turns out they tested pretty well, in direct sun we were pulling 80W/panel and they’re only 100W rated panels.

Lots of goodies arriving in the mail today and hopeful for lots of work done this weekend. Addtionally, she goes for window tinting on Monday.

Bad kitchen plumbing

So this is an issue on this house that has been around since we bought the house and frankly I should have fixed it a long time ago but, here we are… one of those low items on the list as it only presents an issue every year or so and the duration it takes to resolve it is significantly less than a permanent fix.. At any rate, I made a video so that people can understand that if you add a garbage disposal, take care in understanding your drain elevations so you know to either expect this issue or, far preferably; avoid it.

Van Life – Rehabbing a rusty 22 year old Dodge Ram 1500 Van, Part 10 of Many

Flooring going in, insulation between the furring strips, minimal but better than nothing. 3/8 ply on top of that, glued and screwed to the furring strips that are glued to the metal with liquid nails fuze-it which seems to be pretty good. Once cured I attempted to pry one of the strips off and the wood broke before the adhesive, so we’re good there and better than screws given the increased adhesion surface area.

Began to build the bed frame as well. The mattress will be a short queen, we’re a bit tight on space as this is a standard wheel base van. Putting the mattress long ways would cut into the rest of the available space so we’re going width ways which is just about 72″, plenty if you don’t sleep like you’re in a coffin.

OpenNMS / PagerDuty

With the release of OpenNMS 30, we found that the PagerDuty plugin was broken.

Issue #9 was opened on Jul 20 to address the error:

Error executing command: Unable to resolve root: missing requirement [root] osgi.identity; osgi.identity=opennms-plugins-pagerduty; type=karaf.feature; version="[0.1.3,0.1.3]"; filter:="(&(osgi.identity=opennms-plugins-pagerduty)(type=karaf.feature)(version>=0.1.3)(version<=0.1.3))" [caused by: Unable to resolve opennms-plugins-pagerduty/0.1.3: missing requirement [opennms-plugins-pagerduty/0.1.3] osgi.identity; osgi.identity=org.opennms.plugins.pagerduty-plugin; type=osgi.bundle; version="[0.1.3,0.1.3]"; resolution:=mandatory [caused by: Unable to resolve org.opennms.plugins.pagerduty-plugin/0.1.3: missing requirement [org.opennms.plugins.pagerduty-plugin/0.1.3] osgi.wiring.package; filter:="(&(osgi.wiring.package=org.opennms.integration.api.v1.alarms)(version>=0.5.0)(!(version>=1.0.0)))"]]

The devs did update the master tree a few weeks ago to accommodate the changes for OpenNMS 30, however it still does not build. I have forked the project and made one small change and it compiles and works.

Van Life – Rehabbing a rusty 22 year old Dodge Ram 1500 Van, Part 9 of Many

So we got after that rust. Welded in ( poorly, because I’m not a welder ) patches where necessary with some 20ga sheet metal. I didn’t happen to have a thickness gauge handy but it was actually stamped on the steps on the body. And sure enough it matched right up.

Then we wire wheeled that all down and hit the spots with some Rust Reformer.

Next we cut fur strips out of 3/8 plywood to go over the floor to kind of smooth things out. The plan is to not actually drill into the floor pan given the age and potential for rust we wanted to limit the amount of entry points. We’ll be using some adhesive to hold the floor down.

Van Life – Rehabbing a rusty 22 year old Dodge Ram 1500 Van, Party 8 of Many

Lots of updates here, we removed the old dry-rotted tires and changed them ourself and used balancing beads. Good tire shops are hard to find around here and well again, this is a budget build.

Tire Changer: Harbor Freight

Balancing Beads: Amazon / Counteract

Additionally, we started tearing down the inside and working on rust remediation, this is just a wire wheel and a scraper to get at this and get it down to serviceable steel. Then weld in patches where needed.