
Well it’s the holidays and as such there’s a million other little projects that have been obstructing hobby jobs and tinkering so here’s a couple of the things we’ve been working on.
First, we made snow out of a few parts from the hardware store, the big air compressor and a pressure washer:
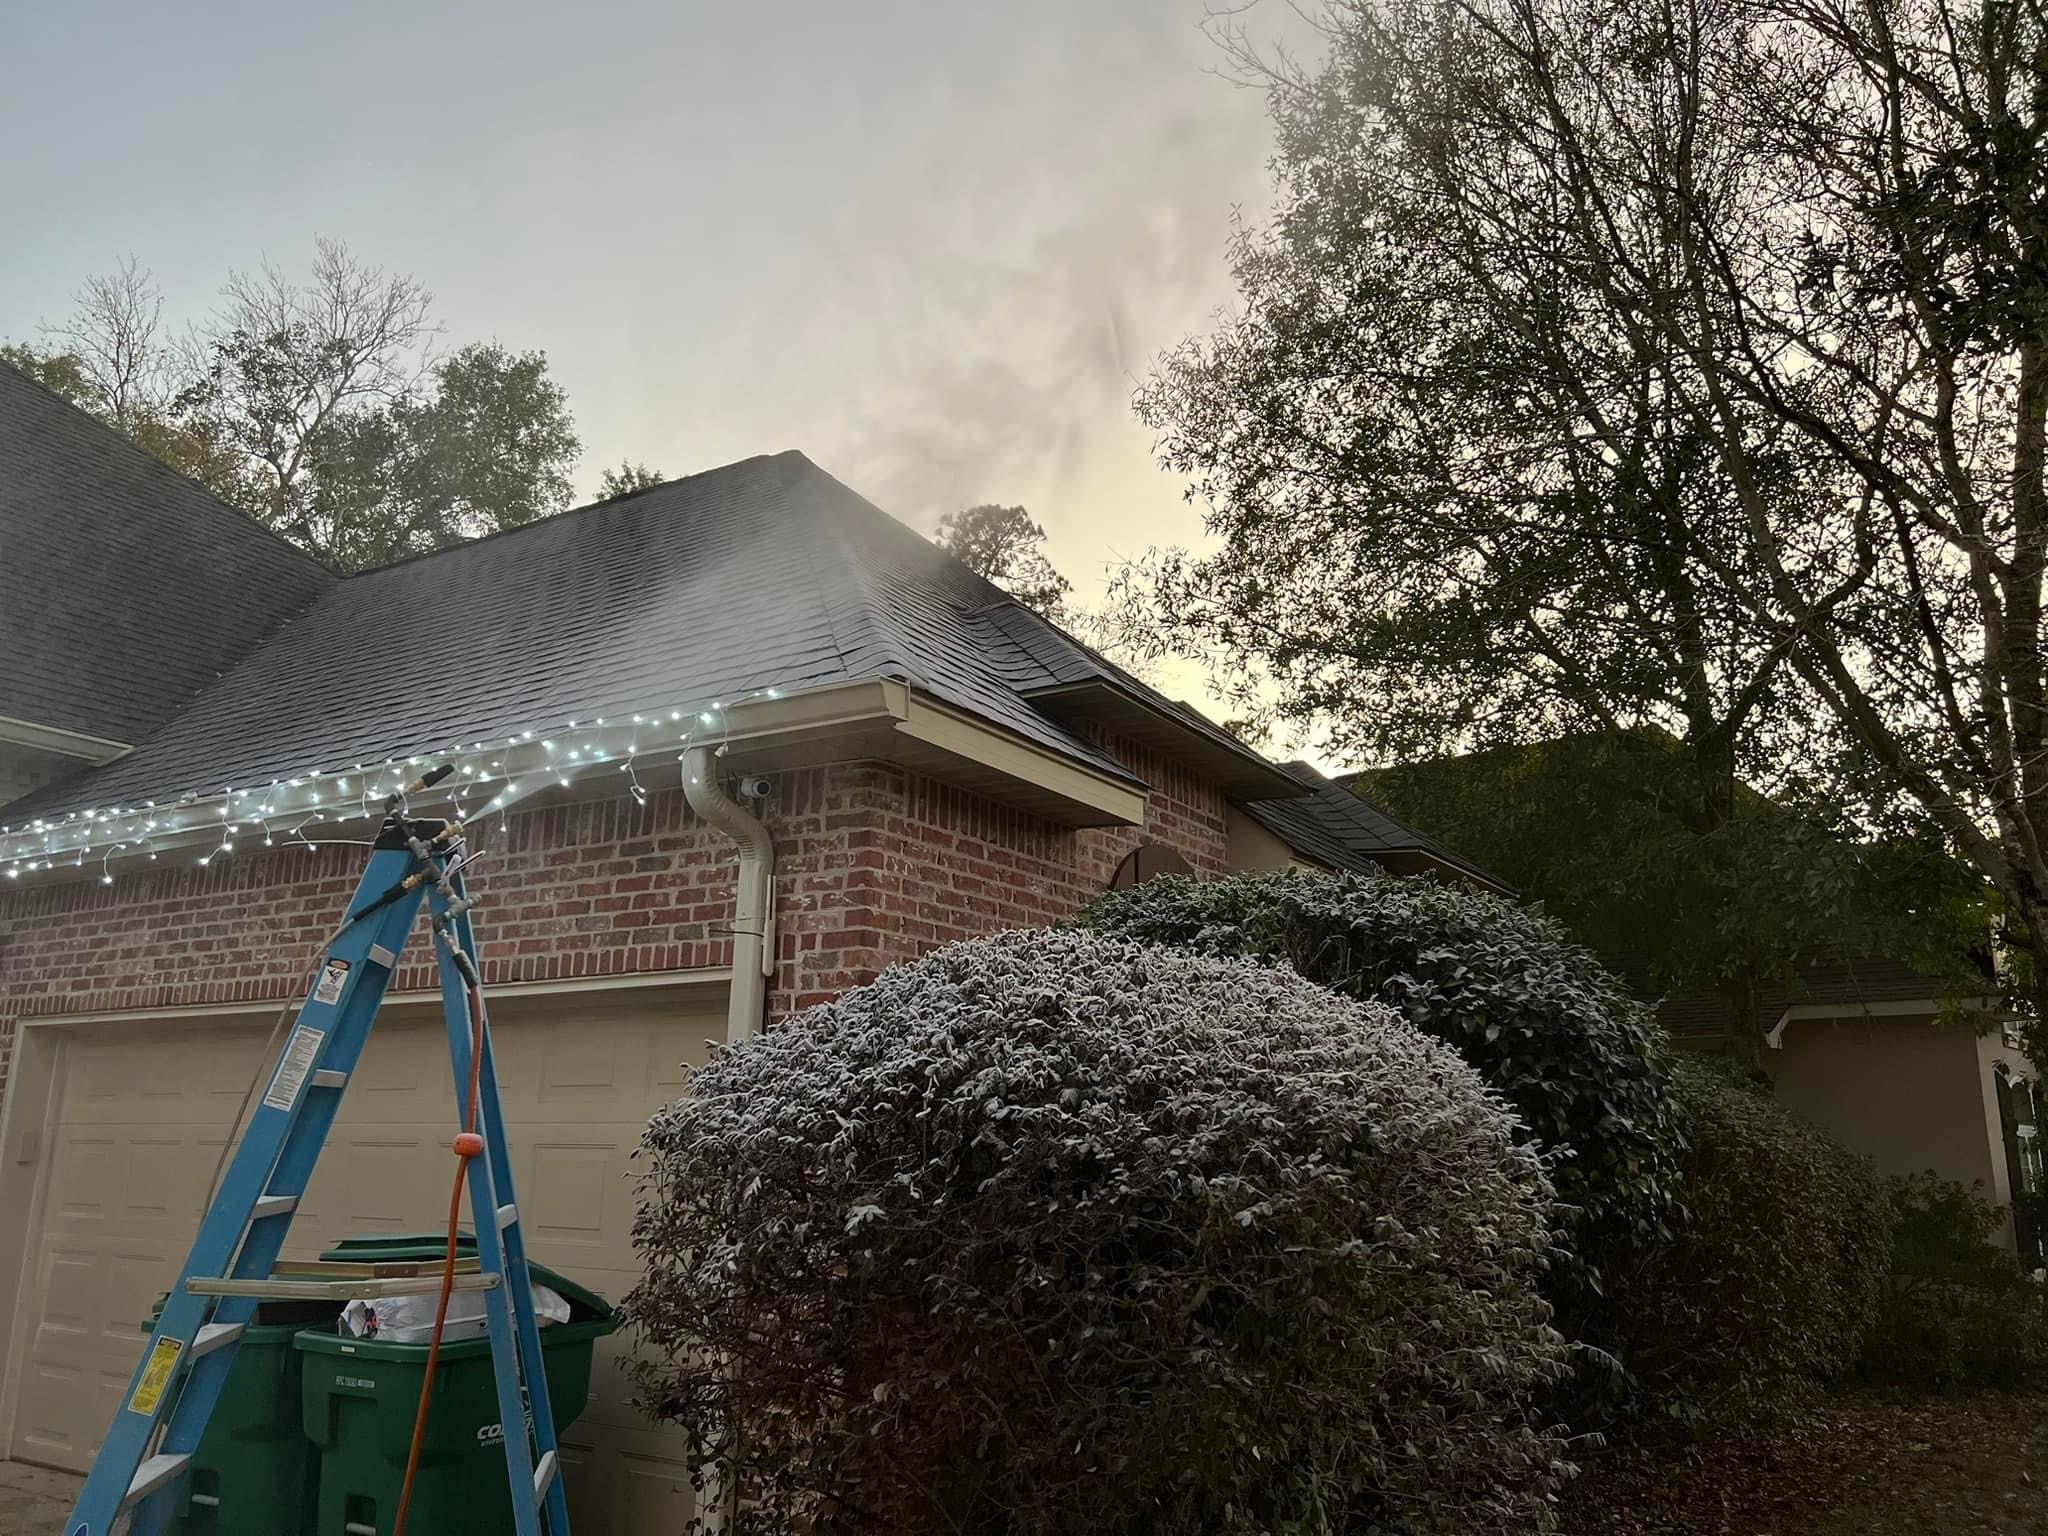
We had to get our Christmas lights hung up;
Then we had to fix an outlet on the front of the house where we connect the Christmas lights as it had gone flaky
And finally we did actually get to work on the RV a bit and replace the door lock: